If you’re looking to start growing vegetables and flowers straight from the seed then you’ve come to the right place because in this guide we will give you the top 15 tips on how to germinate seeds that will surely help you get the best bang for your buck.
But before we get into that we should state the fact that there are plenty of factors that go into this process that need to be accounted for, depending on which seed you go for, which equipment you have available to you and so on and so forth for example.
With that in mind, we should also mention the fact that some seeds are more beginner friendly while others are more so tailored for the more advanced farmer, so choose the perfect one for you as opposed to just picking the one that sounds like it’ll bring you the most profit.
With that out of the way, how about we start with our first tip for faster germination:
1. Simplicity is Key
When it comes to farming, and most other things in life for that matter, the best way to get the best results is always going to be the simplest one, which is why we will always recommend that you look at the options you have ahead of you and you always pick the one that seems like the most accessible for you.
For example, as we mentioned previously, each and every plant that you could ever want to grow in your garden is actually going to take different methods and equipment to grow, so if you already have access to the equipment for a certain type of seed then there’s no need to go for anything else.
On top of that, keep in mind where you actually want to keep the seed as well. If you want to keep them indoors then we would always recommend going for tomatoes and marigolds, but if you want to grow them outside then we recommend that you go for petunias instead.
There’s just no real need to overcomplicate things, just take the step that is easier for you and you’ll have your seeds grown in no time.
2. Get the Timing Right
There are a ton of factors that go into this aspect too, but at the end of the day, the goal when it comes to actually growing these seeds is always going to be to get the best results in the quickest time frame.
So, if you want to achieve this then you need to pull out the seed packet and read what’s written on it. You will find something like “plant inside six to eight weeks before last frost” written in there, and you can work around that time frame.
Let’s not forget the fact that each and every vegetable also tends to require to be grown outside or inside, and if they do need to be grown outside you always need to take the weather into consideration before you start growing your seed.
Poppies for example require that you grow them outdoors, but the problem with that is that they can also be quite hard to take care of under bad weather so always keep that in mind.
3. Invest More into the Greens You Want
What we mean by this is that many homesteaders actually tend to pile all of their life savings into vegetables that they don’t even want to consume, but instead are only attracted to the hefty profit that they’ll bring them.
As a business strategy this is in no way bad, but what you need to realize is the fact that as a homesteader you will eventually need to dig into your own pile as well since not everything will sell.
Because of this we always recommend that you invest more money into the greens that you actually enjoy consuming yourself, since that will make them grow faster and even if they’re not sold off you can still use them yourself so the investment will be worth it on the long run.
4. Use Water Cups
Many people don’t know this, but you can actually grow your greens by simply keeping them in a well-sealed water cup. This process actually does have a name, it is commonly referred to as imbibition, and it mainly just refers to the process of placing the seed in water and it actually sucking it all up.
By “drinking” this water, the seed will actually sprout and grow a lot faster than if you were to just place it in the ground, and on top of that let’s not forget the fact that this will also save you a lot of money and space on the long run as well.
We also highly recommend that if this is your first time germinating using imbibition, that you actually use avocado seeds since they’re amongst the easiest to take care of and they tend to grow very fast.
Other vegetables also require you to soak the seeds in water beforehand as well, so definitely do your research before you start buying seeds left and right.
5. Use a Sponge
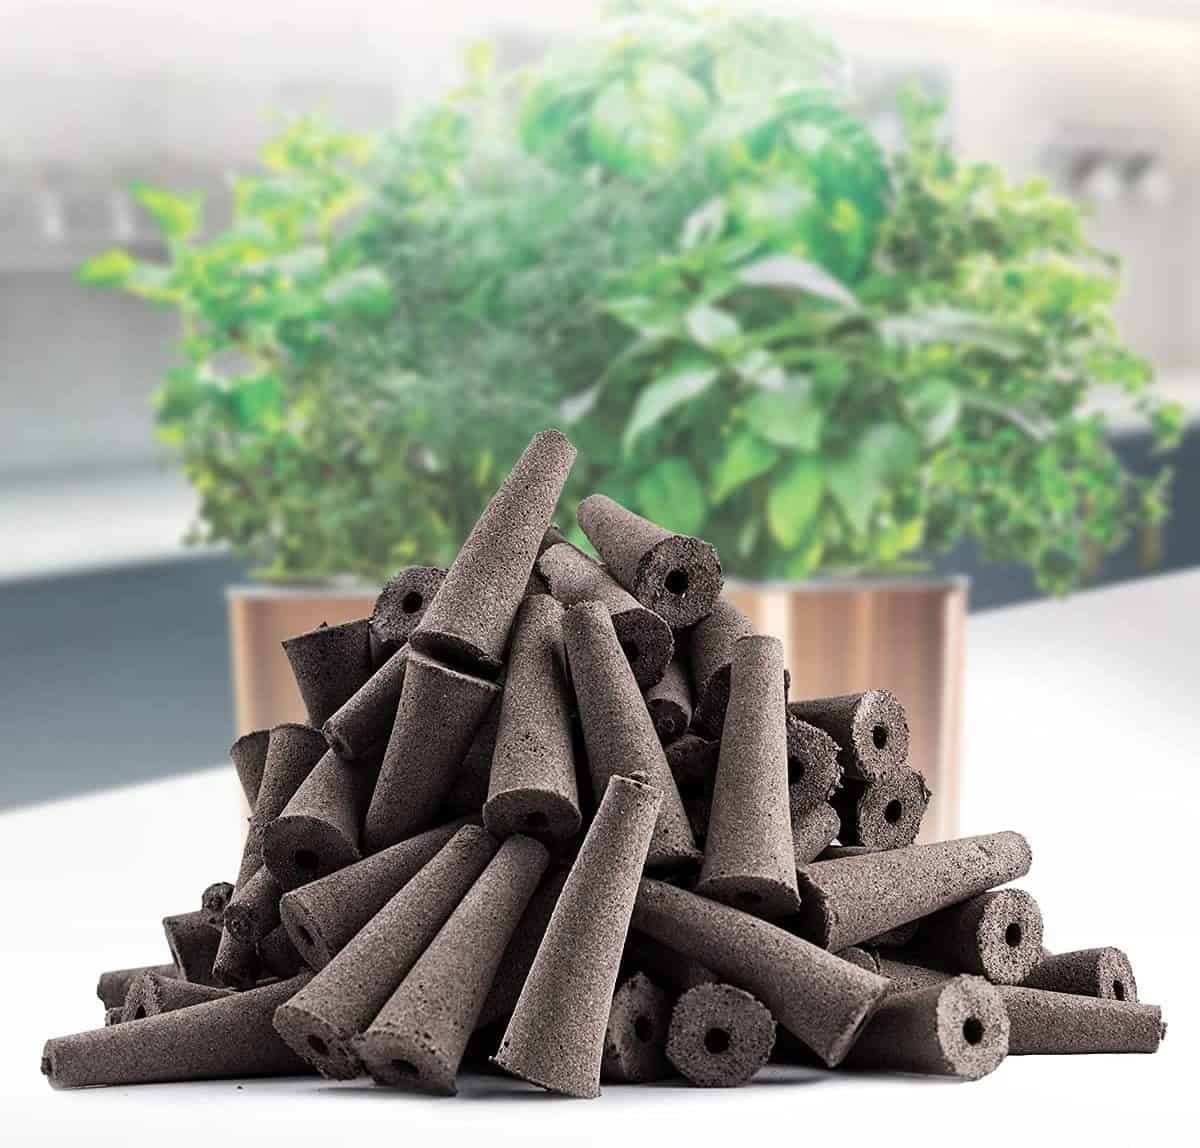
This may seem like a very strange way to do it, but it is actually not that bad of a choice, and if you choose this method, you will actually find the veggies actually growing a lot faster and healthier than through most other means out there. But beware, you cannot use a wet sponge to do this, you will need it to be perfectly clean and dry before you actually place the seed inside.
Once the seeds are inside you can start pouring water on the sponge gently so that the seeds don’t fall out. The sponge will then do what the sponge does best, aka it will start soaking all the water, keeping it inside.
The best part about this is the fact that it will last the seed quite a long time, and since it will be covered in moisture, it will actually grow very quickly too.
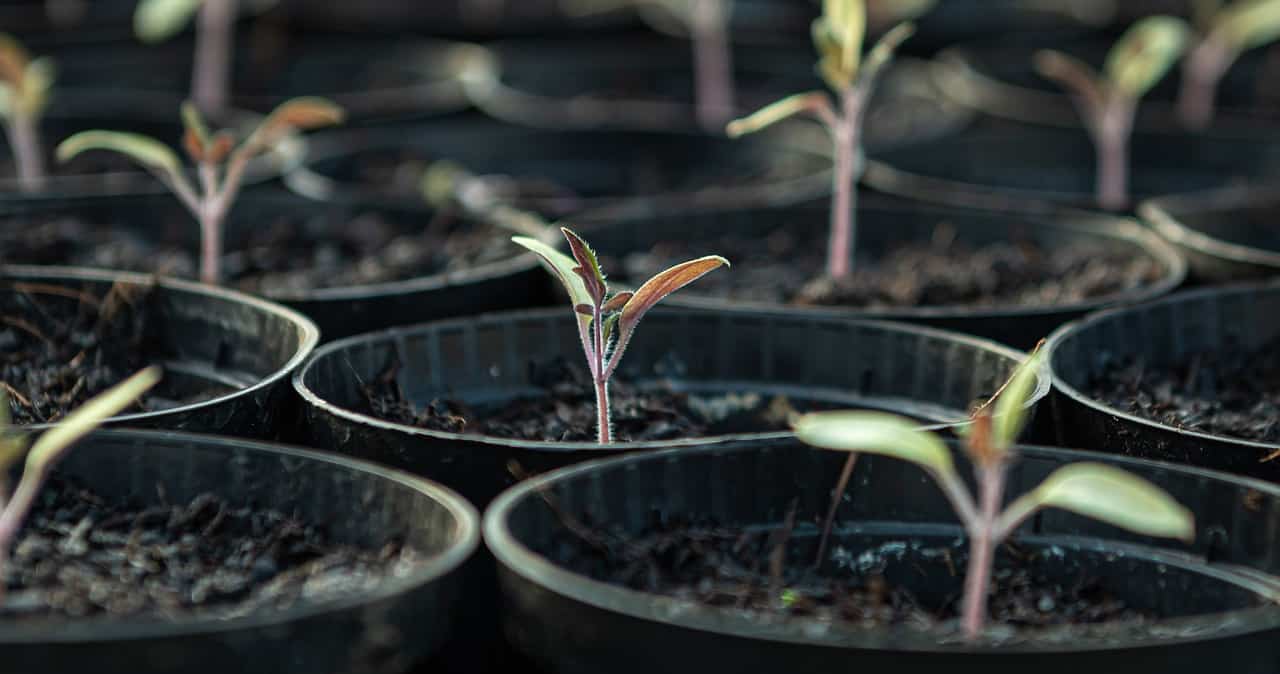
6. Use a Plastic, Milk or Paper Cup
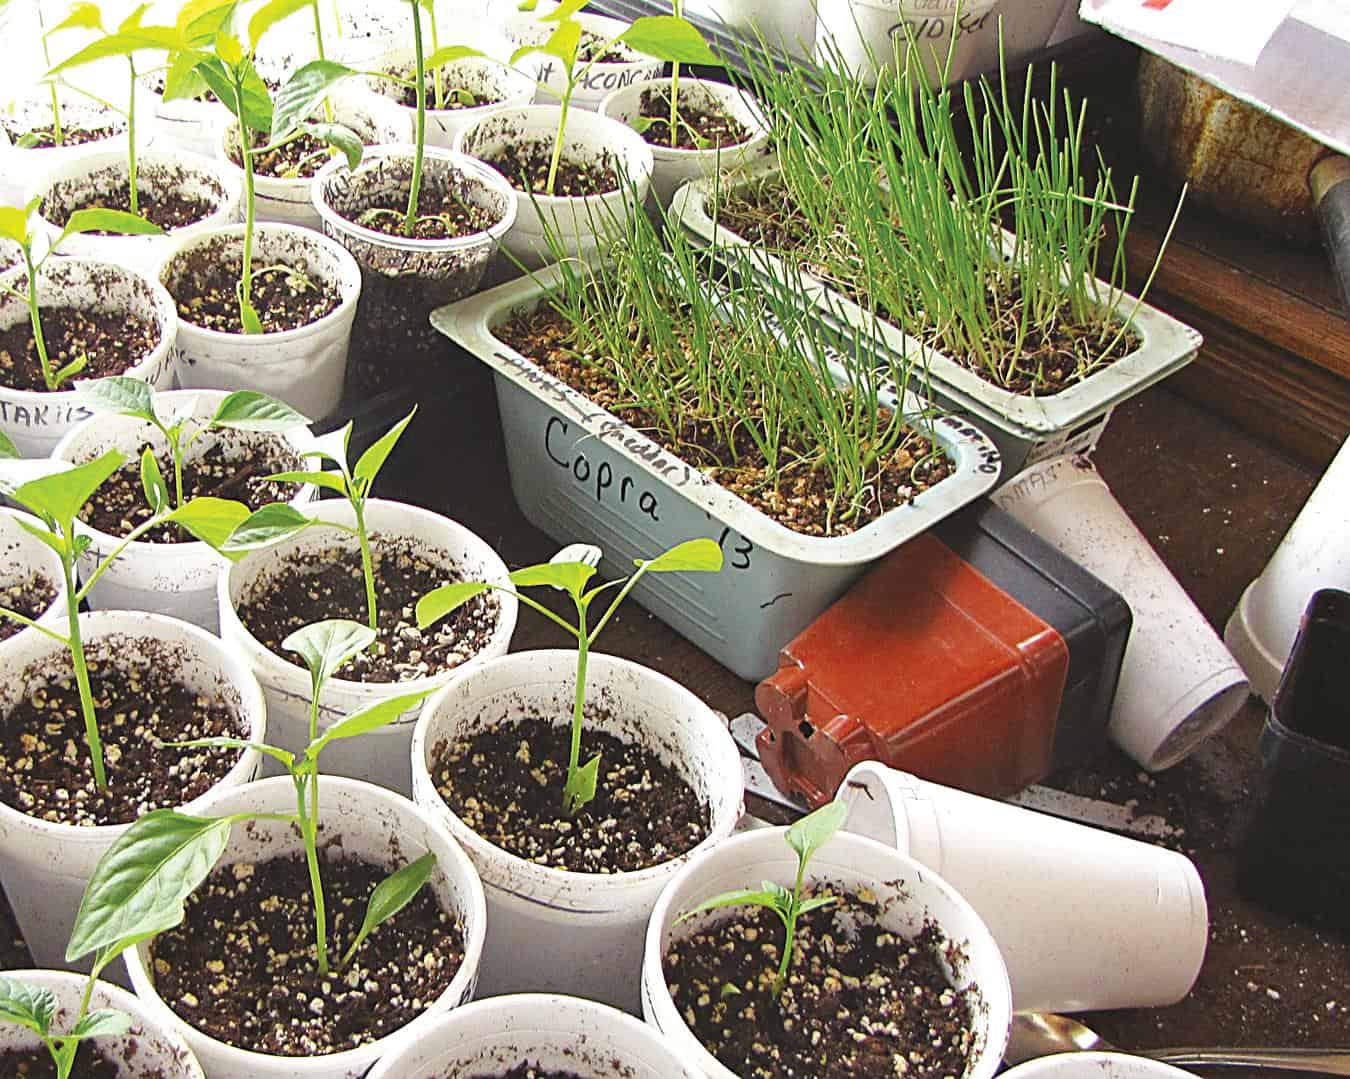
We mentioned previously that you can use a water cup, but the truth is that it’s actually not limited to this only. In fact, you can use most containers out there as long as they are not privy to breaking apart. Even the containers pictured here will do the trick.
We always recommend going for DIY projects as well, since they tend to last you a much longer time than the commercial ones. Yogurt cups for example tend to be a very good choice since they can retain the humidity and the seed can really take advantage of that.
Other than those you can also use different trays to get your seed growing. The only thing you need to keep in mind for this part is whether the tray can be watered easily or if it can be relocated with ease.
If either of those two requirements are not met the you should probably invest your time, effort and money into getting a different tray altogether, otherwise you might end up with underdeveloped greens despite all the time and effort you put into them.
7. Invest in the Potting Soil
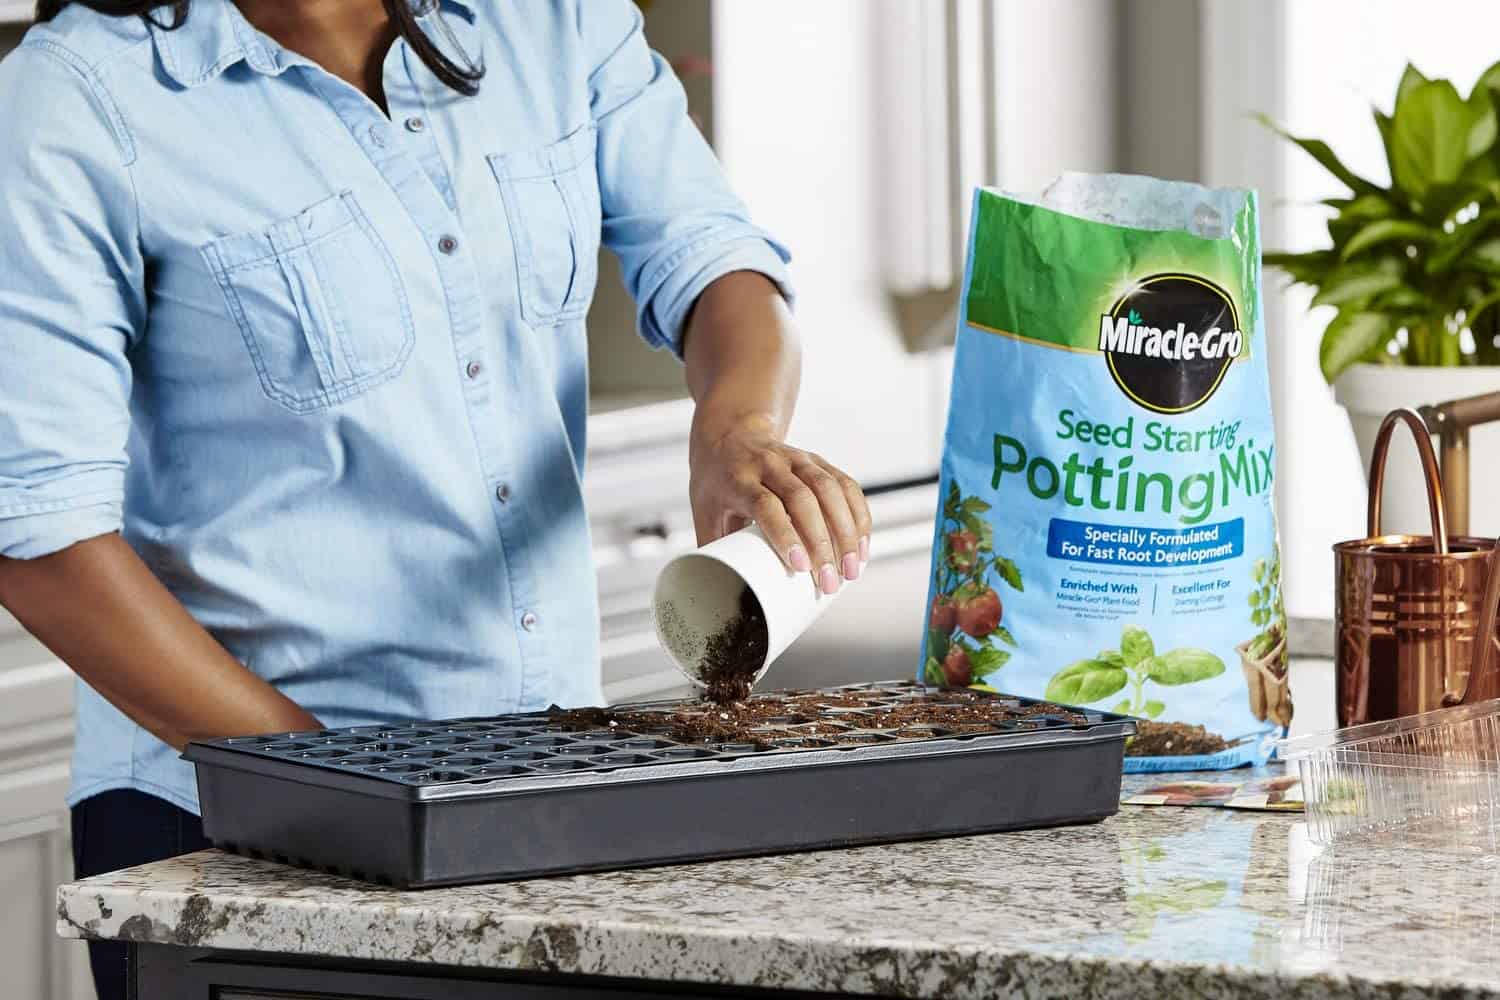
This part is pretty self-explanatory, but let’s be honest here, many people actually tend to overlook just how important of an aspect this is to growing your seeds and it really shows in their products.
Certain parameters must be followed as far as the soil itself goes, for example you cannot actually use soil from your own garden and you most definitely cannot just take the soil from other houseplants and use it yourself.
Remember, the soil may actually get contaminated quite easily during this process, so you might end up killing your seed as opposed to actually helping it grow by using unsterile soil.
We also recommend that you pour a little bit of water into the planting mix as well, just enough to actually make it habitable for the greenery, not enough for it to be dripping with water.
8. Use a Paper Towel
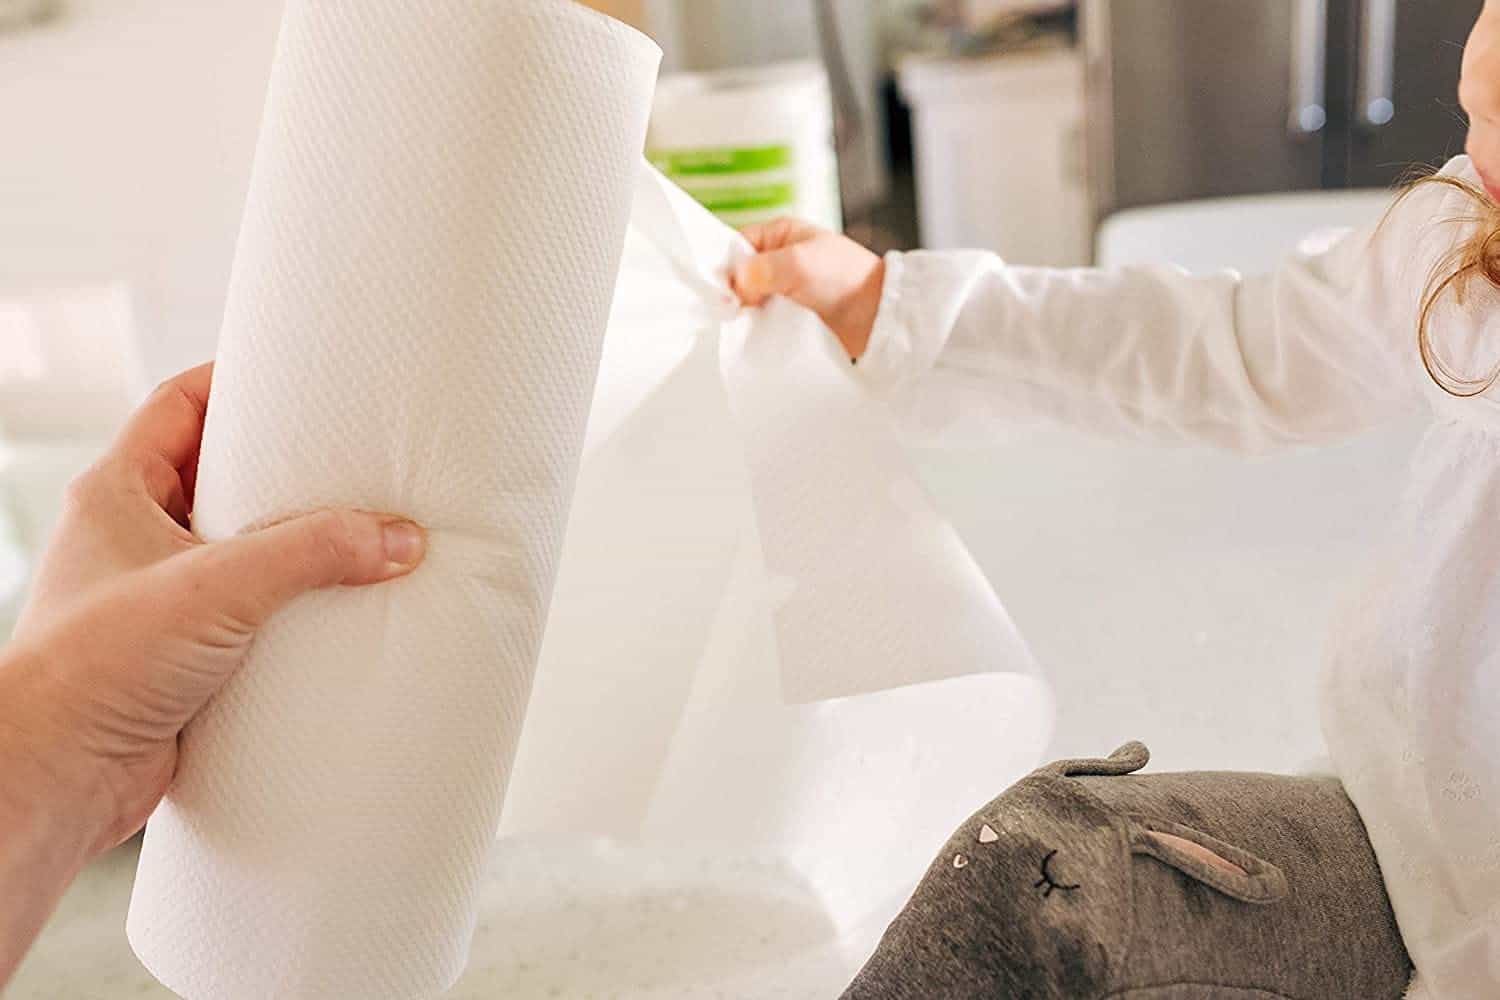
Another great choice that you can go for is definitely the paper towel as it makes for a perfect habitat for your seeds to grow into. Just get yourself a plastic or a glass container that has a sealing lid and place it inside.
Pour a little bit of water inside, or even better so, just drip a little bit inside and let the water do its job. Next up just put the seed inside and you should be on your way to owning a pretty gorgeous sprout in no time.
We can’t stress enough just how important the moisture level is though, so always keep in mind that too little will not allow for the seed to sprout anytime soon, but too much of it can also really damage the seed to the point where it can’t break out either.
It’s all about balance, so make sure that you’ve got the towel wet before you actually place your seed inside just for good measure.
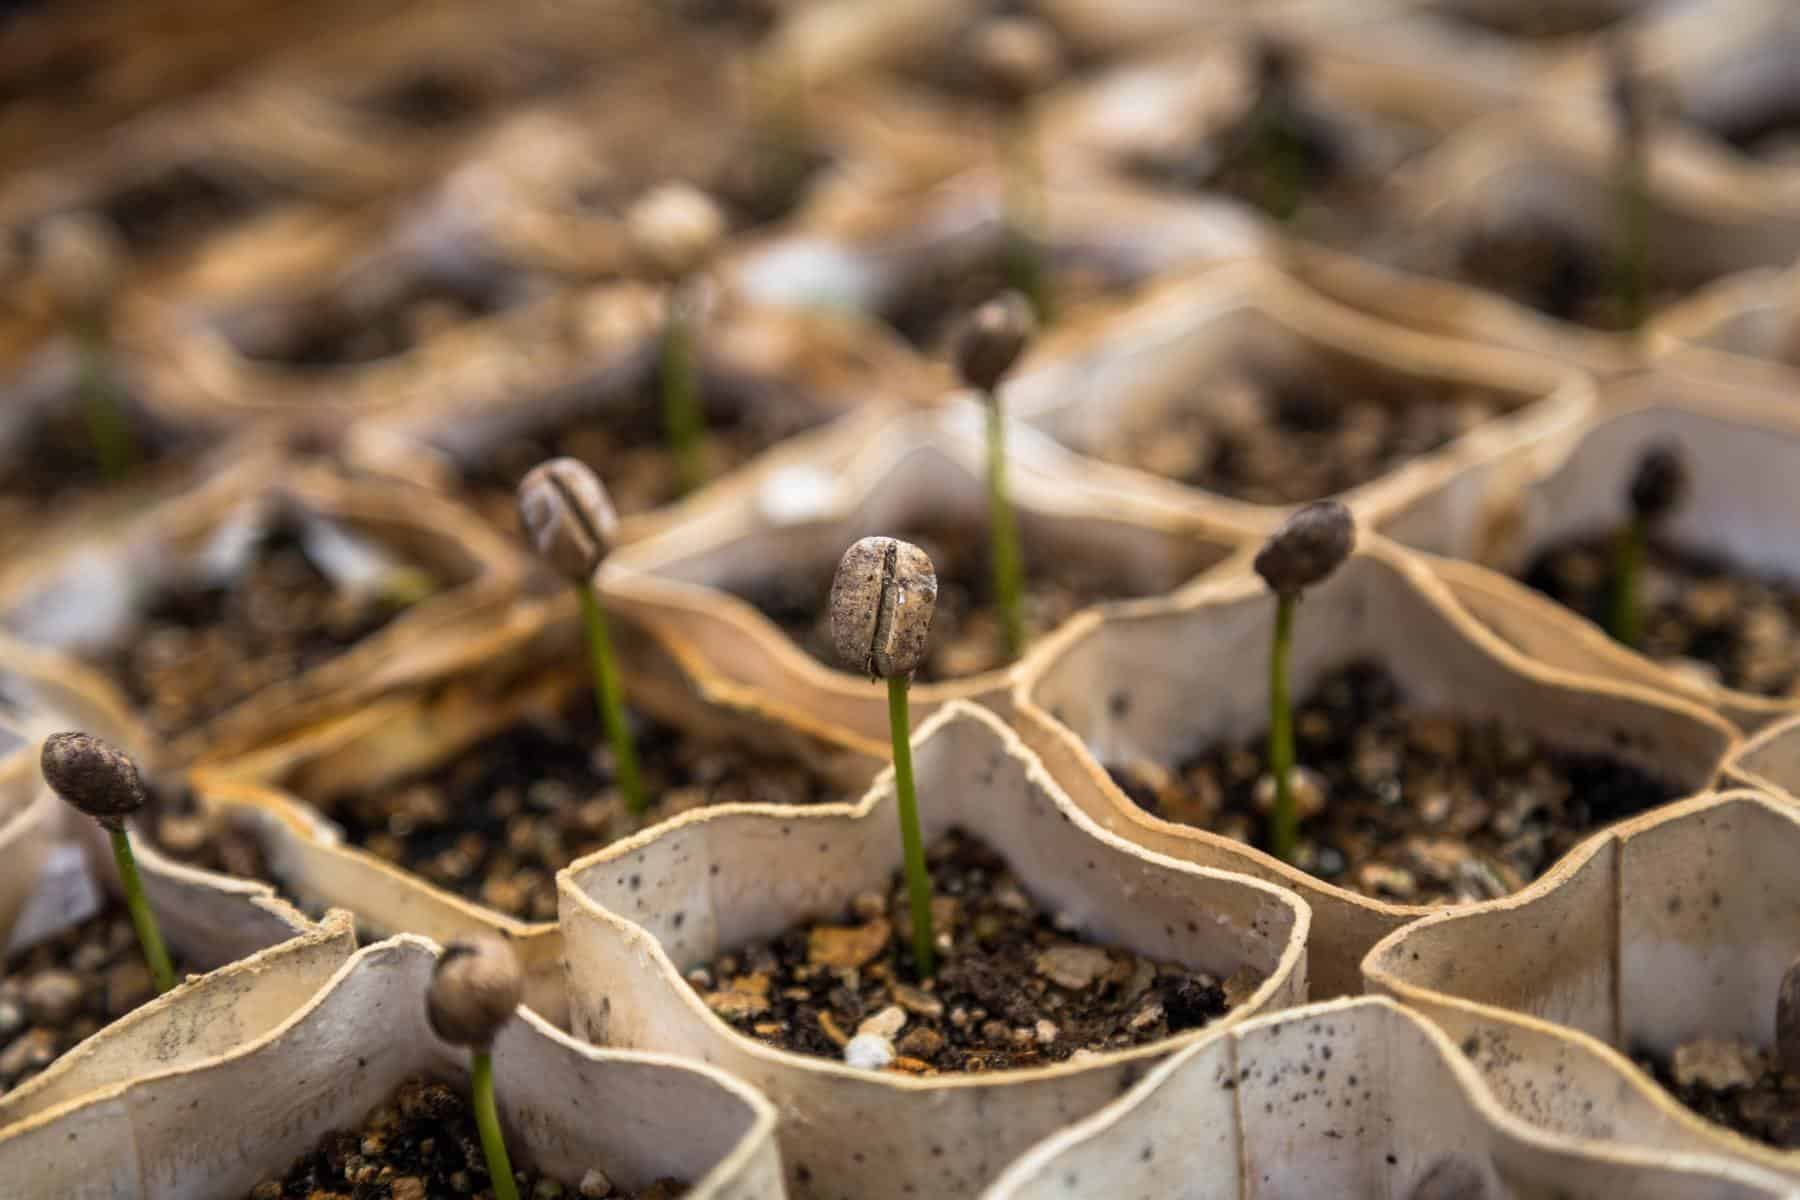
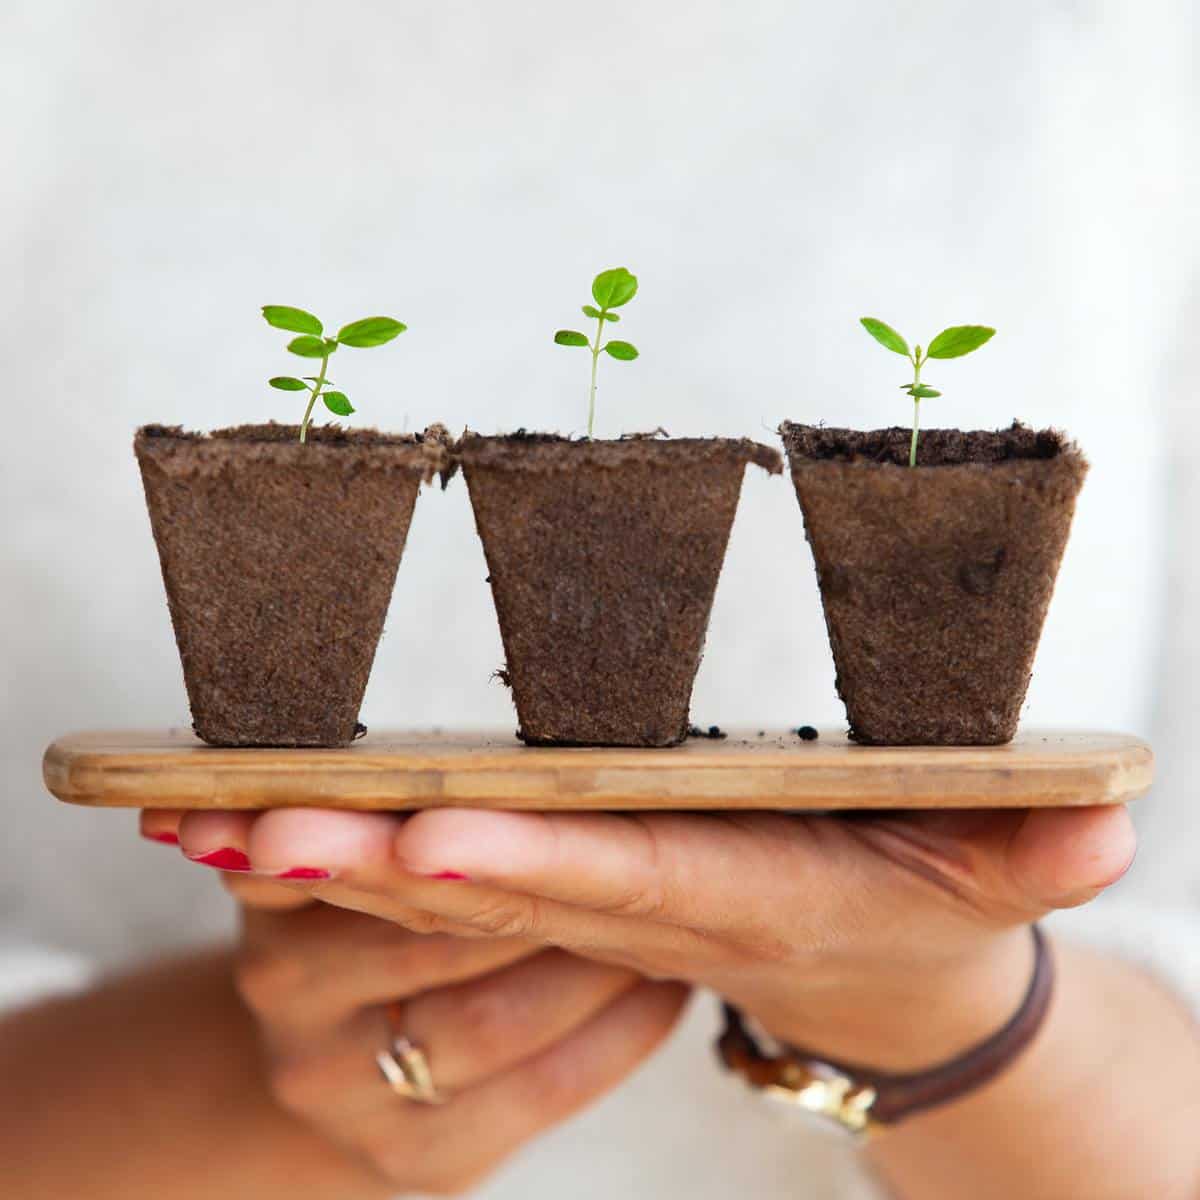
9. Use Muffin Trays

A lot of people can end up ignoring muffin trays when they actually search for the best trays to use to germinate their seeds, which is a real shame considering just how amazing they can be on the long run.
You literally have the perfect shape for you to place your seed inside, and on top of that you can also take that extra step and place them into recyclables as well, thus helping the environment as well.
You can also be quite creative when it comes to this step as well by placing different sprouts simultaneously which just makes this look like an amazing DIY project that you’ve done for yourself.
Just remember to always use the best type of soil when it comes to germinating your seeds because honestly, for as good as these muffin trays can be, they won’t be of any help if the soil you use isn’t up to par as well.
10. Use Mason Jars
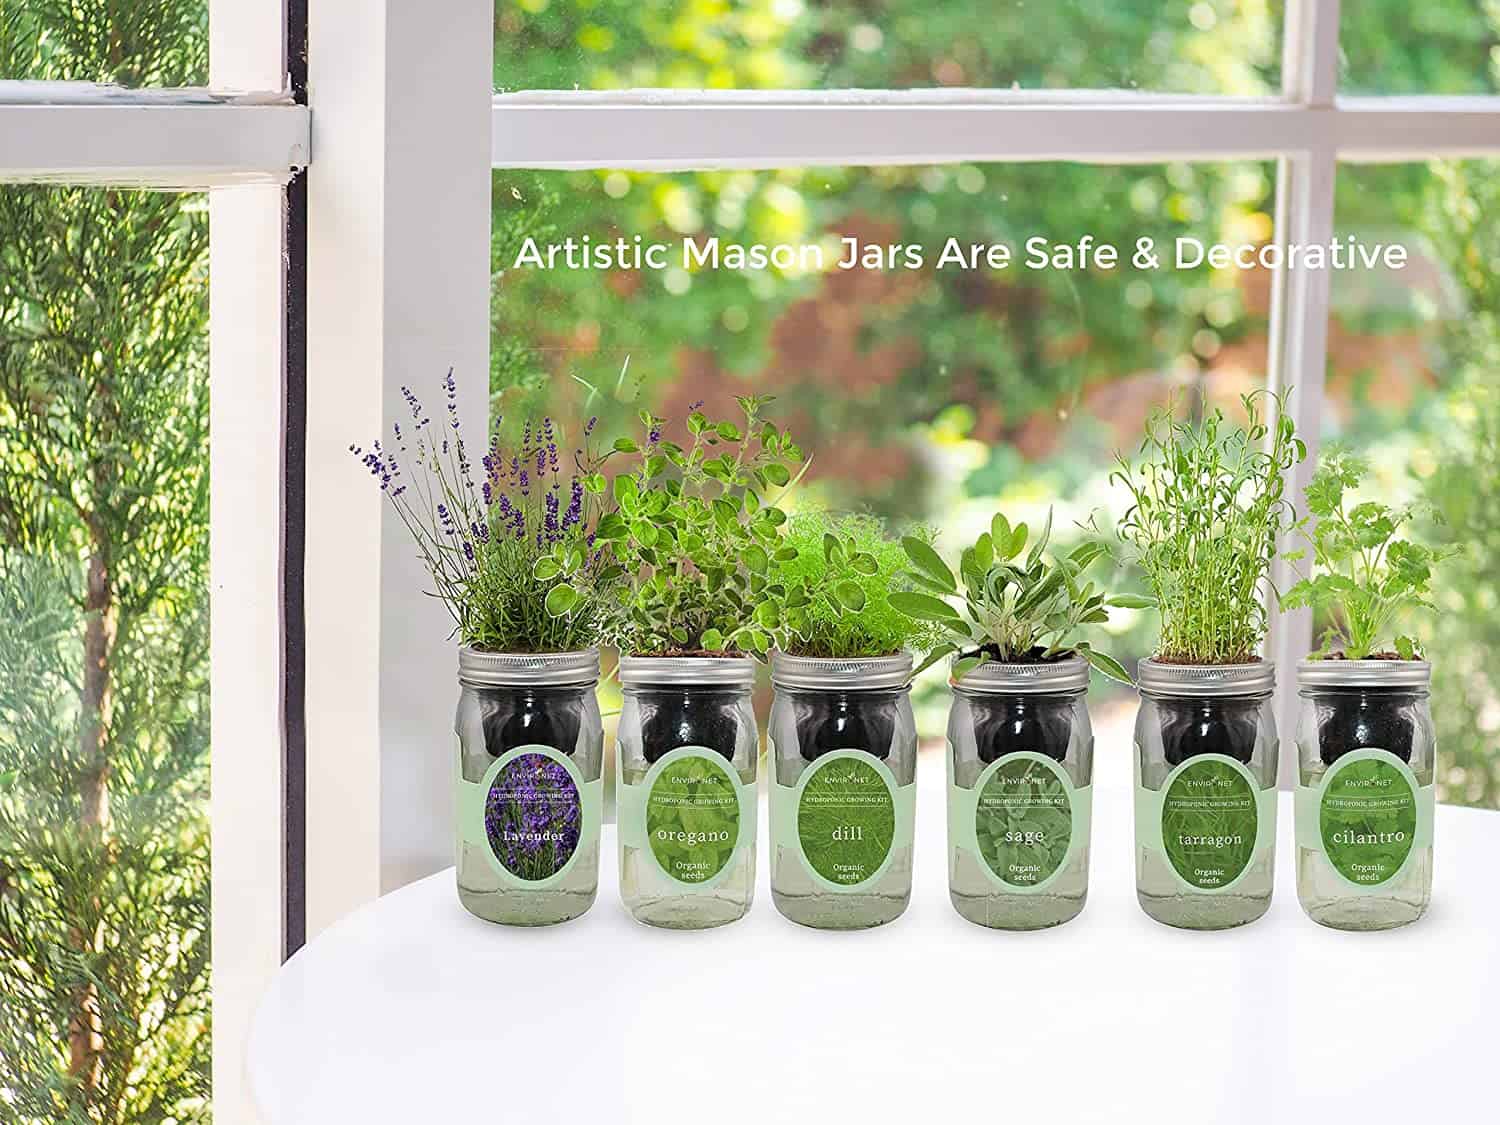
The best part about mason jars is that they’re quite deep, meaning that you can place your seed all the way to the bottom and as it grows larger and larger you can easily end up with more than enough room to let it grow easier and quicker.
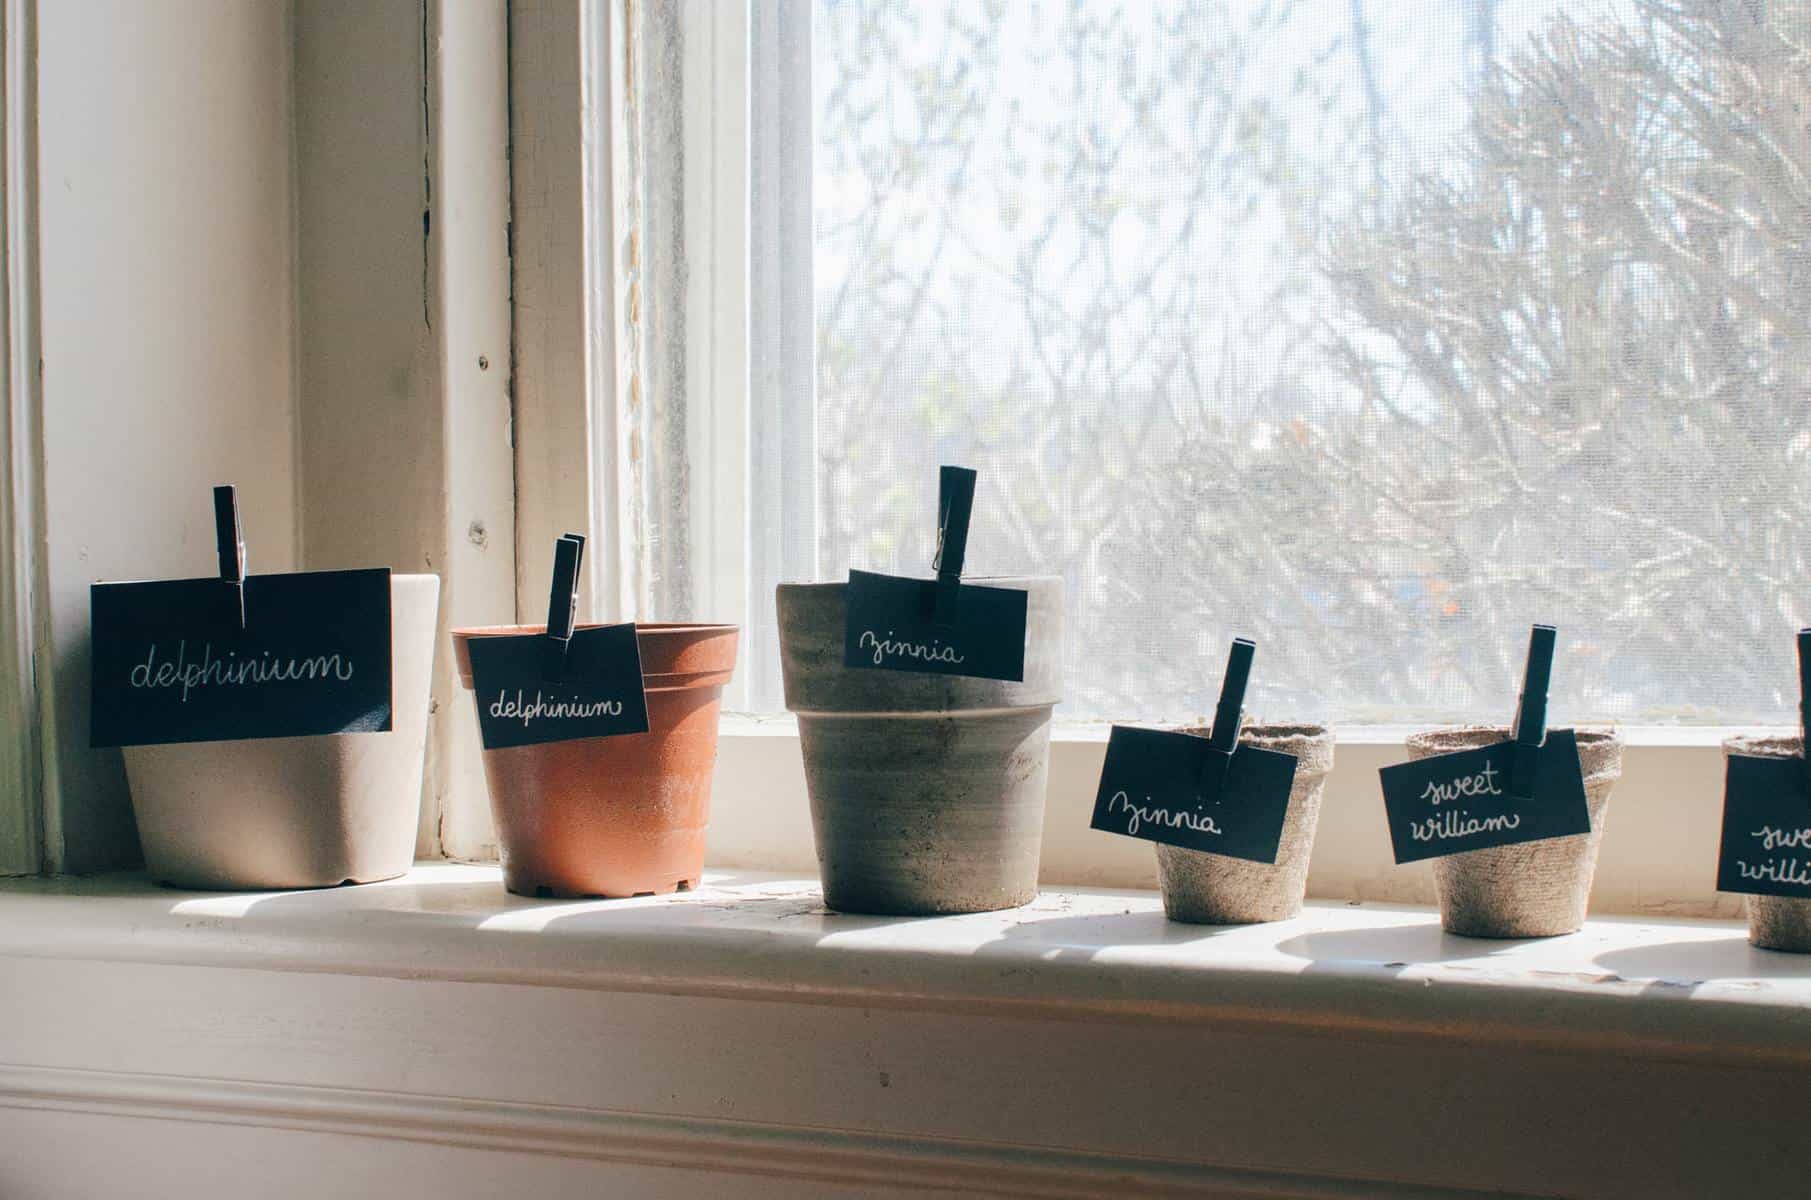
Let’s not forget the fact that they also look quite aesthetic around your house as well, so if you really want to impress your guests the next day then we recommend that you take the time and you place them all around your house, especially on your kitchen counters and windowsills.
Just remember that you can easily mistake them one for another, so find a way to remember which seed is in which mason jar. For example, use a small noose and put a nametag on it on which you can read out the seed that you chose for that jar.
11. Always Keep the Seeds Out of Direct Sunlight
This may sound again like a no brainer but you can easily overlook this aspect if you’re in a hurry or if you’re new to germinating your seeds.
Why is this important? Because if you do keep the seeds in direct sunlight then chances are that the container will get warm, hot even if the temperatures allow for it, and before long any life that you possibly had in that container is now gone.
The heat alone is enough to kill your veggies in a literal day or less, so always keep your containers away from direct sunlight, especially during hot summers. Trust us, we had it happen to us and you don’t want this to happen to you too.
12. Plant the Seeds at a Depth of 1-2 Seeds

This sounds a bit overly specific at first, but remember, we’ve been doing this for many years now and all throughout these years we tried different methods to see which would yield the best results, with this being the absolute winner for us.
On top of that you should also remember to mist them every day for the first week. You already placed them in a very moist environment, but that may not be enough, so always remember to mist them, especially during that first week which is crucial for the seeds’ life on the long run.
The better you get at the misting process and the planting itself, the quicker your seed will sprout. Typically, it will take you about a couple of days for this to happen, but sometimes it can end up taking a bit longer if you’ve skimmed over a random step from the ones we mentioned above.
13. Gradually Move the Seedings Outside
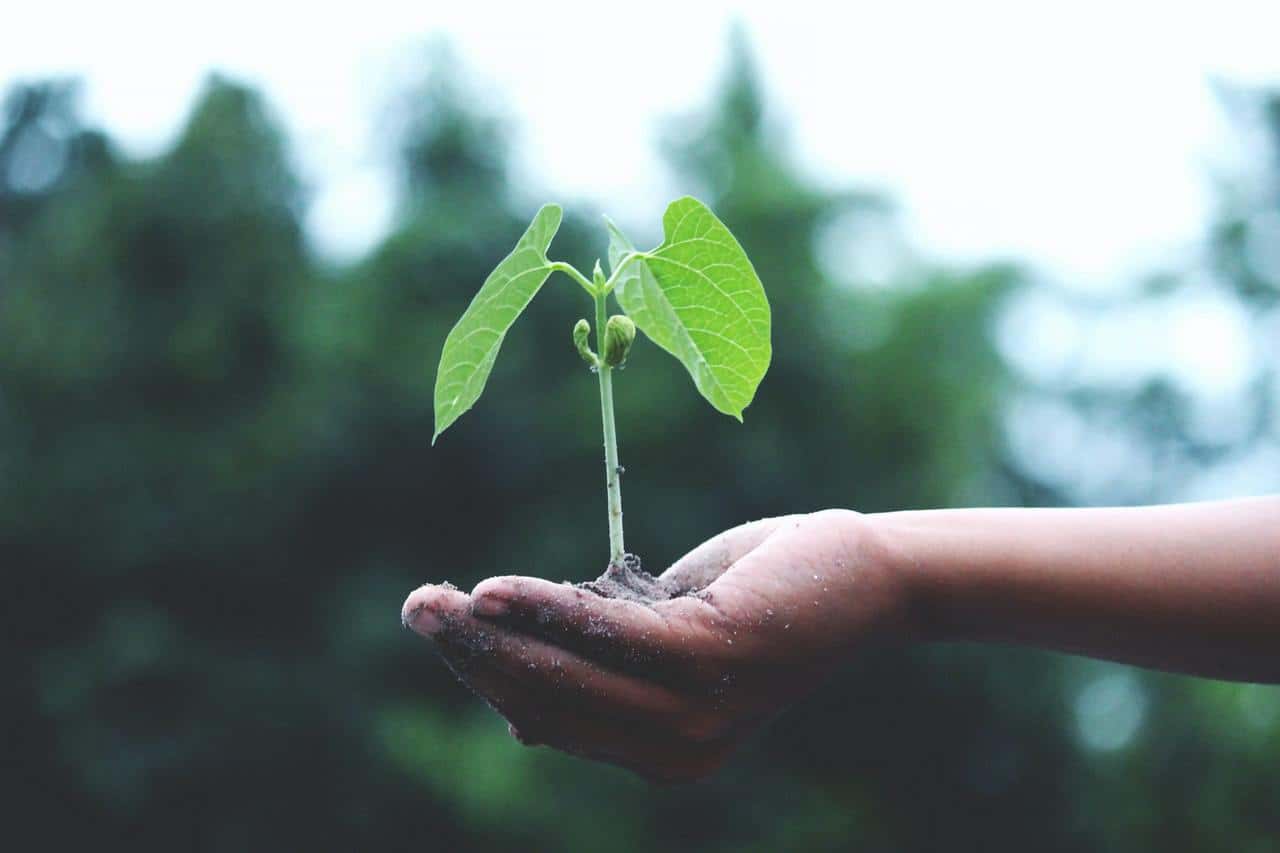
For as much as we recommend that you keep them indoors during their first week or so, you will eventually need to take them outside simply because that’s just a much better ecosystem for them as a whole.
Plus, we do love to see them around the house, but some veggies to tend to grow quite a lot larger than you’d think, to the point where they can end up being hindrances for you if you’re not careful.
We recommend that you take this step at around the ten days mark, since that’s around when the plants have gotten used to their surroundings and are ready to face a harsher one.
14. Always Use Sterile Soil to Avoid “Damping Off”
In case you didn’t know by now, there is an actual soil-borne fungus that goes by “damping off” and it is quite deadly and difficult to get rid of.
It actually pops up if your soil was not sterile enough, so always make sure that it is sterile by using the best quality your money can buy and if it is unsterile, then you will need to either change the soil or you’ll be left without that seed in no time.
15. Water, Feed, Repeat
This is the part that everybody knows about, and yet so many people tend to overlook. It is an ongoing battle that you will need to keep on striving towards for the next couple of months if you actually want to get the best results from your germinating.
We recommend that you also set up a fan just to make sure that the seed is properly ventilated and to help fend off any disease the seed might be vulnerable towards.
Conclusion
All in all, these are all the steps that we recommend that you take in order to germinate your seeds and most importantly, to get the best results in the shortest time frame that you possibly can.
Most of these may seem like no brainers if you’ve been working as a homesteader for a while now, but remember that not everybody knows these things, and they may even help some veterans in the field as well since they can be so quickly overlooked.
Contents
- 1. Simplicity is Key
- 2. Get the Timing Right
- 3. Invest More into the Greens You Want
- 4. Use Water Cups
- 5. Use a Sponge
- 6. Use a Plastic, Milk or Paper Cup
- 7. Invest in the Potting Soil
- 8. Use a Paper Towel
- 9. Use Muffin Trays
- 10. Use Mason Jars
- 11. Always Keep the Seeds Out of Direct Sunlight
- 12. Plant the Seeds at a Depth of 1-2 Seeds
- 13. Gradually Move the Seedings Outside
- 14. Always Use Sterile Soil to Avoid “Damping Off”
- 15. Water, Feed, Repeat