We have all been through those early stages of gardening, so don’t be discouraged. There are plenty of guides out there that specifically target the new gardener, but despite the fact that they do cater to the newcomer, most of them make the mistake of jumping past certain steps because they believe them to be obvious.
This is why we decided to make our own rendition of this guide. So, our purpose for today is to help you, the beginner, actually get accustomed to what permaculture gardening is and more specifically we are here to offer an in-depth guide that will help you understand what permaculture gardening is and how to apply it in your lifestyle.
This guide should only be applied if you’re still in the design phase, meaning that you should be still processing the whole ordeal, if you already know what you’re going for then we will need to make slight adjustments to the steps. Luckily, we’re here to help, so we will also mention these differences too.
So, without further ado, let’s start off with the most commonly asked question that we get, aka:
What Is a Permaculture Garden?
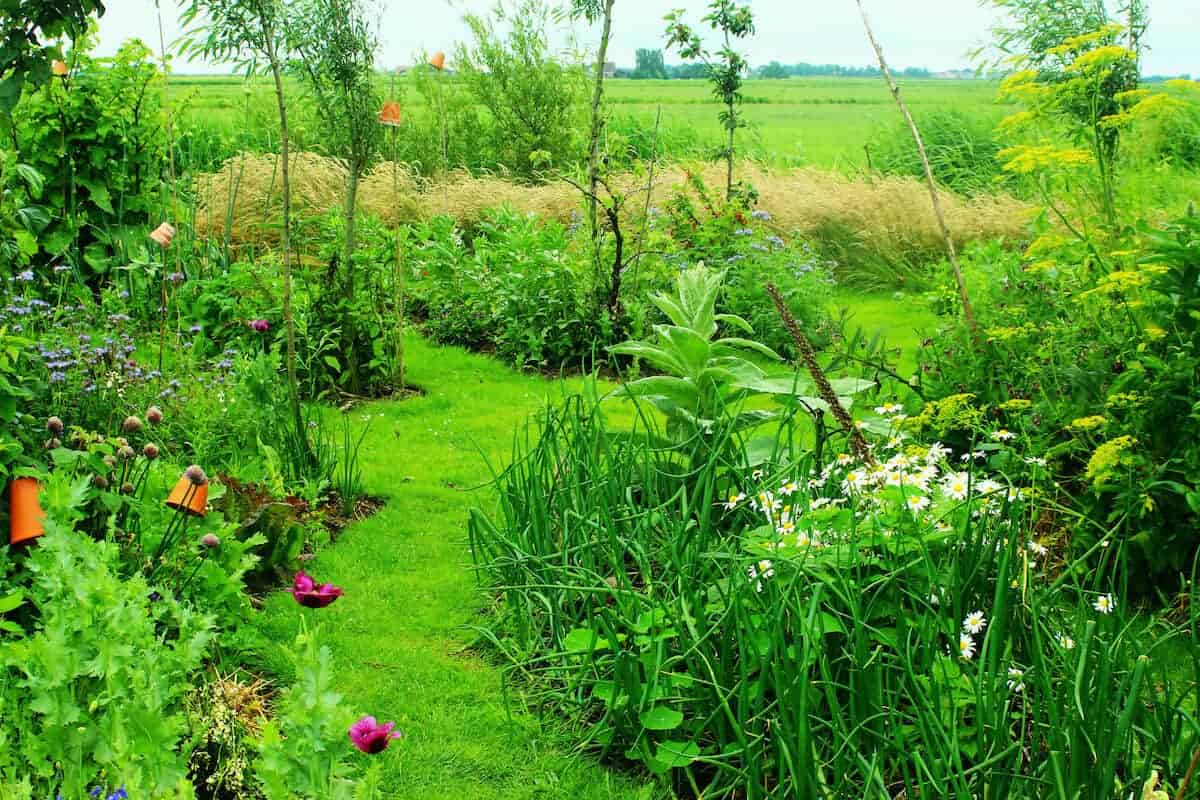
Essentially, a permaculture garden is simply put just a little patch of land that you fill up with whatever you want, and through the use of the sun, the water and of course, the wind, you get to grow whatever you want in it.
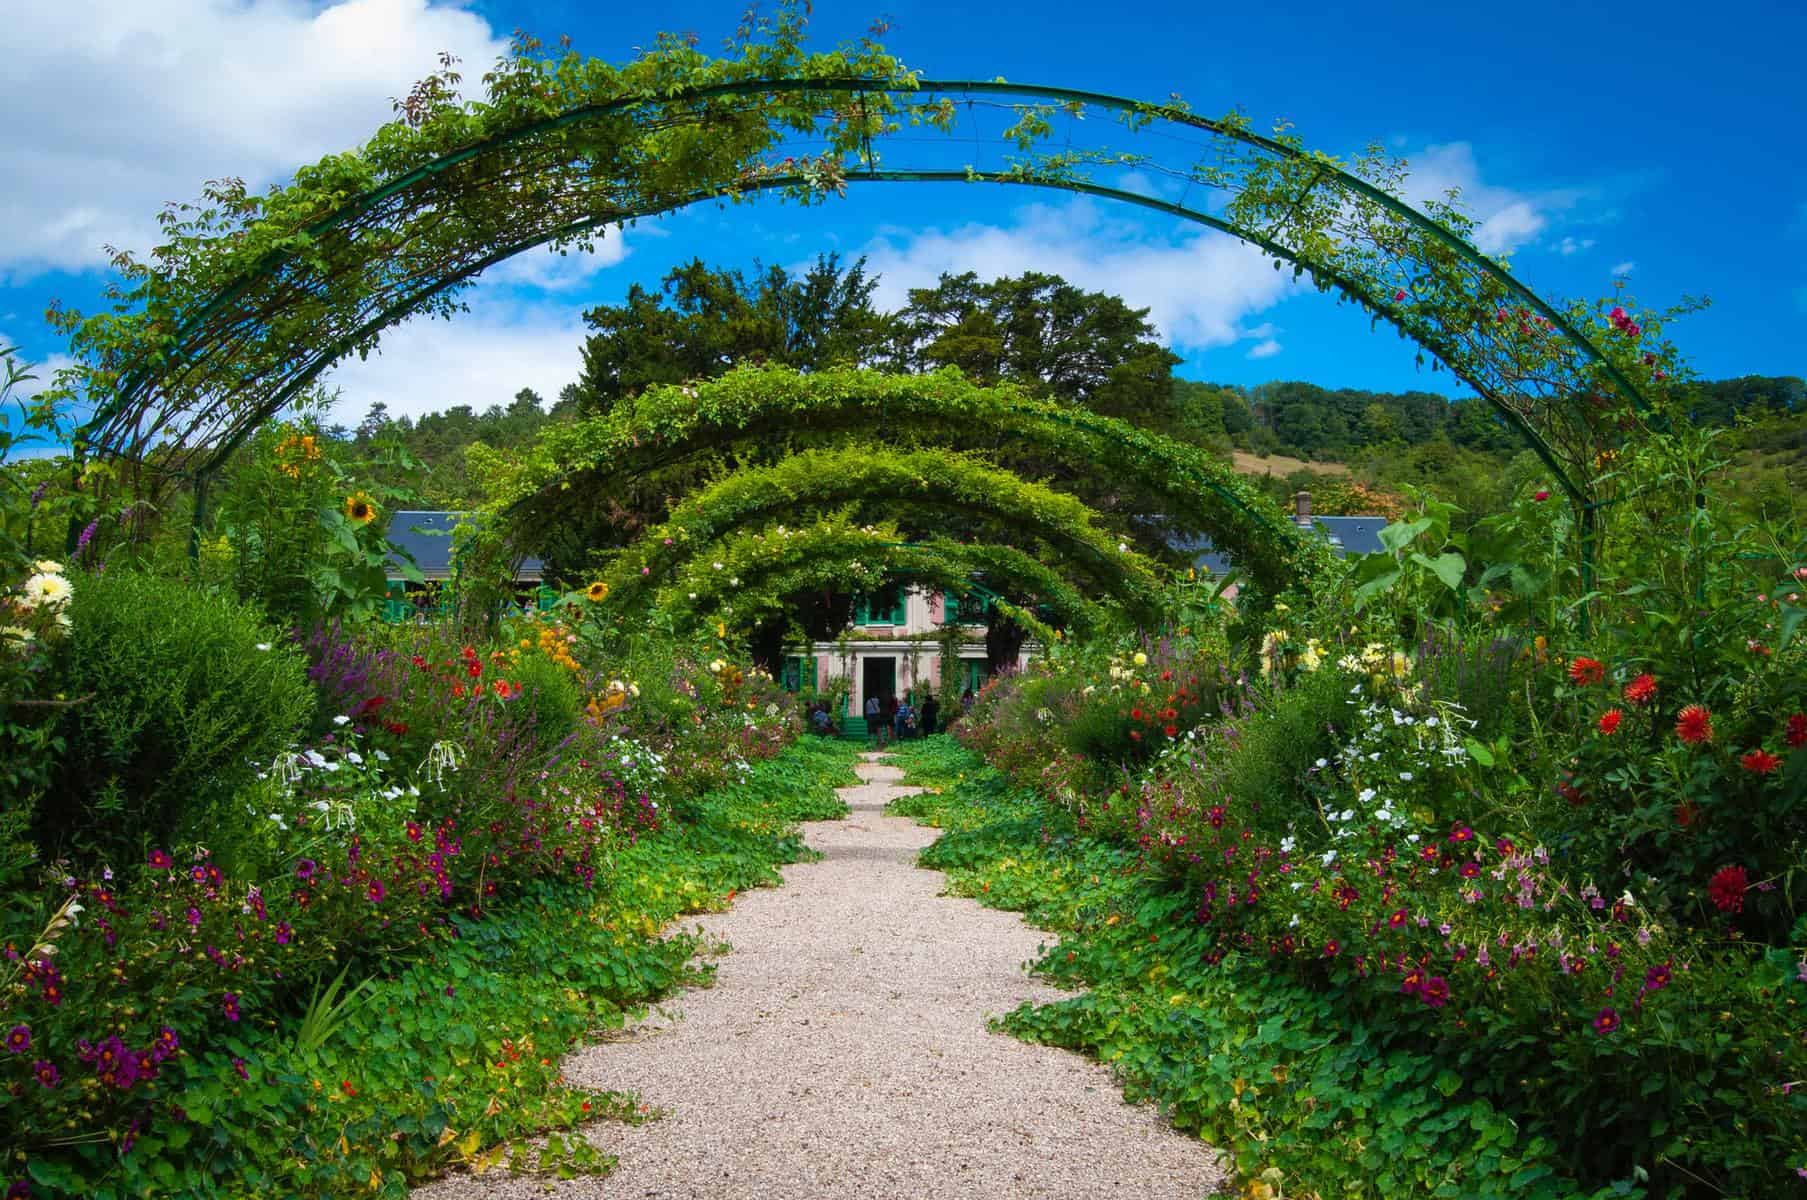
The main difference between a permaculture garden and a normal garden is in the fact that when creating a permaculture garden, you are actually more so focused on what it looks like rather than its effectiveness.
With that in mind, you should realize the fact that a permaculture garden is essentially just an art piece which you use to express yourself. Personality is key here, so always make sure that you design it with what you love to see, never go for other people’s designs because trust us, no one else knows what you like better than yourself.
How do You Start a Permaculture Garden?
The great thing about starting a permaculture garden is the fact that it is entirely up to you where you start and where you’re heading. So, this is why the first step regardless of what you choose to do will always be finding out where the garden will actually be constructed.
This may seem like a no brainer to many, but remember that the land is the most important step over here so there’s no reason to rush into picking out a choice in an instant. Take your time, look into your options, compare the fertility of the land, the room you get, make a mental image of what you want at the end and then write it down somewhere to see if it fits.
Don’t go for the roomiest garden if you don’t plan on creating a large garden, that will only lead to a lot of wasted space and a bigger bill when it comes to maintaining it all. You can even draw an image of what your dream garden is and you can work off of that, just remember that this is all your doing, nobody should tell you how large or how small your garden should be.
Make sure you add in the water systems and whatever other tools you want to add into the mix before you actually start choosing which projects will unfold in this area.
How do I Pick Out My Design?
Design wise, you need to really know what you’re going for before you even start otherwise you might be limiting your possibilities right off the bat by making the wrong choices.
So, choose your priorities well, make sure you have the herbs you want to use in mind and more specifically, make a list of everything that you want to work off of before you start anything.
This can take a while, but hey, it’ll all be worth it in the end because the results will speak for themselves. There is no rush when it comes to the design part, so always ask yourself what would look best for you.
Make a mental note, write it down and work off of it. Make compromises, but never limit yourself unless you have to. This is how you pick out your design, and it is by far the most effective method that you can go through as well.
So, now let’s start off with our very first step, aka:
1. Pick a Place to Start Your Garden
Most people are not gifted enough to have a roomy backyard, which is why they will have to work a little harder to get the perfect place to start their garden.
So, if you for example live in an apartment you will need to either go for the balcony, or you can join a community garden where you and your newfound friends can work together towards making your dream permaculture gardens.
There are always going to be aspiring farmers wherever you go, so even if you live in one of those big-time cities that’s always filled with car horns and business men rushing to get to work, you’ll still find friends that will share the same passion for the green regardless of where you live.
The great thing about this is that you’ll also get to get some wise words from them too, as aspiring gardeners will always need help starting up and luckily experienced gardeners are always happy to share in their hobby.
2. Design and Plan Your Dream Garden
While it is obvious that you most likely won’t be able to achieve the look that you are going for exactly how you want it, you should still spend a lot of your time designing and planning out how you want your dream garden to look so you know what you’re going for right off the bat.
This step is crucial and we know we’ve really been putting a lot of emphasis on it, which is why you should know by now just how important it really is. Take into consideration factors such as elevation, shade, room, temperature, colors, space, and everything in between.
Do you want a pond, an artificial waterfall, literally any water sources inside of your garden’s space? Definitely make a mental note of that as you design your garden up. There are no real bad choices here, it’s just that you need to spend a lot of time taking everything into consideration so that you don’t end up with an unfinished product.
A good way to visualize it is to either draw a sketch yourself or ask a professional to put your idea on paper. While your goals may change, you always need to stay consistent on your design because otherwise you won’t like the garden’s finished look after all.
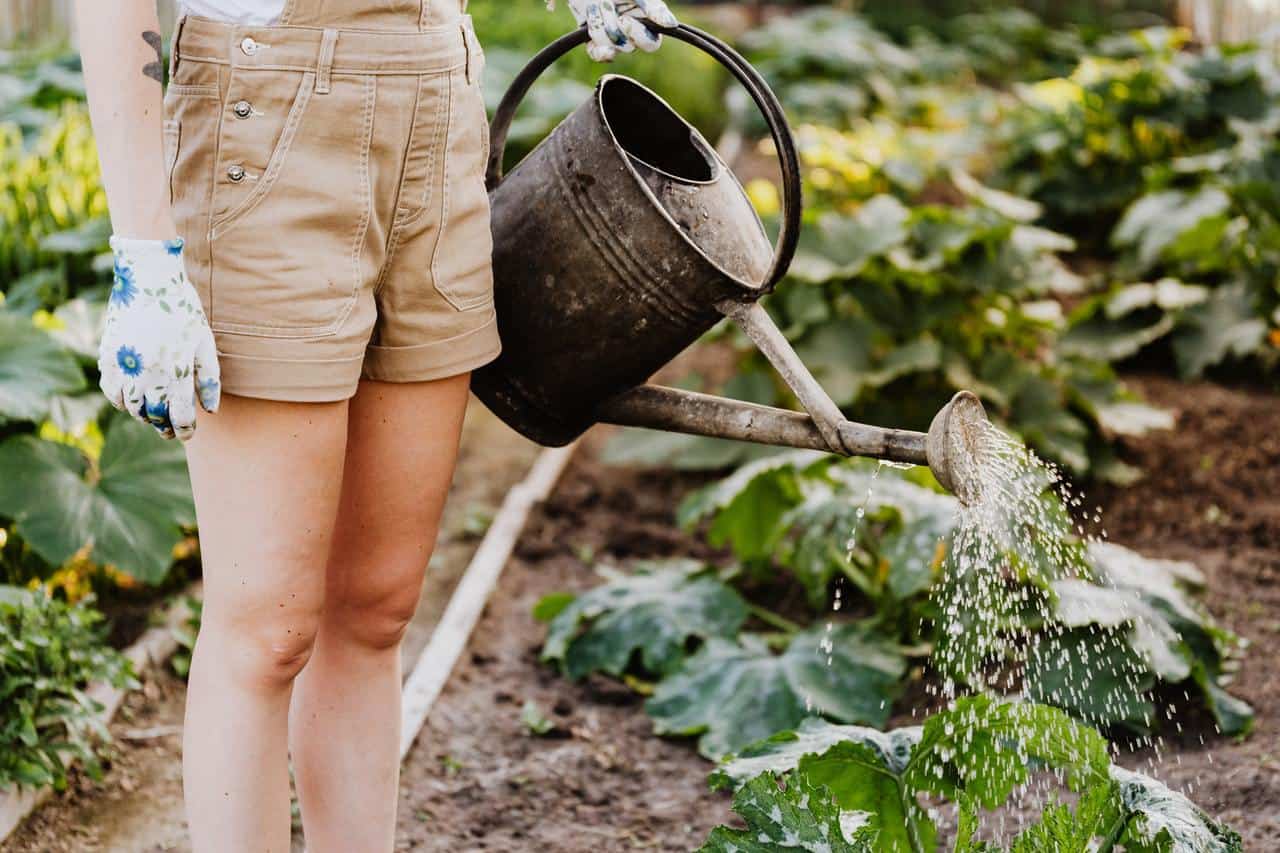
3. Set Up Your Water Systems

This right here is one of the big steps that you need to follow regardless of what type of a permaculture garden you plan on getting for yourself. The truth is that when designing your dream garden, you need to always make sure that you have the water systems in mind because water is by far the most valuable resource you’ll ever need in your new garden.
So, always make sure that you put in several water resources in your design because trust us, you’re going to need it.
If you have natural water sources in or around your property you will need to take advantage of them, but if you don’t then you will need to pull out a couple more dollars to put in a swale there.
What’s a swale? A swale is just a ditch in which you can either store water, or you can collect it from natural sources. The best thing about water is that you can easily store it with a bunch of barrels or cisterns, all that you need is you’ll need to set them up somewhere high and wait for the storm to come.
As long as they are fixed right on the place you put them in you should be able to store up all of the rain water in a jiffy and right afterwards you can use it to wash your crops or even just clean up your tools before and after you use them.
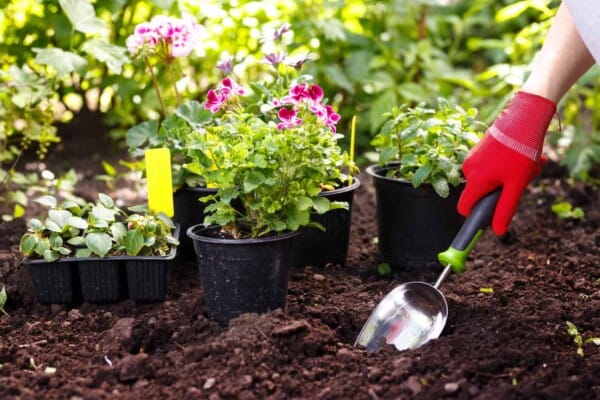
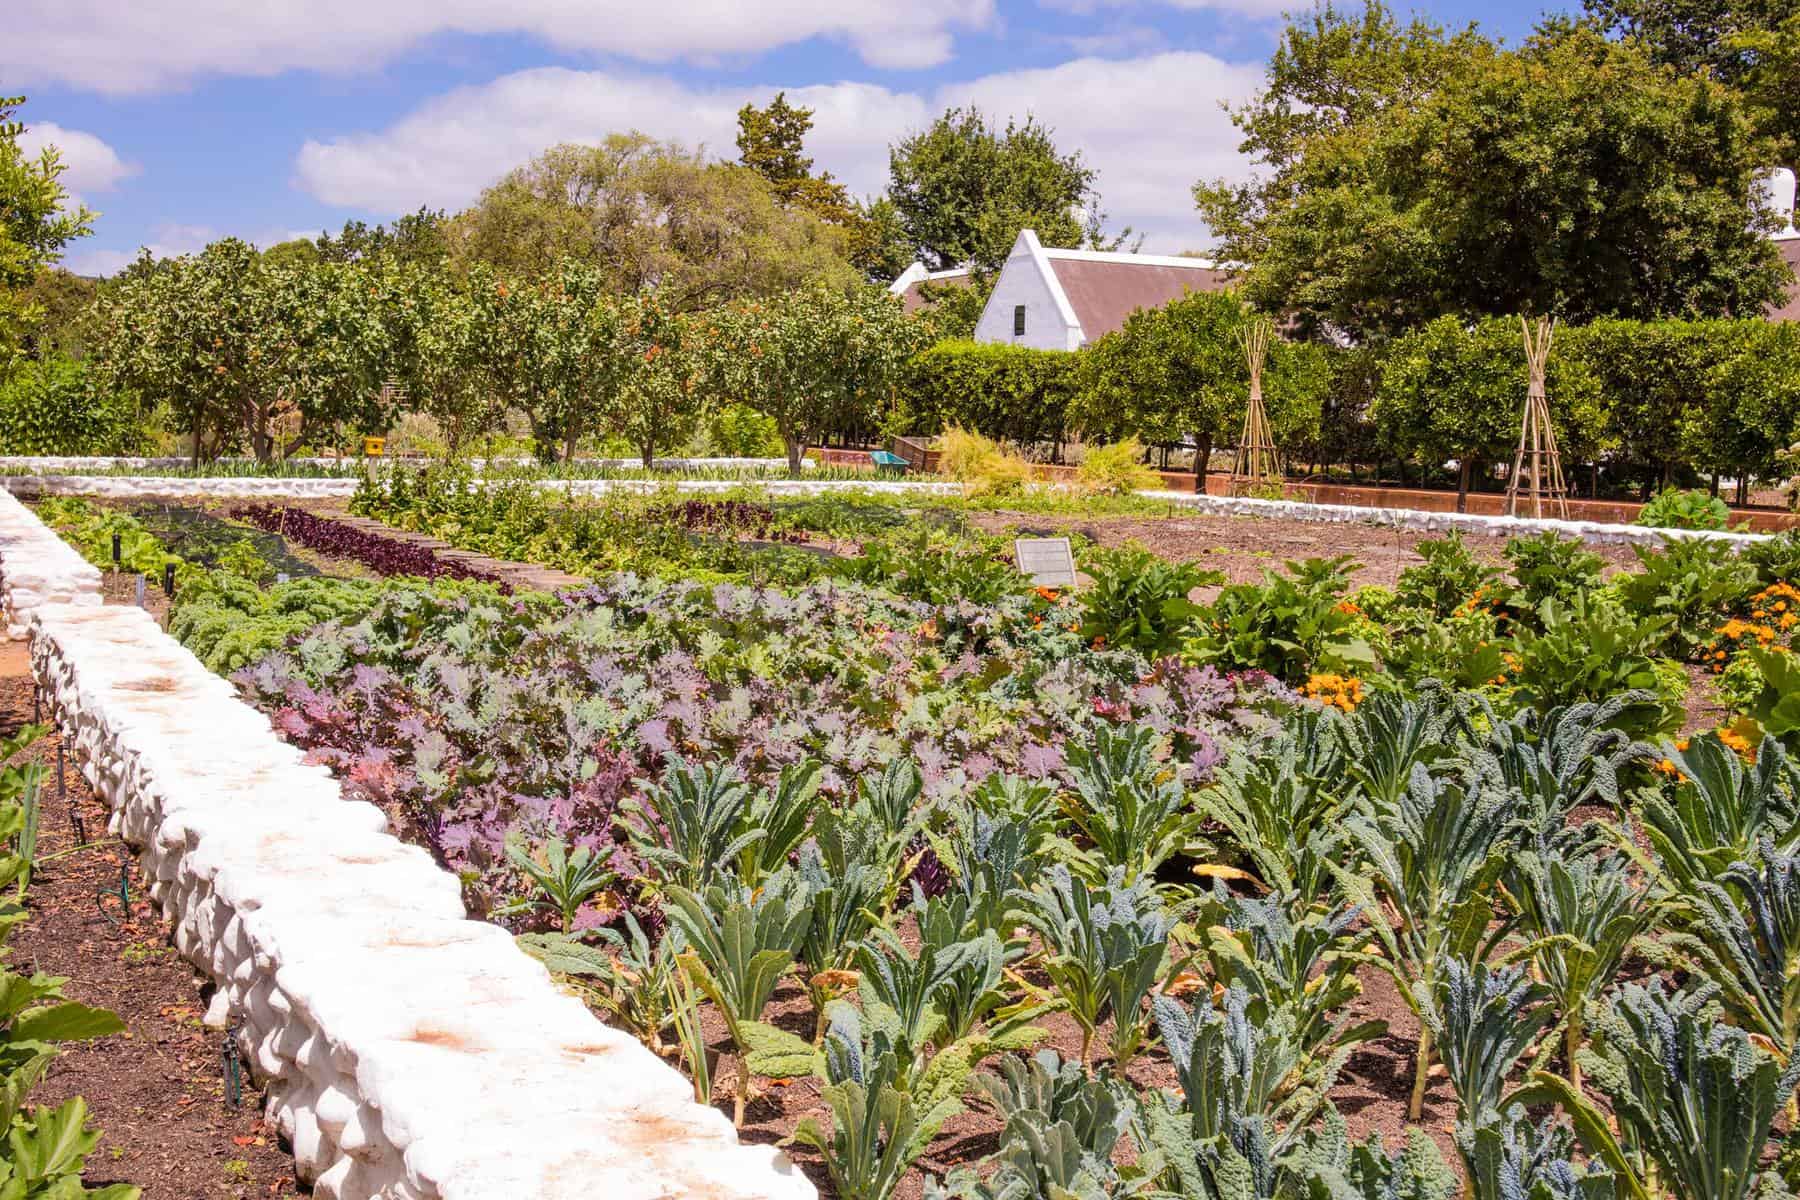
4. Set Up Your Beds
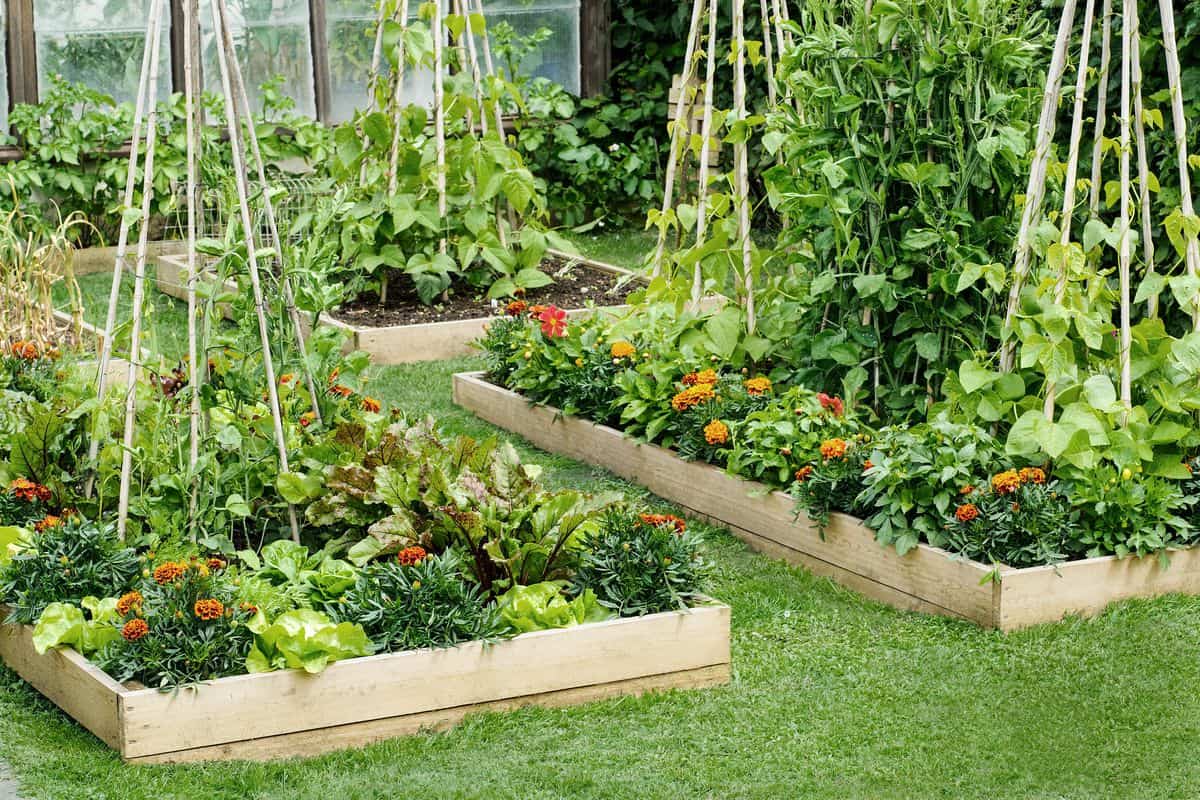
You knew this part was coming, and yet you also most likely were really not looking forward to this as well because this is by far the most complicated part you’ll need to look into while designing your permaculture garden.
Why? It’s obvious really, because when making a plan you need to know the exact size of the bed, and the design also needs to be perfectly complimentary to the greenery you chose to put in there.
As mentioned previously, this is an artform that you’re dealing with over here, and this art takes a lot of time and consideration to fully etch out. You can simply just get something you find cute and just plow everything in there, but this can actually lead to a lot of issues on the long run so we wouldn’t recommend it.
So, what we do recommend is that you go back to the sketching board and you see exactly what you want placed in here. From that take the dimensions into consideration, the design and the functionality of the boards.
You can follow one of two methods while storing them, with the first and most common being known as sheet mulching. Sheet mulching really comes down to using materials such as straws, cardboard and even compost to create different layers from which your greens will grow.
The great thing about this is that sheet mulching is way easier to handle and it requires a lot less interfering from your part.
On the other hand, you have spot planting which is similar to sheet mulching, yes, but it focuses on smaller areas as a whole. Instead of storing larger quantities at once you just dig a hole and you replace its soil with the plant you choose to store in here.
This can take quite a while but many gardeners have stated over the years that this is also a lot more fun and rewarding on the long run since you’ll put a lot more work into your garden and the results will surely show this as well.
Sheet mulching also has the benefit of it literally sustaining itself in its own ecosystem, since the lower end of the greens will end up dying and becoming compost for the upper echelon to feed off of and thrive.
Spot planting will most likely require you to buy compost or fertilizer, so it can be again, more time consuming and expensive. You should choose whichever option fits you better.
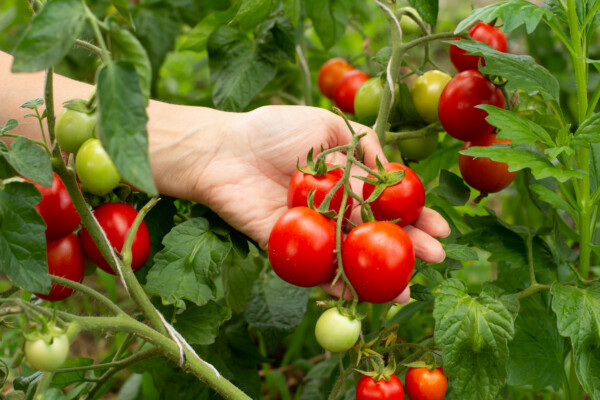
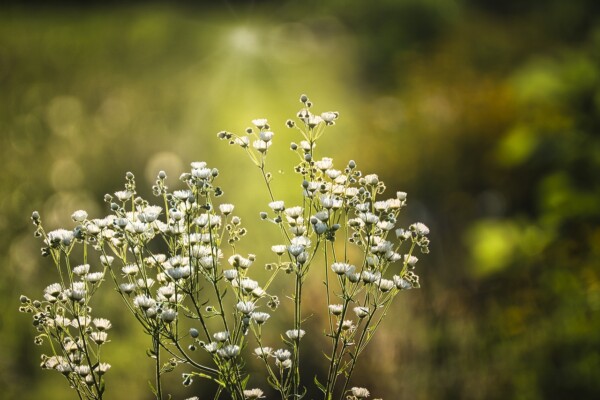
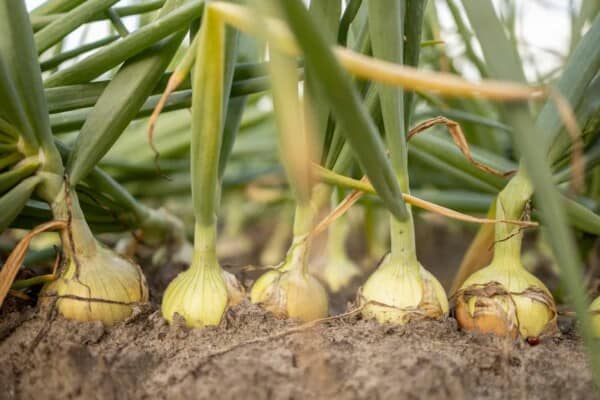
5. Start Planting Your Perennials
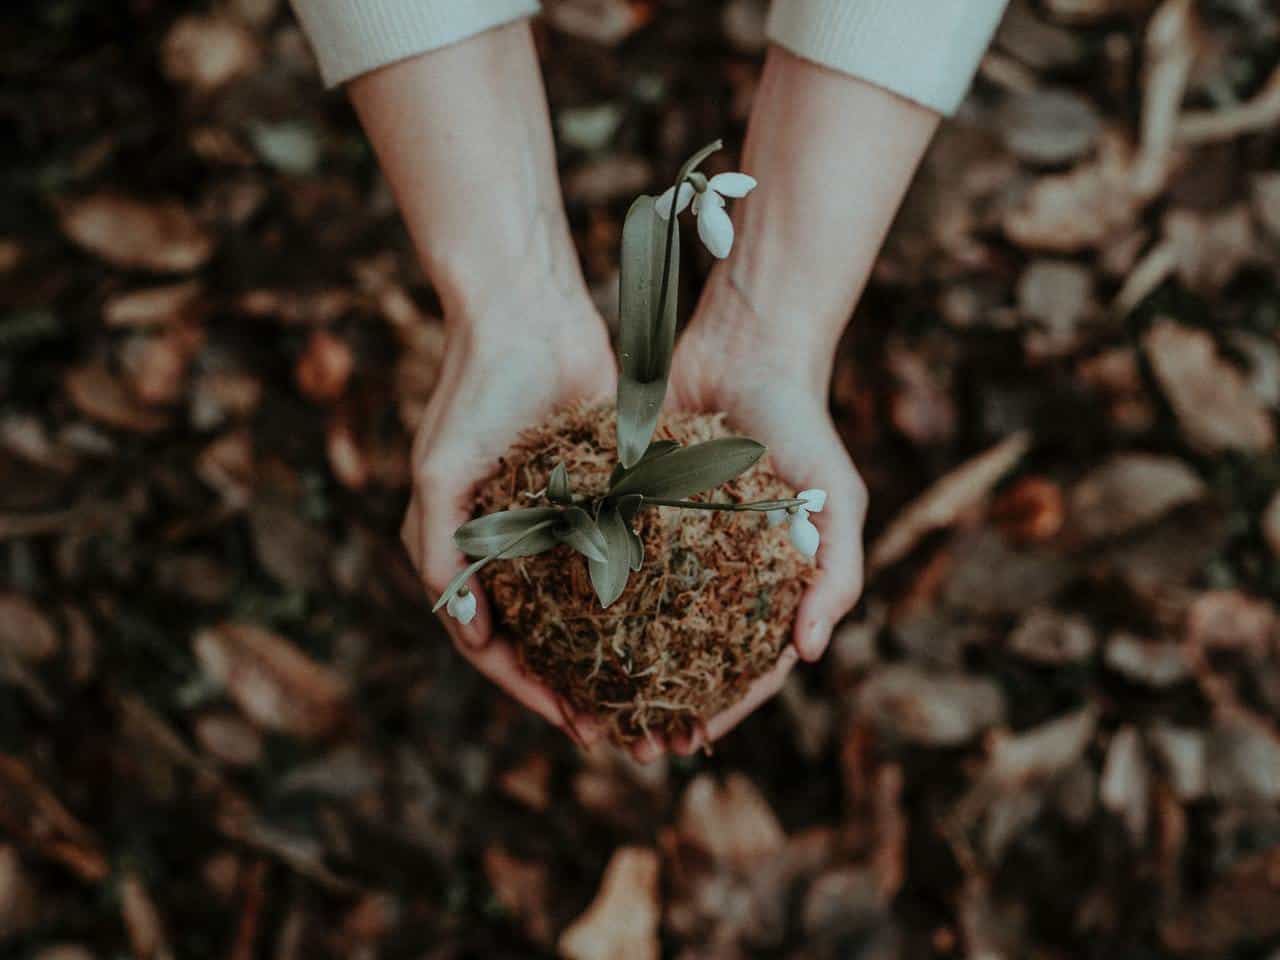
The great thing about perennials is that they will continue to grow every year, meaning that you will continuously have them to look forward to at the end of every season. These are the flowers that will regrow every year, and if done well they can become the main attraction of your garden in no time.
Pick out native plants if you can since those can easily survive in your system without too much interference from you.
Remember that you can always just plant them from seed, although a lot of them will also require more than a year or so to start actually popping up from underground so don’t expect immediate results from every one of your flowers.
You can also pick out a special perennial over here that you want to sit somewhere in the middle of your formation, one that will attract a lot of attention because of how out of the ordinary it looks.
The great thing about perennials is that they will actually use the annual flowers as compost so they will easily grow bigger and more beautiful with time without needing a lot of help from you.
During this step you can also try to do a little something known as companion planting. What this means is that you can actually plant certain products next to each other and they can help each other grow.
Take for example onions and chives alongside trees. Together they will prevent digging pests and diseases, and if you have done a good job with the flowers, you will be getting pollinators to help you grow out your garden even further.
It’s all about mixing it up and there’s no limit to how original you can be. Just remember to have fun while you’re doing it.
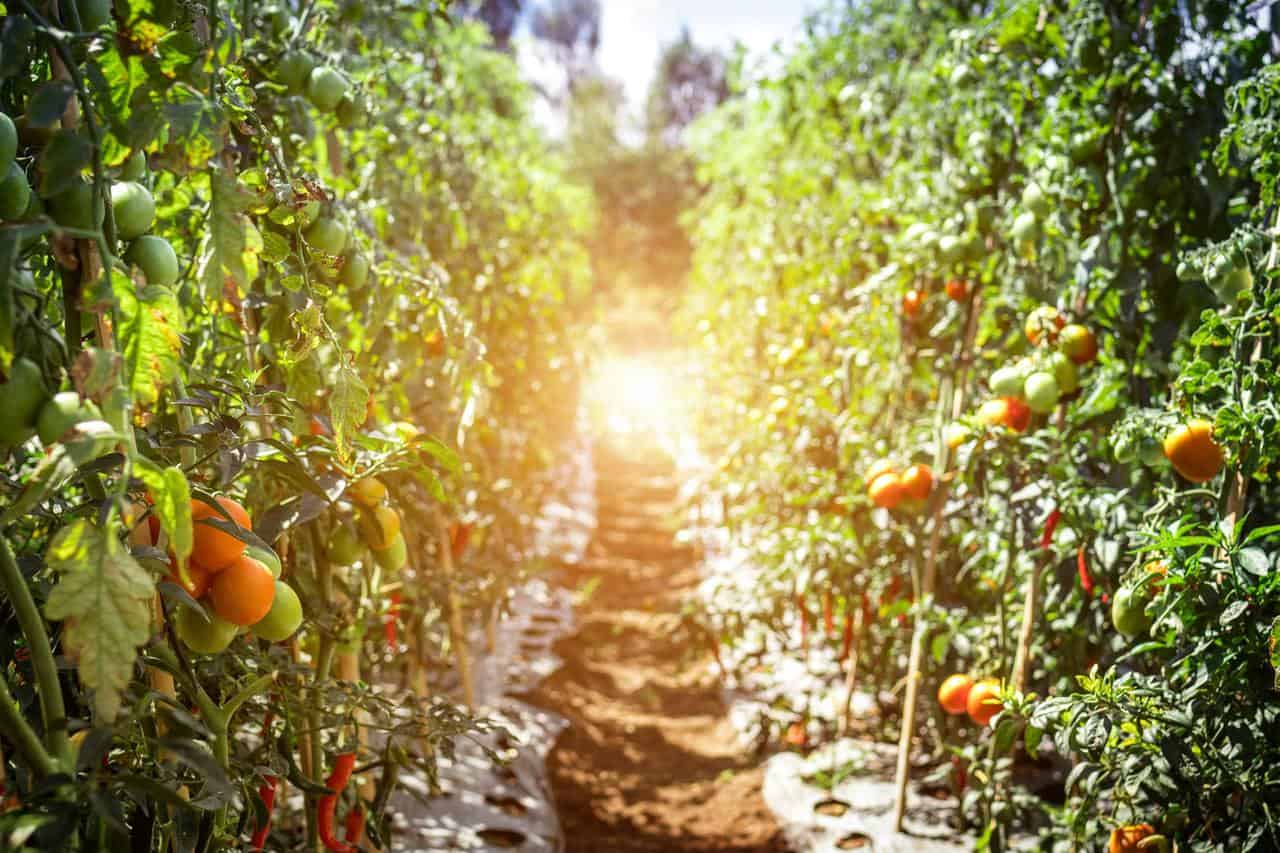
6. Start Planting Your Annuals
As mentioned previously, the annuals should always come as an afterthought that you have after you picked out your perennials but this doesn’t mean that you can just mindlessly pick some random flowers and have that be the end of this process.
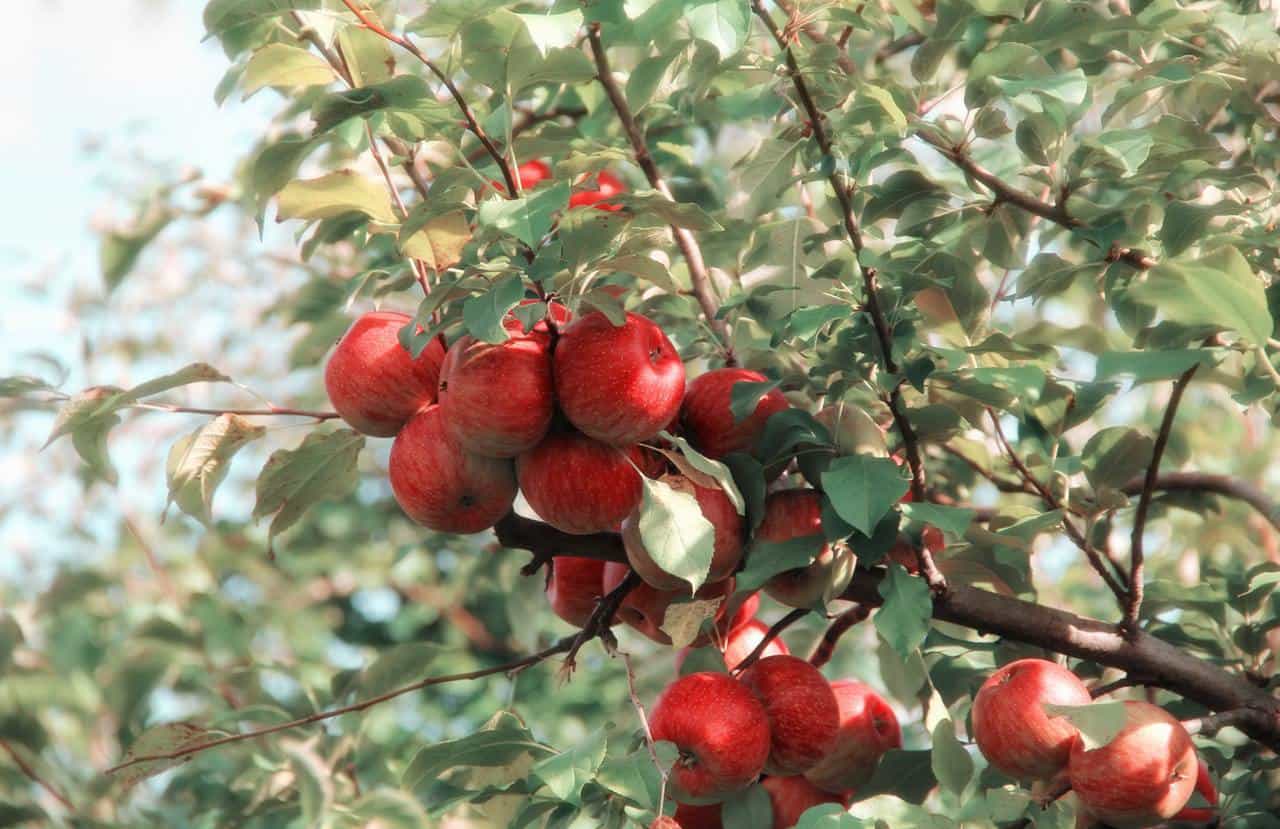
Instead, put a little thought into this part too, for example go for some young fruit or nut trees, maybe add in some rhubarb while you’re at it. Your garden should look beautiful every year, and these annuals will be sure to bring in that extra spice to your design choice.
Flowers should be a no brainer, and sunflowers always make for great lookers in a well-maintained garden.
Annuals should also be pretty low maintenance flowers since you don’t want to have to spend literally every waking hour of the day in your garden making sure nothing sporadically died because you didn’t give it exactly 1.2 liters of mineral water that day.
Whether you’re doing this for your own personal sustenance or if you just want to make your garden stand out, annuals are always going to change up your garden for the better, which is why this is an especially important step before the final one rolls in.
7. The Waiting Game

You should already know by now that having a permaculture garden is no easy task, but luckily it is also a very rewarding one at that as well.
Once you’ve placed in both your annuals and your perennials you might think that things will get hectic right away but the thing about it is that it’s all up to you on how much work is needed to make your garden stand out.
If you went for low maintenance flowers and produce you shouldn’t have to worry about it all that much, you’ll barely need to water things down a bit and have that be the end of it all. But if you went for some high maintenance greens then you’ll be up to your knees in dirt in no time.
Regardless, the most important thing you should take from this is that for now it’s all about the waiting game. As you continue to work on your garden trying to maintain it at its peak, you just have to play the long run and you’ll be reaping your rewards in no time.
8. Up to Your Knees in It
Yeah, this part’s a bit icky but it is what you’ll need to do if you want your garden to stand out. Get ready to bring a ton of fertilizer to the mix and depending on whether you went for sheet mulching or spot planting you’ll need various amounts of fertilizer to go about it.
The wastage will also be way up there at first since you won’t exactly be perfect at your job from the very start. Don’t get alarmed though, you’ll soon get the gist of it and you will have as little waste as possible with time.
Conclusion
Starting up your permaculture garden is no easy task; it’ll take a lot of time and effort and that’s not even mentioning the money and resources you’ll need to shill out to get the job done.
But, while the process may be gross, tough and overall, very tiring, we still enjoy every minute of it because that’s what we do. We do this because it’s something we’re passionate about, and while a lot of people simply do it out of necessity, they would be lying if they were to say that they didn’t love seeing the produce of their hard work in front of their own eyes.
So, good luck with your new permaculture garden and always remember to have fun while you’re working!
Contents
- What Is a Permaculture Garden?
- How do You Start a Permaculture Garden?
- How do I Pick Out My Design?
- 1. Pick a Place to Start Your Garden
- 2. Design and Plan Your Dream Garden
- 3. Set Up Your Water Systems
- 4. Set Up Your Beds
- 5. Start Planting Your Perennials
- 6. Start Planting Your Annuals
- 7. The Waiting Game
- 8. Up to Your Knees in It