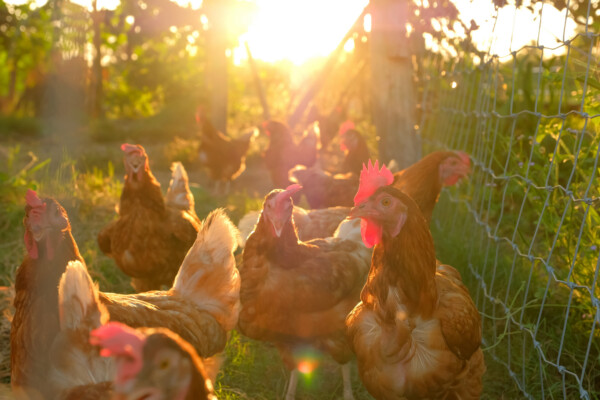
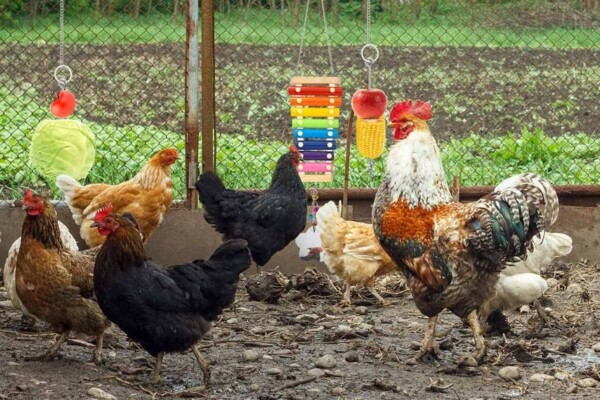
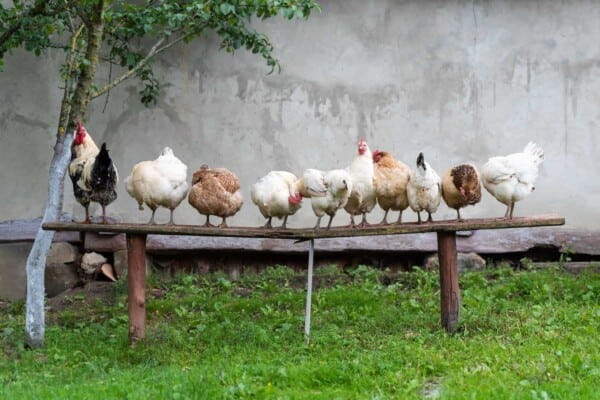
Duck and chicken coops may look identical to the untrained eye, but they are actually quite different from another, which is why if you do happen to get your hands on some ducks the last thing you should do is put them in the same coop as your chicken.
Sure, ducks are not exactly known for being overtly violent towards chickens, but the difference is as bright as day since duck coops are just a way better match for them than chicken coops will ever be.
But what are the differences between the two and how can you even differentiate between them?
Worry not because for today, we have in store for you 15 tips that are sure to help you improve your construction skills, allowing you to build the perfect little fortress for your little waddled friends.
So, let’s not quack this up and instead start off with the basic tip that everyone should know by now:
1. Get Inspired from Other Duck Coops
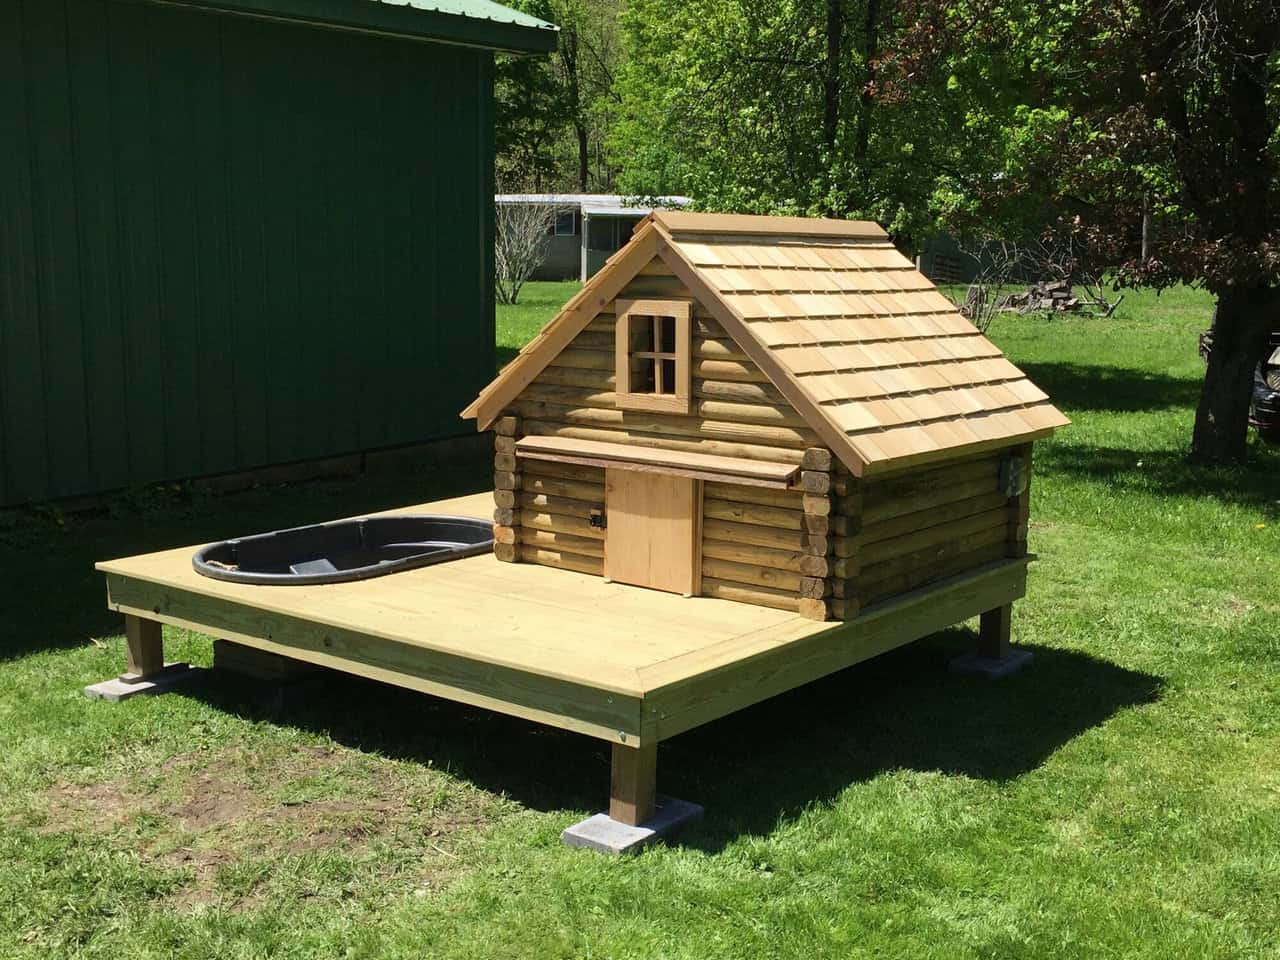
Before you can even properly start designing your duck coop you need to know what a duck coop even is, and the best way to do so is by looking at what’s popular out there.
So, what exactly classifies as a duck coop? It’s simple really, it’s just a short list of requirements that you need to tick off, such as:
- You need your duck coop to be at least three feet tall.
- You need to place vents around the roofing to make sure that there is enough ventilation. This is because ducks can heat up the air really quickly by simply breathing, which in turn causes mold to easily grow around the coop if you don’t air it out correctly.
- You need to have the bedding be made out of something that dries quickly such as straws or sawdust shavings. This is again so that the ground doesn’t get too moist which can lead to mold growing around your ducks.
- Add 2-step locks to the duck house which make sure that no matter the weather or the predators that come knocking, the doors will only open up to you.
- Only use pressure treated wood to construct your duck coop because anything that isn’t pressure treated or particle board will end up breaking apart within a year or two after being installed, which is pretty much just a game over for the ducks in the face of the elements.
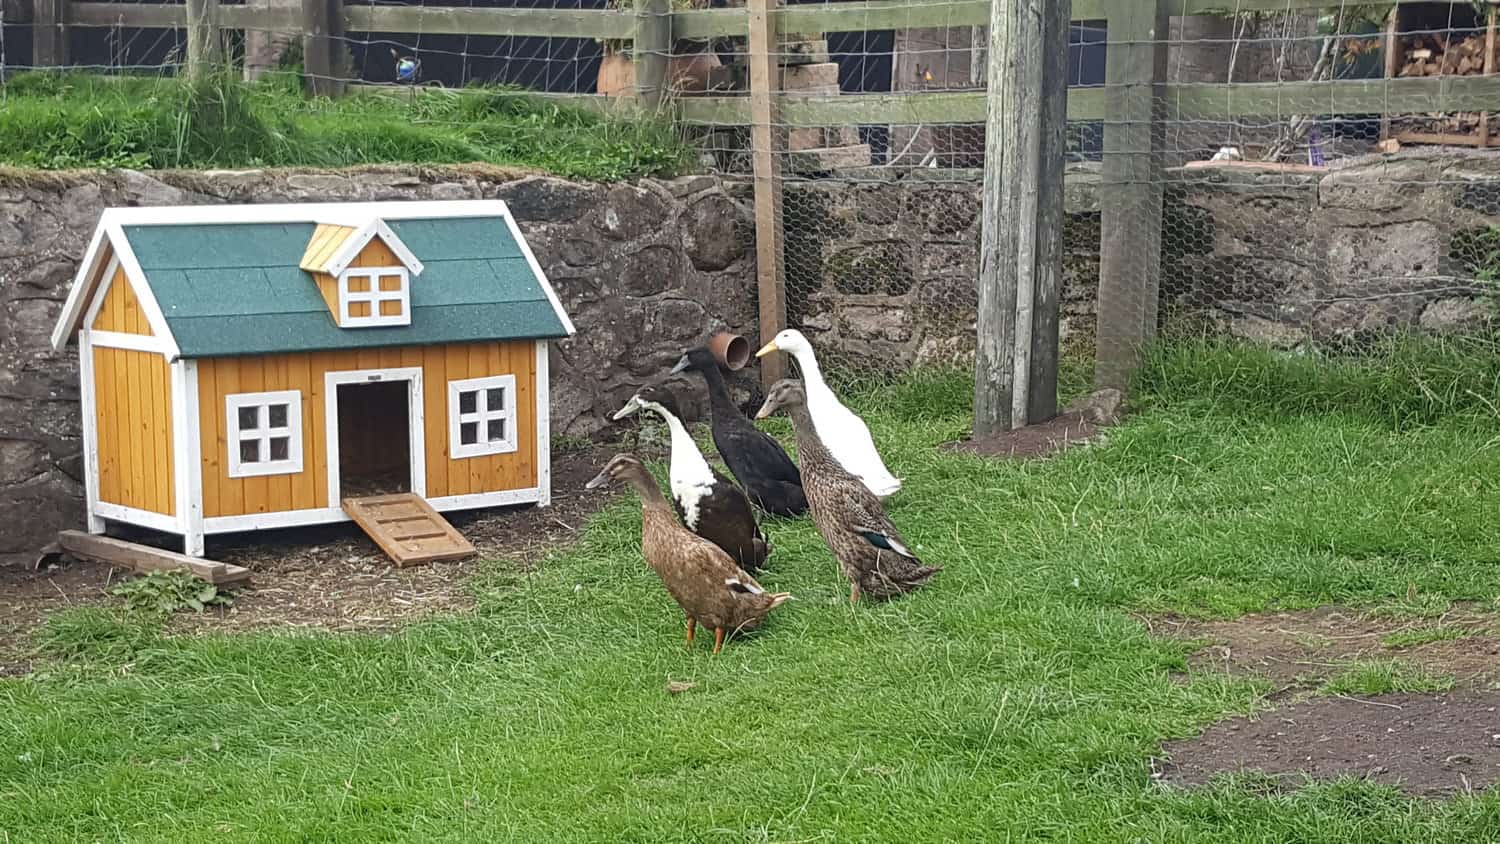
While a lot of other people know exactly what they want from their duck coops, you can go into the process without knowing a thing and as you progress you may find yourself liking a style more than the other which is why you constantly need to look for better and more fitting duck coops around.
You can find plenty of them online, and as long as you get a good worker to help you out you should be able to just show them a picture of what you want and they can cover that up for you.
2. Remember to Let the Coop Breathe
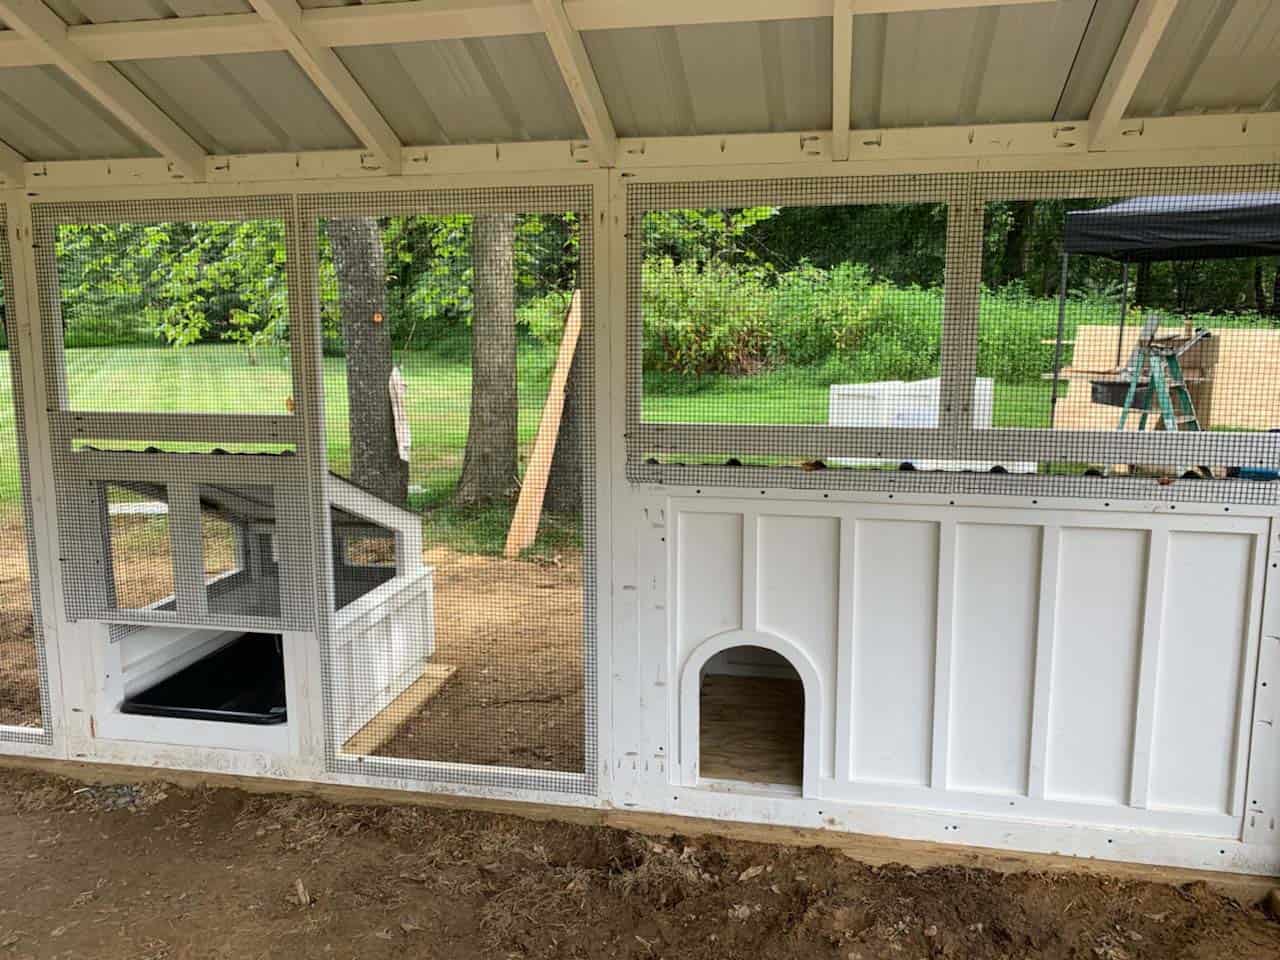
We mentioned previously how important ventilation is, but what we didn’t say is that chickens can actually survive in wetter environments but ducks are going to find themselves intoxicated in less than a week’s time if you’re not careful.
This means that while it will be a bit more expensive to do, you need to start working on adding proper ventilation systems to the coop so that nothing bad happens to your ducks.
For the most part, farmers tend to put the ventilation towards the top of the coop but you can also just go with whatever as long as it gets the job done.
3. Install Windows into the Coop
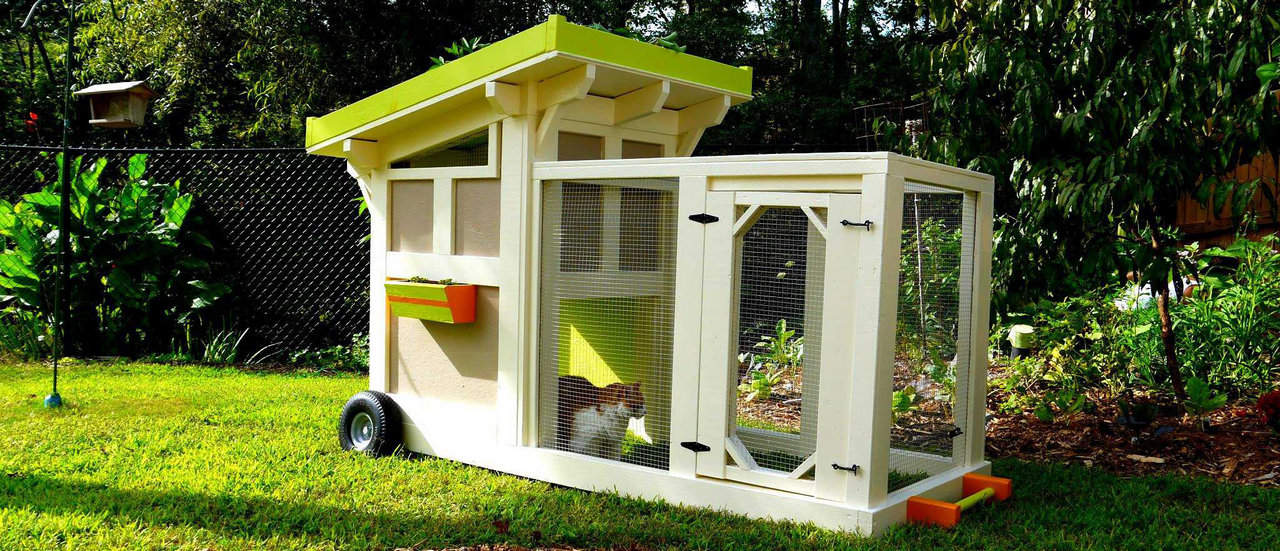
While we do agree that windows on a coop will look a bit silly if the coop is on the smaller side, when it comes to duck coops, we would argue that they are actually necessary additions since they help the construction out so much.
First of all, these windows add in extra light for the ducks to experience all throughout their stay in the coop, which will be especially long during winter when it’s snowing or whenever the rain starts pouring.
One alternative to windows that you can opt for is you could just go with solar powered hanging coop lights. This is a much more economical option that is also a lot easier to install than the windows themselves.
Just keep in mind that the windows themselves will need to be reinforced and covered by shutters in case anything happens to them such as bad weather for example.
We always recommend that you add in a window that is covered by one or even two different layers of hardware cloth to make sure that your ducks are safe from danger while also providing enough light to encourage egg laying during the coldest and darkest of winters.
4. Use Metal or Wood Materials for the Doors
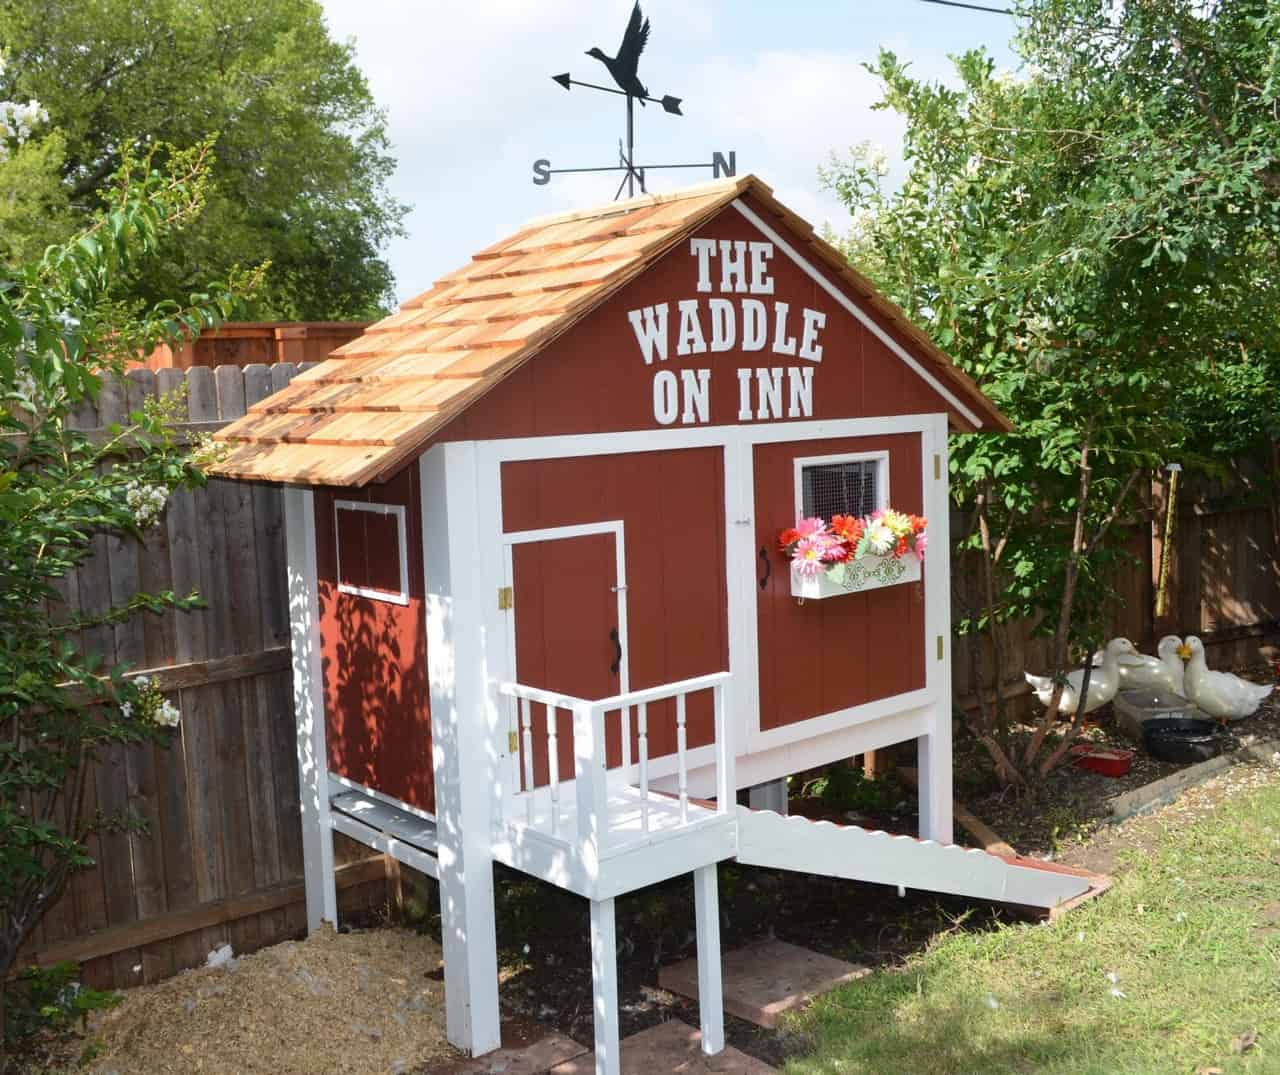
This is a very beneficial tip for duck coops, but it is also a tip that we always give out regardless of whether you want to build yourself a duck house, a coop or a run.
That is because using meal or wood for the doors, especially when covered with a hardware cloth, serves as an amazing protection from predators while also keeping the ducks away from the bad weather regardless how bad it gets.
Leaving the wood exposed for example is a bad way to take care of your ducks or your chickens for that matter since rot can easily give out and trust us, regardless of whether it’s the roof falling on them or if it’s the predators blowing through the door, your feathered friends won’t be long for this world.
Usually, you can just replace the wood every couple of years or so, but wouldn’t you rather skip all of that and instead just put some cloth on the doors to make sure they never rot in the first place?
5. Make Cleaning Easier
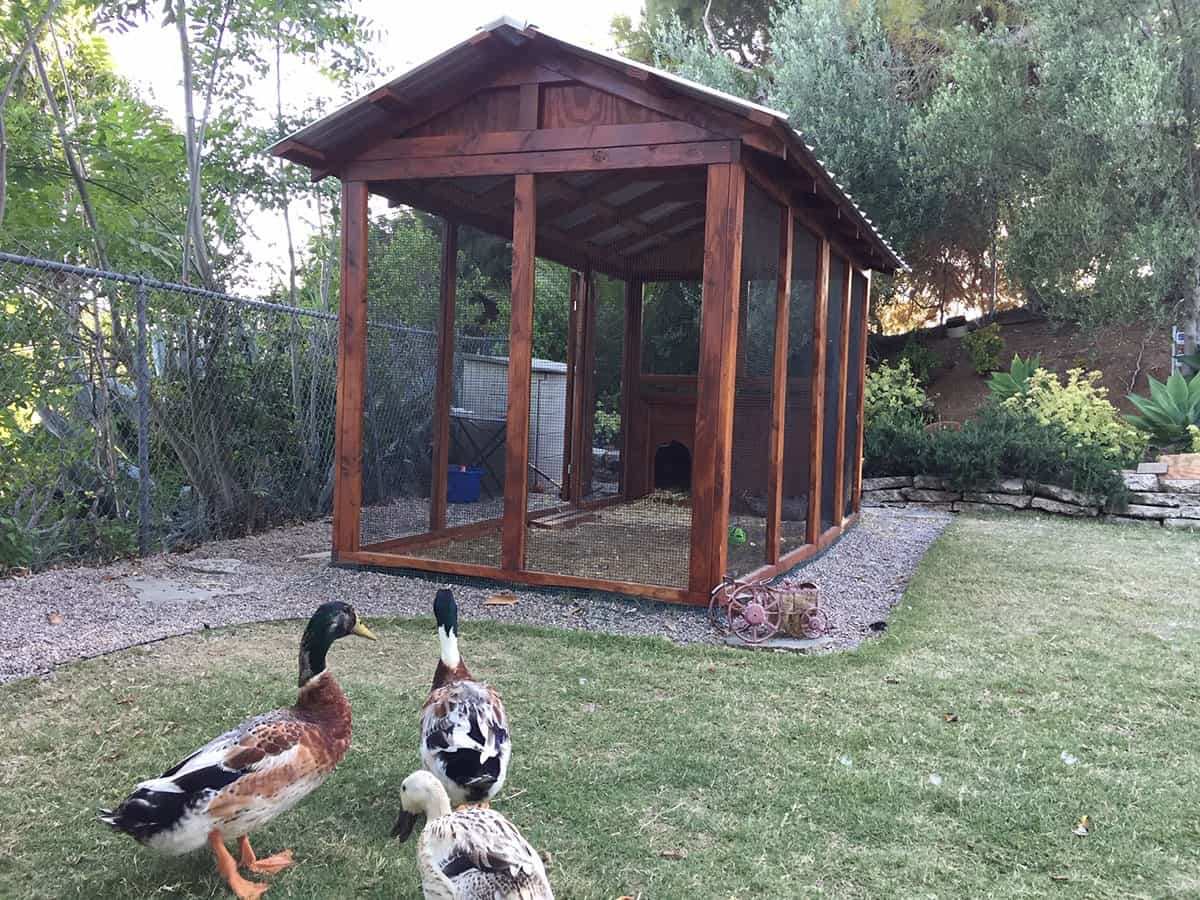
You can actually save a lot of time that you would normally waste by simply following a couple of easy steps, such as making the coop large enough for you to easily walk through.
A walk-in coop is amazing and you can construct it by simply adding in shelving to keep the ducks’ food and anything else that you may be keeping in the coop while you clean.
If the coop is too small for that though you can just make the roof liftable or you could make it so the floor can be slid out.
Alternatively, you can just make your job so much easier by just using the same interior paint that you used on the exterior.
Making sure to take these few steps will actually save you a lot of time and better yet, they will make your job so much easier than before.
6. Use Cheap Alternatives for Coop Materials
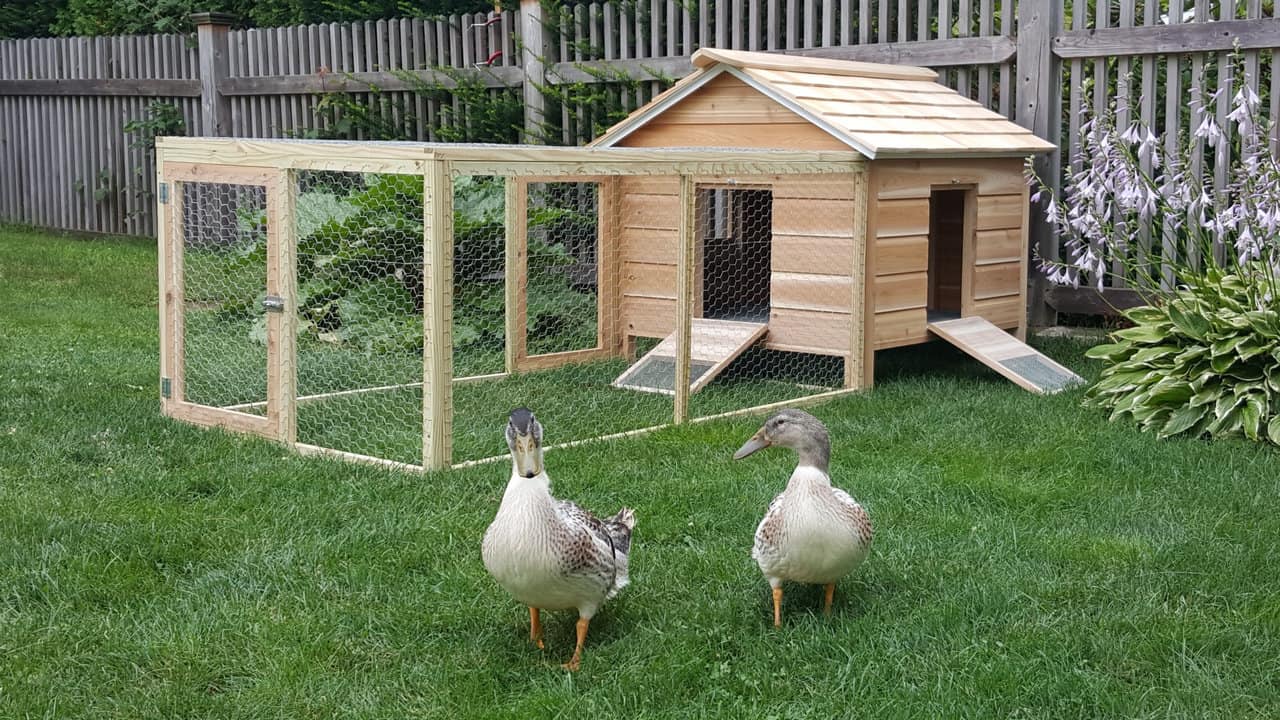
Nobody likes just throwing money at expensive materials when they could have spent a fraction of that and gotten the same deal, more or less.
This is why when we first got started with building our very own duck house, we actually just ended up looking around our whole homestead trying to see if we had any materials lying around.
Pallets are very easy to come by for example, we found them instantly, and if you’re lucky like us you should also be able to get your hands on some good unused wood fencing too.
Another way that you can actually save a lot of money on the materials alone is by contacting your local fence company. These companies tend to have old fencing ready to be thrown into the trash at any time, which is why you can get your hands on it very quickly and very cheaply too.
The best part about this is also the fact that you can get your hands on both old and new fencing from new places that are sprucing up their place, and you’re pretty much just helping them get rid of their trash in the meantime, making this a win-win situation for everyone involved.
7. Always Build a Larger Duck House Than Needed
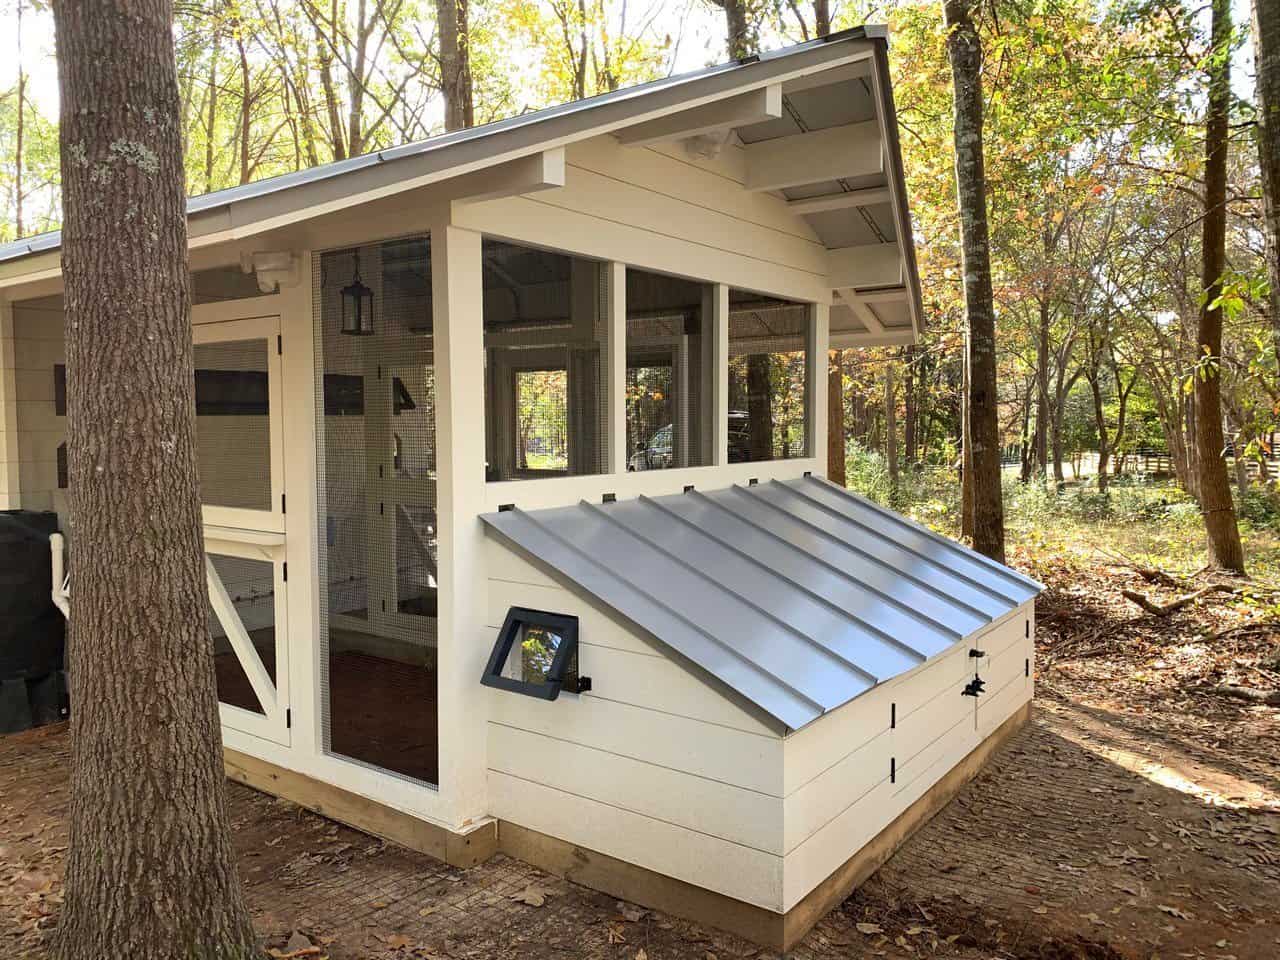
This might sound like poor planning but remember that things will change in the near future, and while you may only want a handful of ducks around your farm right now, what if you get a very good deal in the future and you need to rebuild your whole coop around to accommodate the new ducks?
For the most part you will need around 4 square feet of floor space per bird, so if you happen to get yourself ten ducks, why not add in an extra 12 square feet?
This will not hurt your current population, but it will make your job a lot easier in the future if you happen to get an extra three ducks.
8. Choose the Bedding Wisely
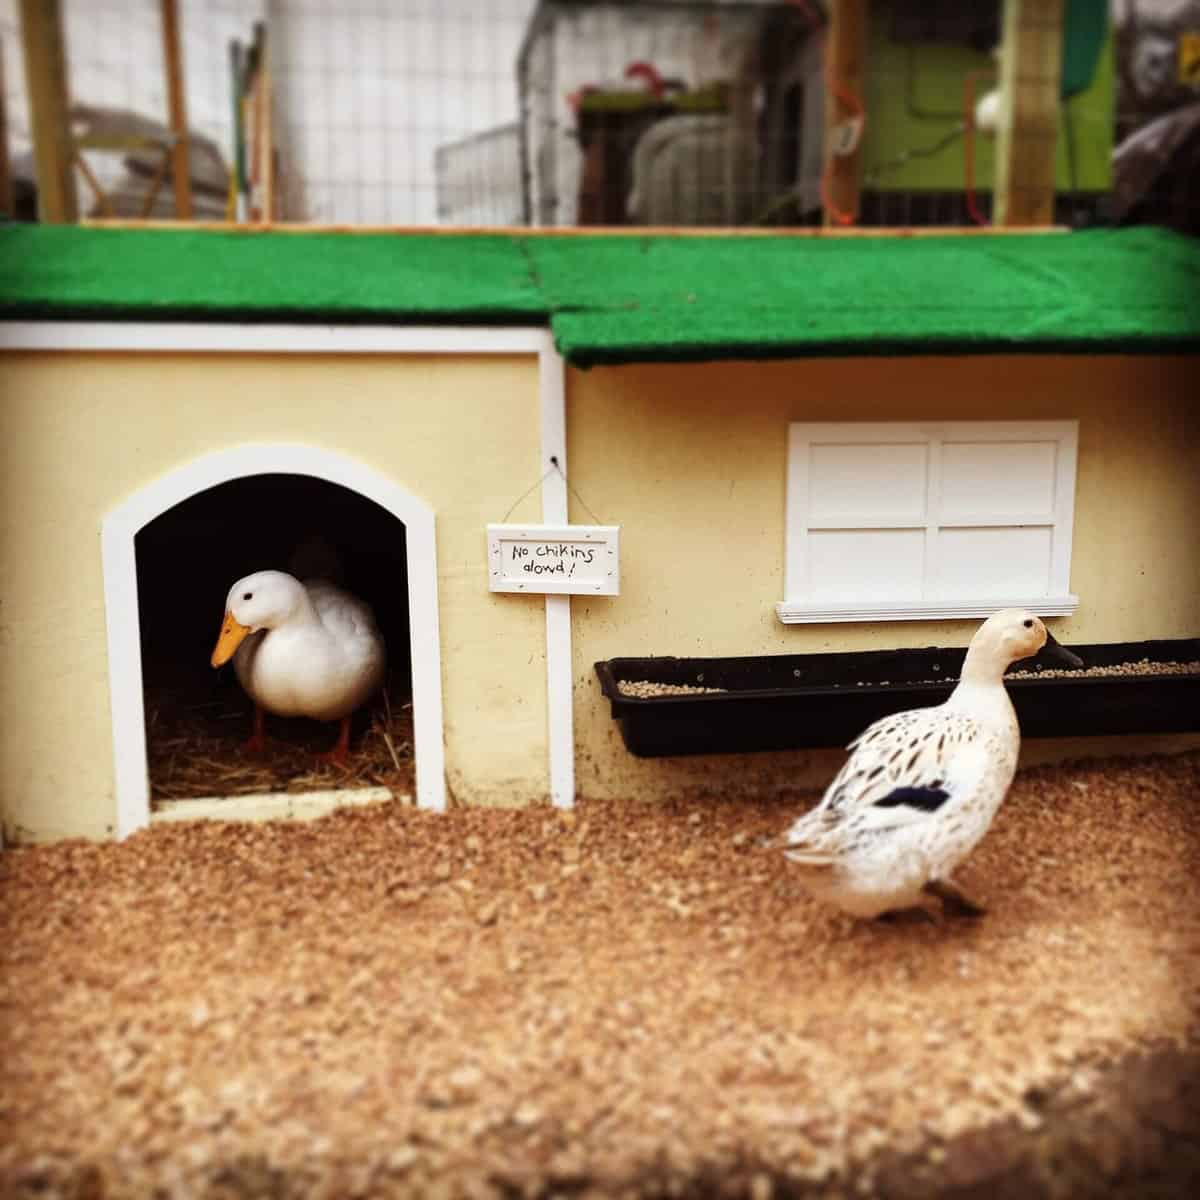
We did mention previously that straw and sawdust shavings make for the perfect bedding for your duck house, but what we didn’t tell you is that you can also use pine shavings if you can’t get access to those two in particular.
Just keep in mind that going with pine shavings is not the best during cold winters since they don’t provide as much insulation as shavings and straw beddings.
Straws are just so much better against moisture that you will never need to worry about it in the first place, they will keep your ducks warm, dry and best of all, comfortable no matter the temperature outside.
9. Secure the Coop Against Predators
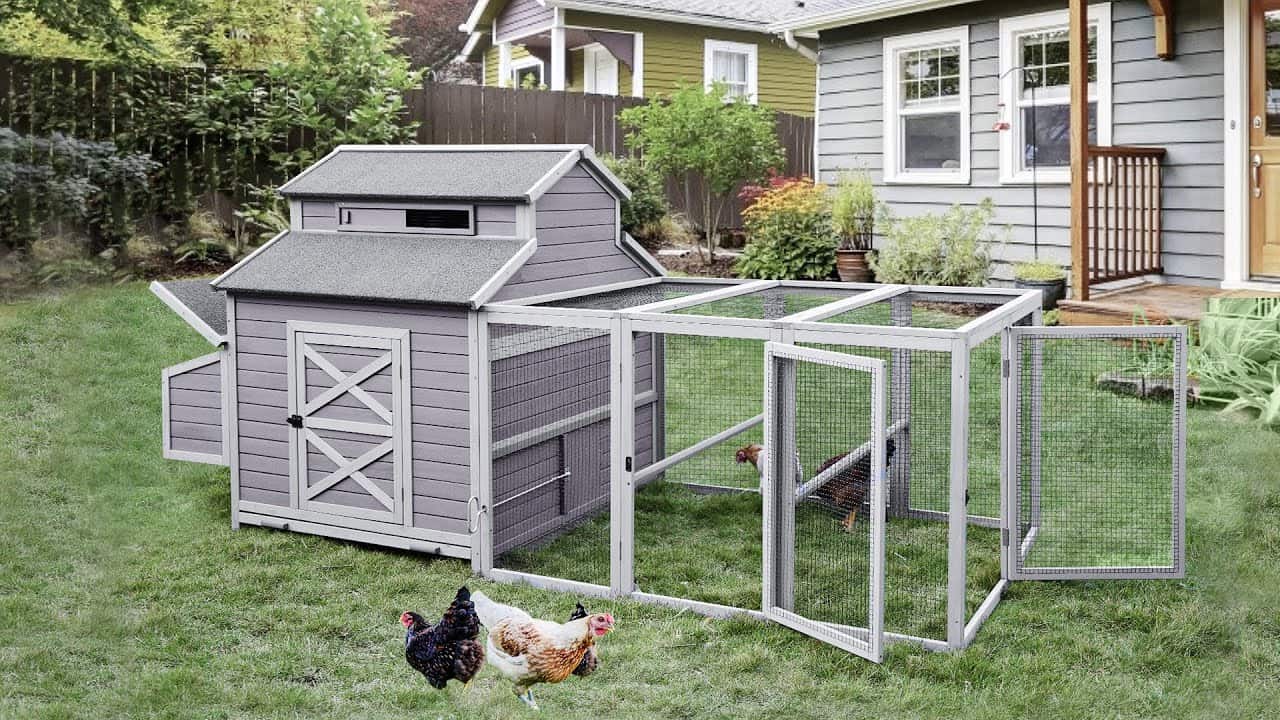
Burrowing predators are very sneaky and while you may noy not realize it, they can easily get to your whole flock if you’re not careful.
But how can you actually be careful and keep your flock safe? You can just simply start taking a hardware cloth and trench it around the coop AND the run to make sure that nothing can get in.
Many people prefer to use chicken wire alongside metal or wood posts, but while the chicken wire may be quite effective at keeping the poultry birds in, just keep in mind that no predators will ever have any trouble getting to your chickens like that.
That is because chicken wire as a whole is just extremely thin and very easy to bend, so any sort of predator that wears more than your feathery friends will find it easy to widen up the wire to create an opening large enough for them to walk through.
On top of that, a lot of small predators can also easily sneak through the chicken wire without even needing to force their way through, you’d be surprised by how much damage a small rodent style predator can do to your flock for example.
10. Make Sure Your Ducks Have Water
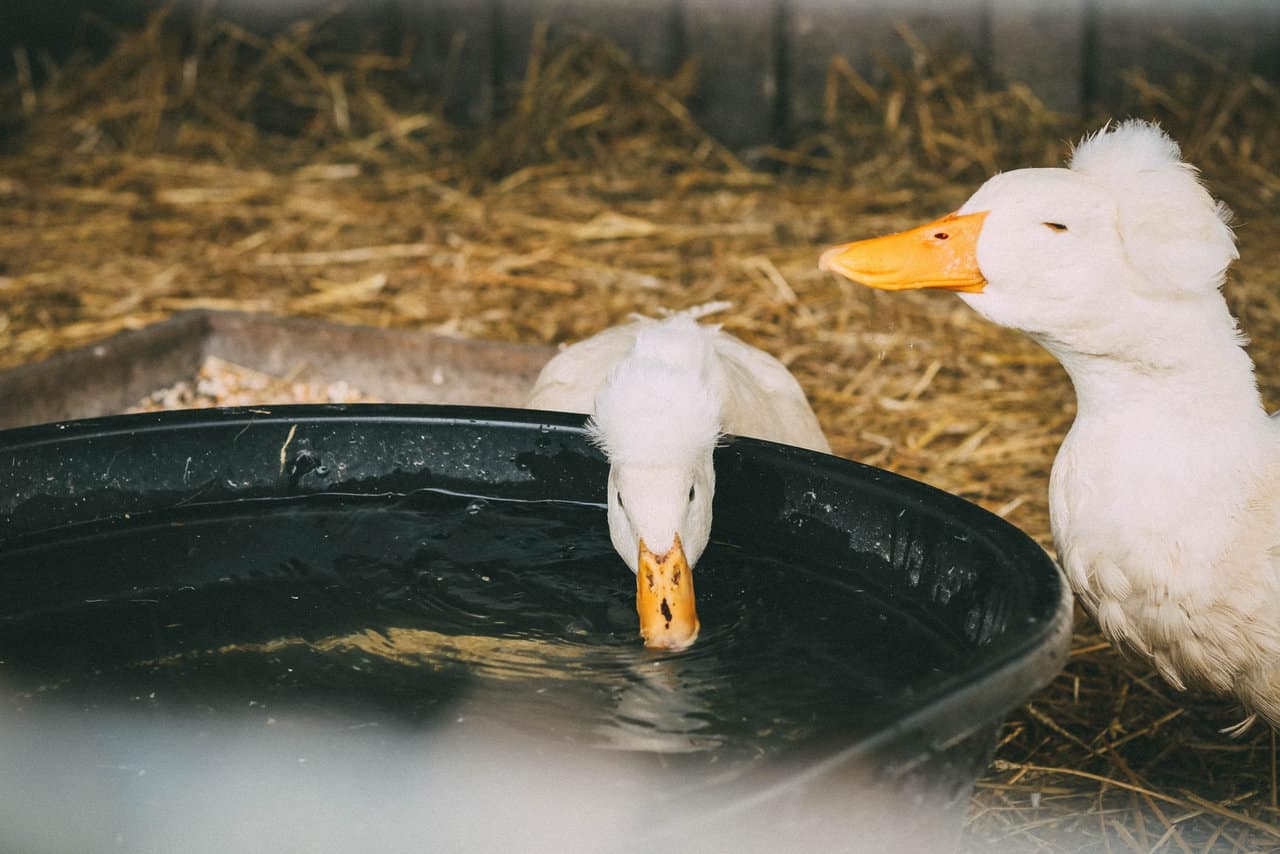
While this may sound like a bit of a no-brainer, it actually is something that a lot of new duck owners tend to forget, and that is the fact that ducks absolutely love water to a fault.
They can easily end up chasing after puddles all day long and they can even escape the coop if they are desperate enough to get to those puddles.
This is why you can make sure that they’re not getting too excited by giving them something like a kiddie pool to play in.
Alternatively, you can also just dig them a hole yourself and just line it up with a heavy-duty tarp. As soon as you start filling it up with water you can have a mini inground swimming pool ready for them to play around in.
11. Choose the Location Properly
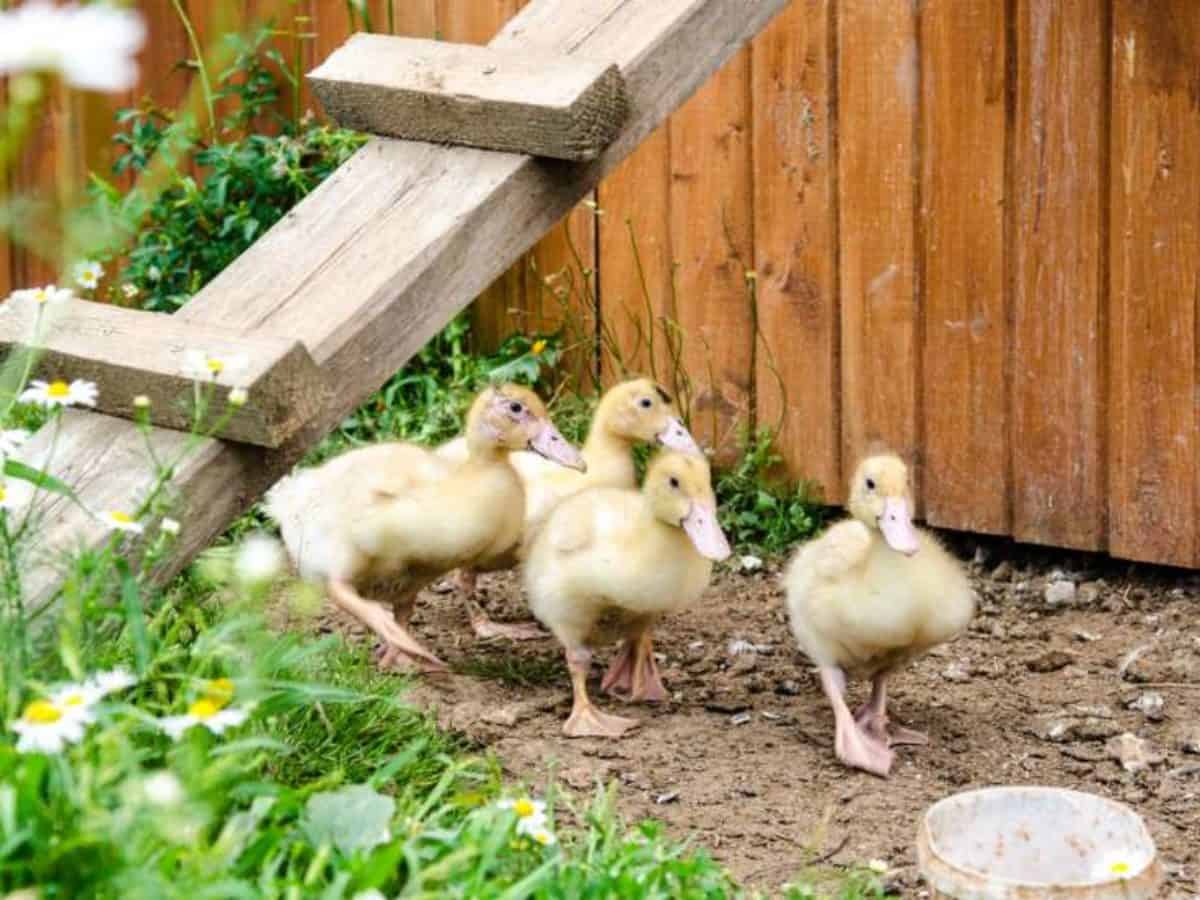
The main reason as to why the location is so important is because you need it to be close enough to you so you can react on a moment’s notice in case of a predator attack.
On top of that, you can also easily assess which direction the strongest winds are coming from while also constructing the coop somewhere around your compost pile can be put to good use with a single swing of a shovel.
12. Never Clutter Your Duck Coop
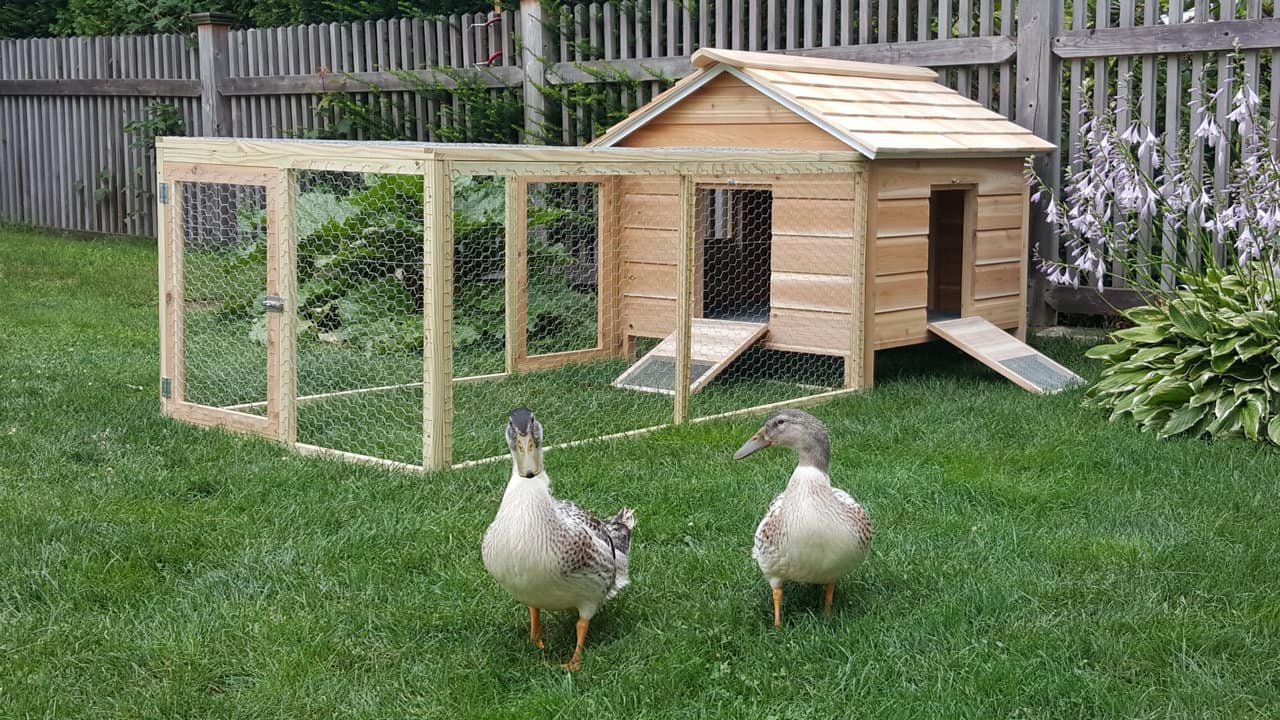
You may think that your ducks are hardy creatures, and while they technically are, they are also very easily farmed if you just so happen to have nails, glass or any sort of sharp objects around their coop.
This is why you need to constantly clean their coop around, especially since ducks are very curious creatures. Trust us when we tell you that the moment your ducks find a random screw on the ground, they’ll either step on it or just eat it in an instant.
Regardless of which of those two steps they take, let’s just say that they’re not long for this world afterwards.
13. Forget About Nesting Boxes
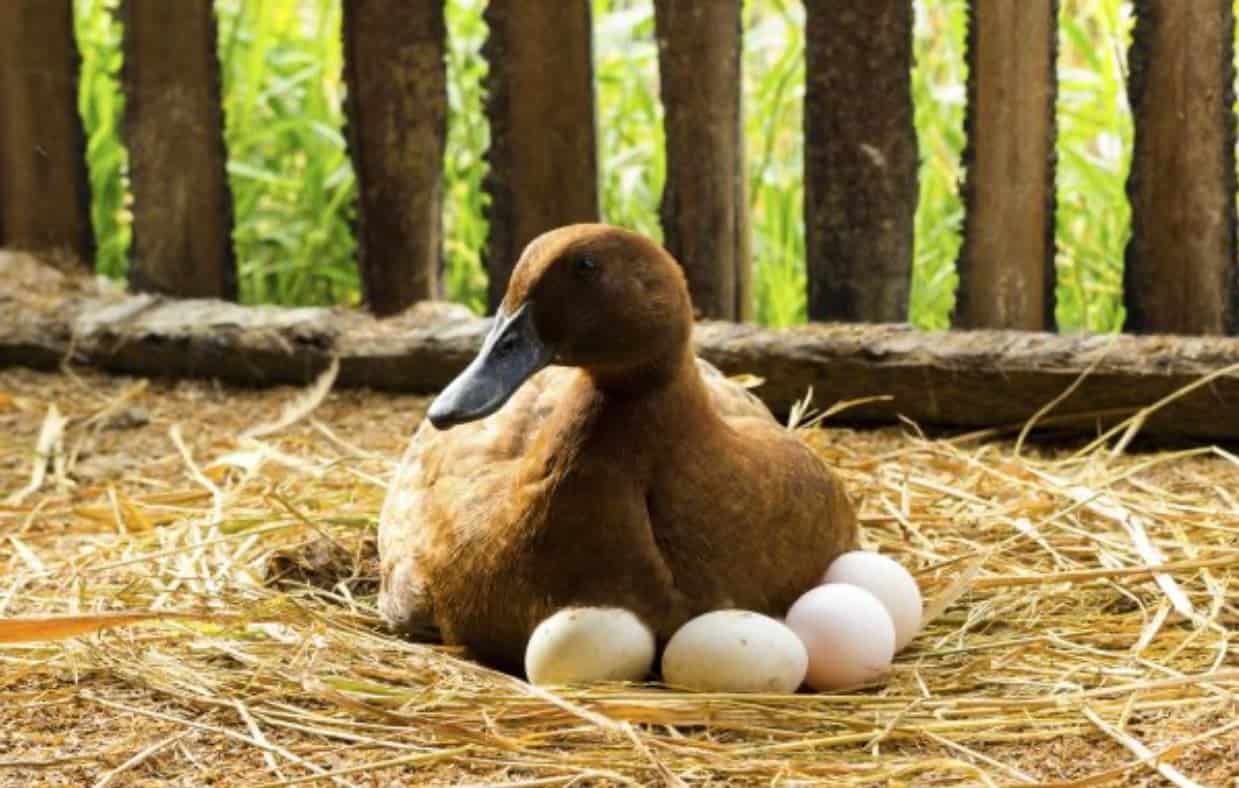
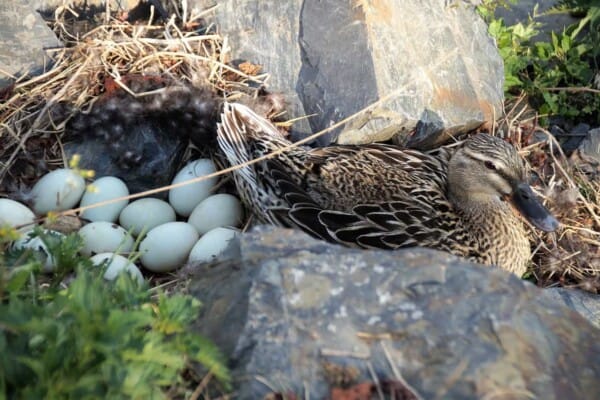
While chickens absolutely need nesting boxes, ducks are quite the opposite as they would rather just make their own nests in the corners of the coop.
You can still give them nesting boxes and hope that they are somehow attached to a certain one there, but for the most part you can just forget all about a nesting box when it comes to ducks.
14. Construct Larger Entrances and Exits
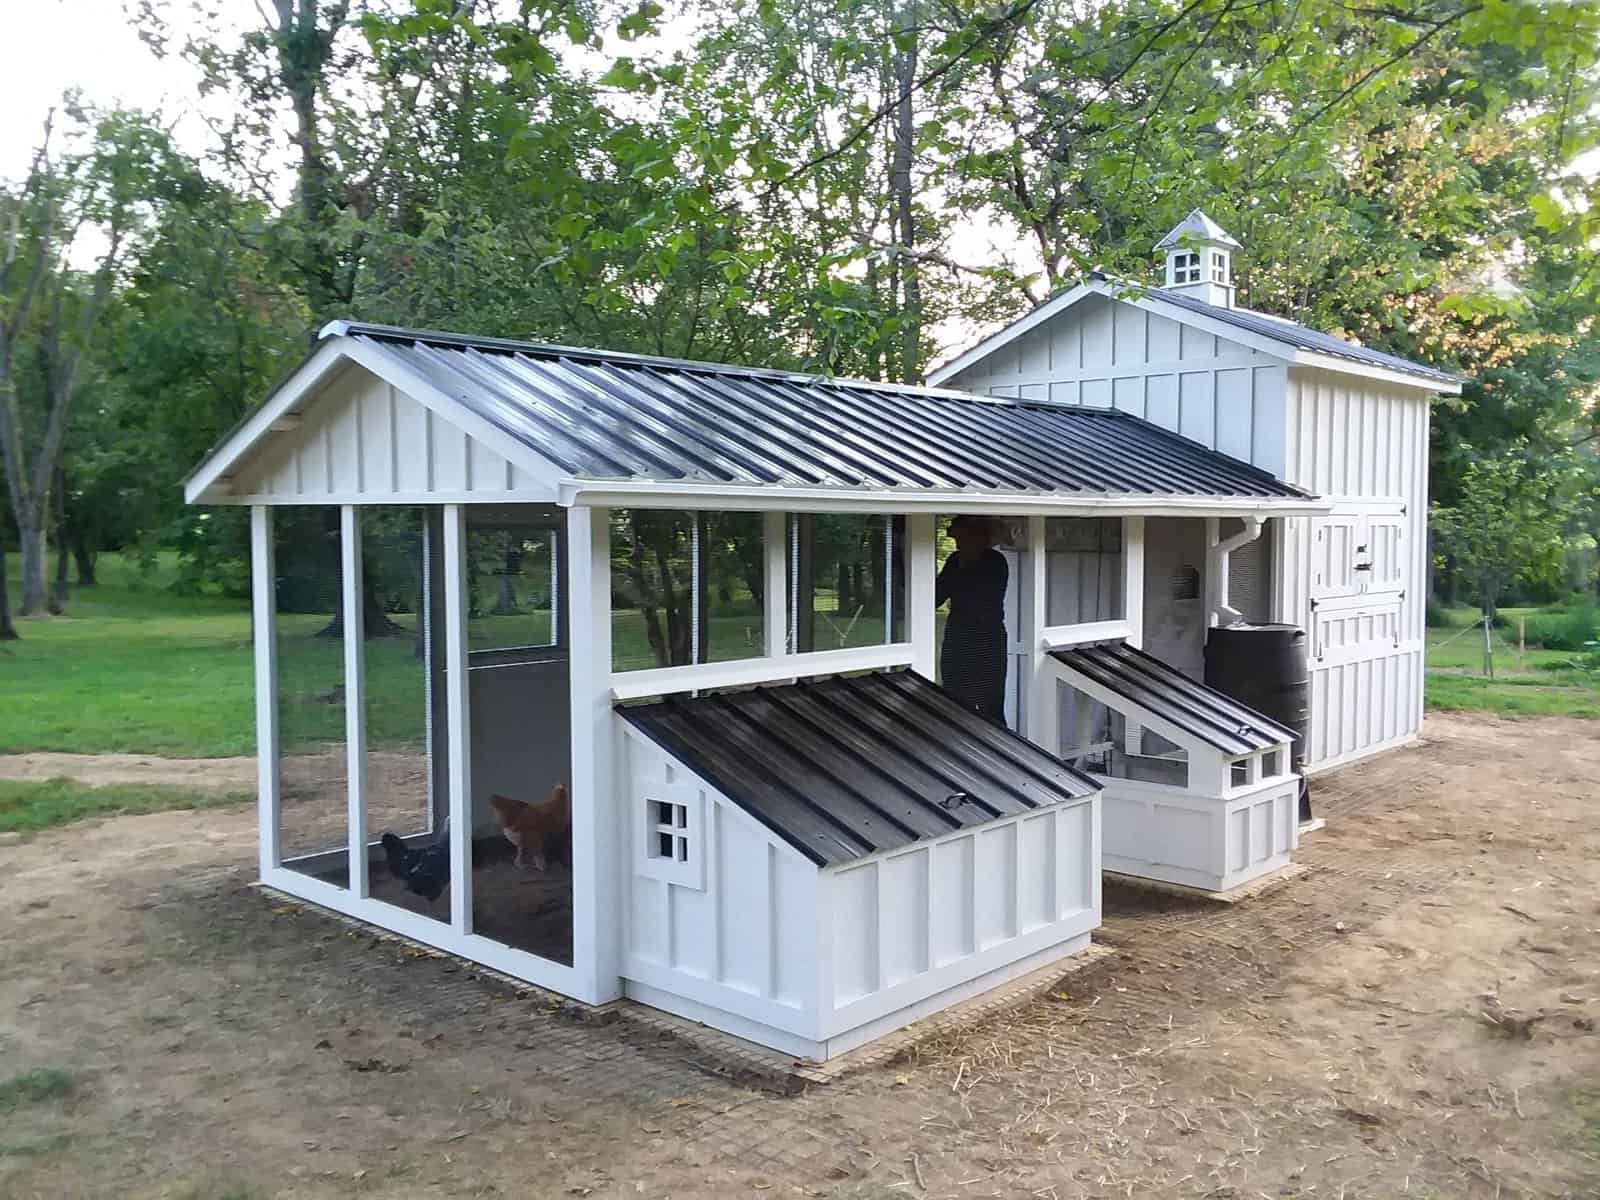
We mentioned previously just how easily ducks can get hurt and die, which is why it shouldn’t come off as a surprise that investing in larger entrances and exits can save their lives on the long run.
What we mean by this is that as they hurry to get out of their coop, they can easily push each other off the platform which in itself can lead them to die pretty easily if they hit their heads hard enough.
You can limit the entrances and exits at around two ducks’ size, but that doesn’t mean you can’t also make them even larger than that just for good measure’s sake.
15. Decorate the Coop
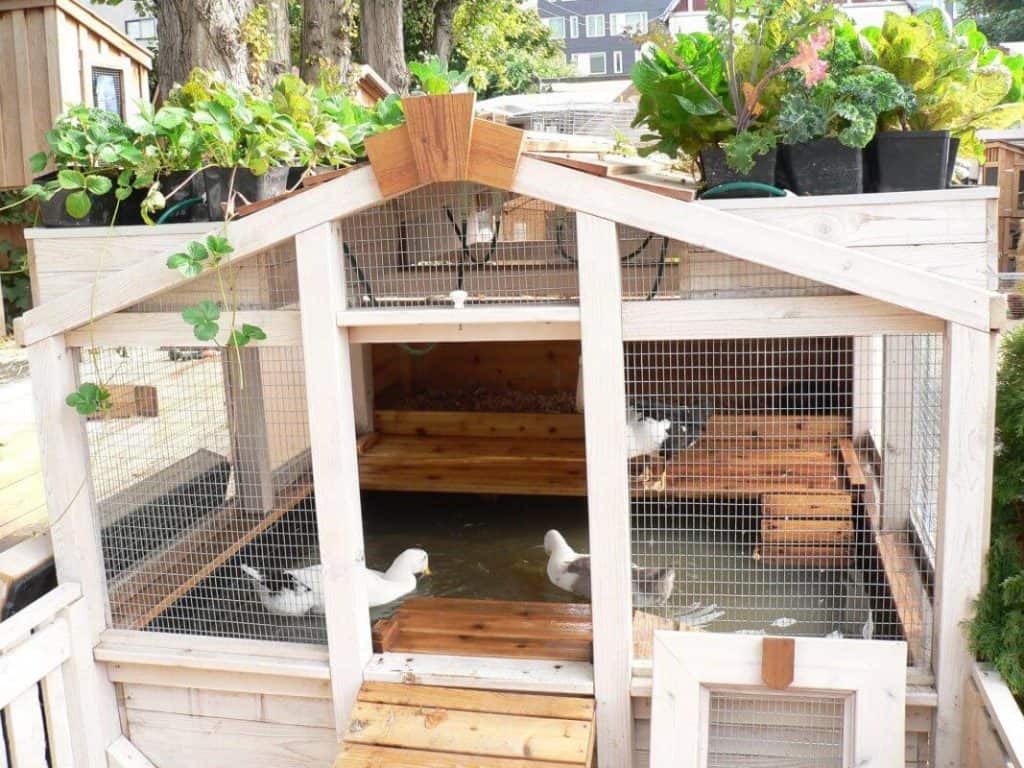
This last step is less of an actual requirement and more of a way that you can make your job more fun to do.
Many people forget that their farmhouse doesn’t need to look like your standard boring place full of browns and oranges. Instead, you can opt to spray paint your coop just to give it that extra bit of personality that it needed.
We also recommend using the following to make it all the more unique looking:
- Scissors
- Scroll Saw
- Scrap Wood
- PDF files for stenciling or tracing
Conclusion
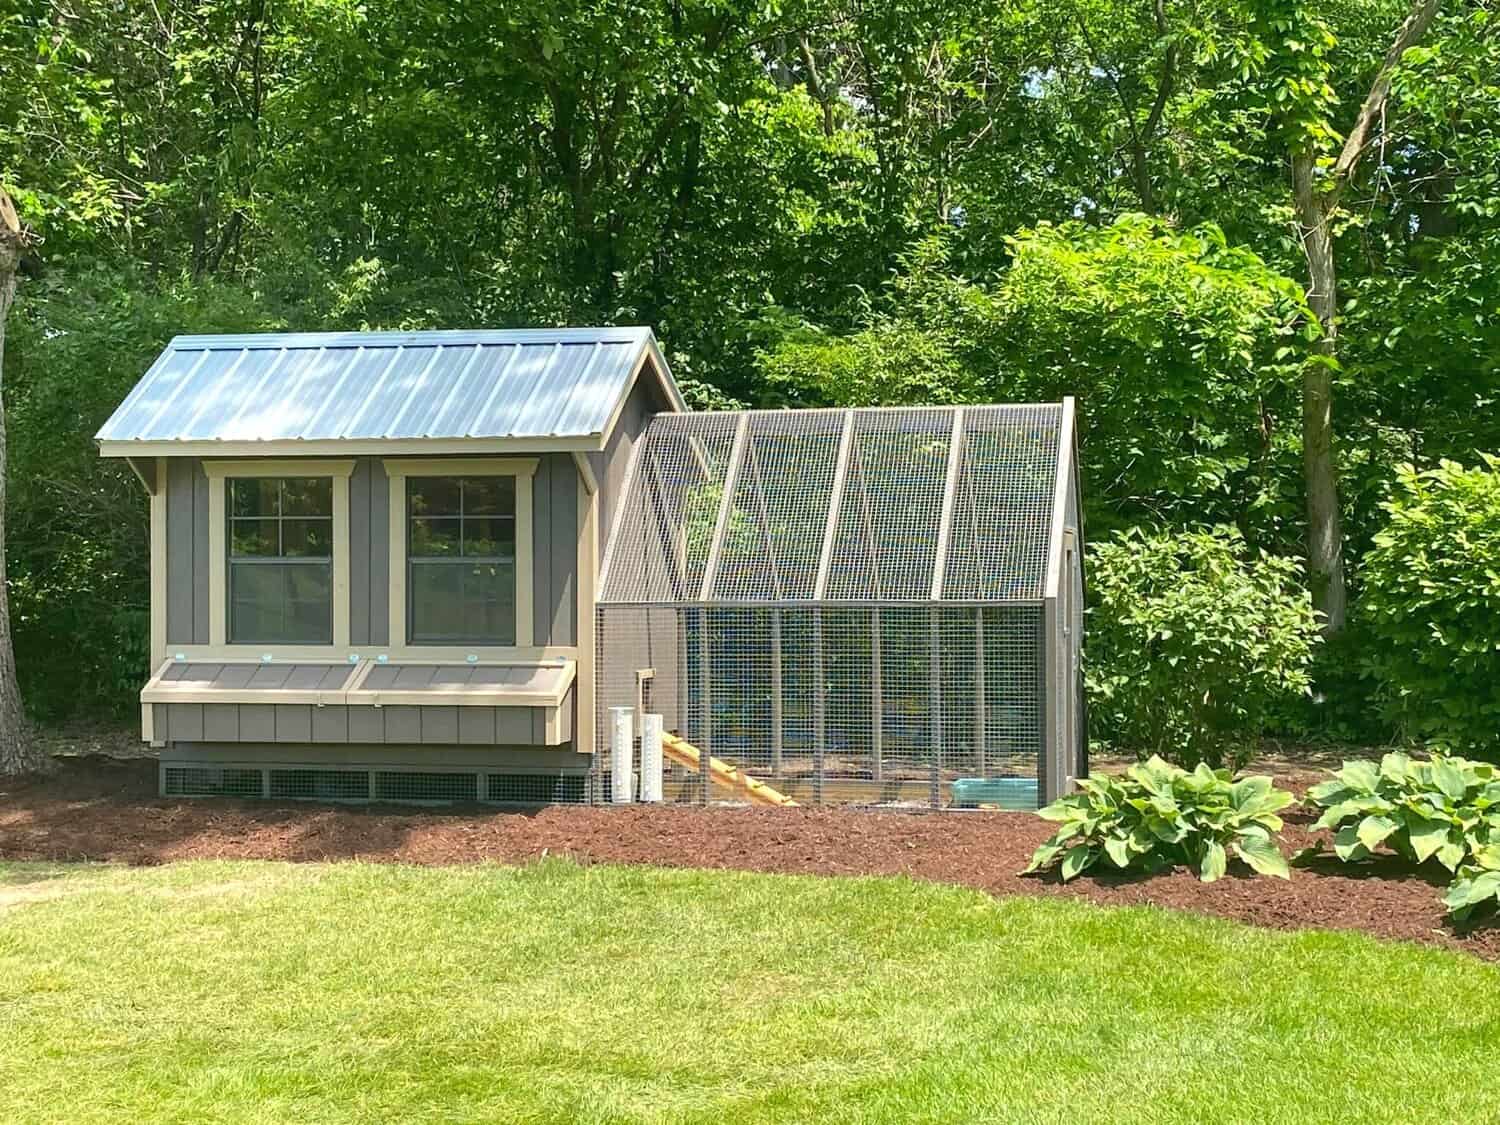
Building your very own duck coop is not going to be easy, but it’ll be worth it in the end when you get to look down and see the progress that you’ve made so far with them.
That’s the true beauty of owning a farmhouse, you get to see how far you’ve come and just how good of an owner you’ve been. So, make sure to spoil your ducks by constructing their very own duck coop next and try to make it as beautiful as it is practical.
Contents
- 1. Get Inspired from Other Duck Coops
- 2. Remember to Let the Coop Breathe
- 3. Install Windows into the Coop
- 4. Use Metal or Wood Materials for the Doors
- 5. Make Cleaning Easier
- 6. Use Cheap Alternatives for Coop Materials
- 7. Always Build a Larger Duck House Than Needed
- 8. Choose the Bedding Wisely
- 9. Secure the Coop Against Predators
- 10. Make Sure Your Ducks Have Water
- 11. Choose the Location Properly
- 12. Never Clutter Your Duck Coop
- 13. Forget About Nesting Boxes
- 14. Construct Larger Entrances and Exits
- 15. Decorate the Coop

