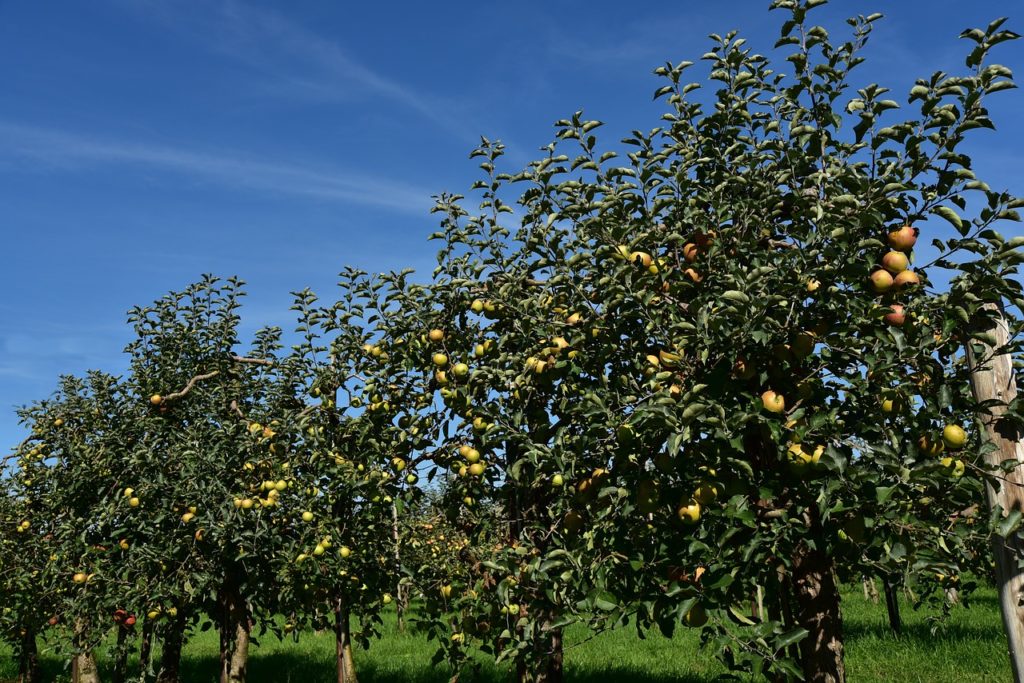
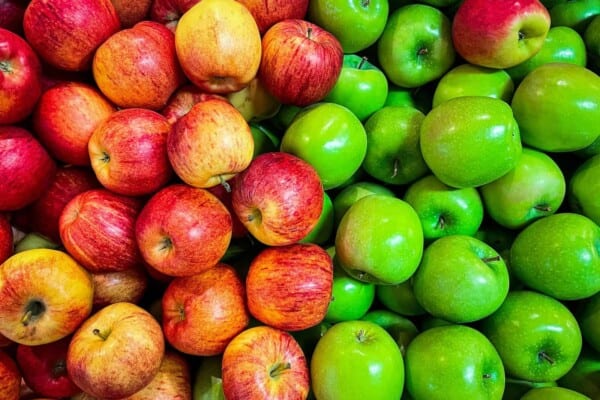
Ever since the beginning of time, apple trees have been of great importance to supply people with tasty fruits. They may be called “the forbidden” fruits, but apples are relatively easy to care for and you can expect to obtain a good yield in most years, especially if you learn how to prune apple trees.
Considering that apple trees are so widespread across the world and are present in orchards from different regions it’s important to know how to properly care for them. Pruning is an important step to help the apple trees to grow, develop and regenerate to offer as many fruits as possible.
When is the best time to prune an apple tree?
The best time to prune apple trees is either late in the winter or early in the spring because that’s the time when the tree is entering a dormant state after shedding its leaves and before new buds appear. It’s best to complete the pruning just before the growth starts in the spring, so the cuts have time to heal quickly. If you start pruning too early in the winter, the cuts will remain open and unprotected to low temperatures during winter until the growth period resumes in late March.
Pruning is not as complex as it may seem at first glance, because once you learn the basics, it’s really easy to fulfill this task. Therefore, the main purpose of this article is to help you learn the ropes so that pruning an apple tree shouldn’t be a burden for you, even if you’re not an experienced farmer.
Learn your pruning terms
First of all, get to know the “slang” to help you learn how to prune an apple tree:
Dormant state – a tree is in a dormant state in the winter, usually between November and February. During this state, all the leaves have fallen, and the tree is basically in energy-saving mode, focusing its processes in the roots, the tree trunk, and the main branches.
Flower buds – are larger than growth buds and produce flowers which in turn mature into fruit.
Growth buds – they have a slightly pointy shape than flower buds and they grow flush with the branch.
Terminal buds – can be found at the tip of branches and when they are removed, the buds below them are stimulated to produce woody side shoots which will later develop into branches.
Spurs – branches that produce fruit, in this case, apples.
Leader branch – a branch that grows upwards ahead of other branches and can be found in the center of the branches.
Whorl – the location of three or more branches, usually found it mature unpruned trees.
Water sprouts – thin branches that grow from later branches of the tree and do not produce any fruit.
Main reasons to prune an apple tree
You’re probably wondering why you should bother with pruning, aren’t trees just suppose to grow on their own and produce fruit? Turns out, it’s not as simple unless you are happy with just the fruit you may or may not obtain. Pruning is done for the following reasons:
- To establish the basic structure of the apple tree, to make it easier to care for and to obtain a higher yield.
- To remove diseased or dead wood and to maintain the health of the tree.
- To allow the sunlight to help the fruits ripen evenly.
Choosing your apple tree shape
There are several options when it comes to deciding which type of shape you want to pick for your apple tree.
- A conical shape gives the highest yield and it the most commonly used in apple orchards.
- A round shape is also easy to control, by modifying the shape of the leader branch.
- A vase shape allows having an open center, which makes it sometimes easier to pick the apples, depending on the fruit-picking method used in the orchard.
Choose the right pruning tools
Before you start pruning away, make sure you have adequate tools on hand:
- A good pair of pruning shears – sharp and rust-free;
- A pair of lopping shears or a saw – for large branches;
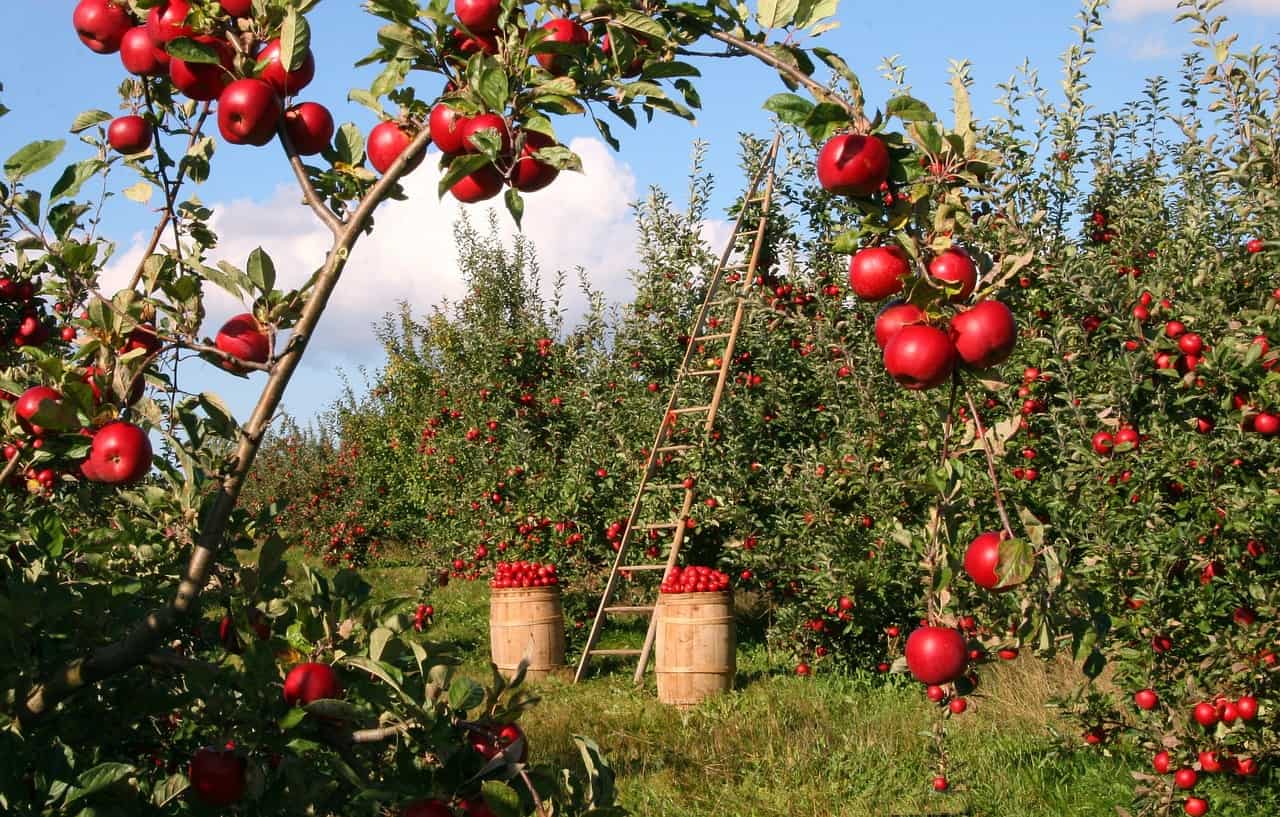
- A sturdy ladder;
- Heavy-duty gardening gloves – you don’t want to hurt or scratch your hands while working with pointy branches and sharp tools;
- Safety glasses – it’s a good idea to put some on to prevent any wood splinters to get into your eyes;
- Sacks, barrels or other types of containers – to gather the debris;
- Colored chalk – perfect to mark the places you want to cut once you have the shape of your apple tree in mind.
What to cut and what to keep when pruning an apple tree?
Start your pruning by removing any diseased, damaged or dead wood you encounter. It’s easy to spot dead or diseased limbs because they snap easily and are very brittle. Plus, diseased limbs also have different coloring than the rest of the branches. Damages can occur when branches rub against each other because they don’t have enough space to grow, or when branches partially break in certain places because of the weight of the apples. Remember, damaged, diseased or dead wood should be removed any time of the year, not just when it’s pruning season because it helps prevent the spreading of diseases to healthy branches as well.
When you remove large branches, make sure you make more cuts, because you don’t want the branch to tear down on the trunk when it falls. Make the first cut just below the branch, about a few centimeters from the trunk. Make a second cut a few centimeters below the first and cut all the way through. You should be left with a stump which can be easily removed from the tree. Don’t cut too close to the trunk and leave 3-4 centimeters so that the branch collar can grow over the wound and seal in time.
To stimulate growth, you can make good use of heading cuts. Heading cuts are made along the length of the branch. Heading cuts are needed especially for young trees, but as the tree ages, heading cuts are no longer necessary because mature trees are seldom in need of new branches. Make the heading cuts above growth buds that are facing outwards, so that new branches can develop away from the tree. Heading cuts are very practical to shape young apple trees. For example, a heading cut made on the central leader branch will produce a new horizontal branch. Avoid heading cuts once the shape of the apple tree is completed or use them sparsely to avoid overcrowding the tree. If you want to shorten thin lateral branches using heading cuts, make the cuts in old wood to have less new growth.
Whorls, water sprouts and suckers (unwanted shoots that grow near the base of the tree trunk) don’t produce any fruits and are therefore useless. It’s safe to say your apple tree will certainly not miss them when removed. Use thinning cuts to remove these “offenders”. Thinning cuts are made to remove entire branches or limbs and to open the interior of the tree to receive more sunlight. Thinning cuts are used very often to prune apple trees because you have to remove excess branches more often than you have to create new ones.
Remove branches that cross each other or that are facing downwards. These types of branches can never fully develop and they will most likely bear very little or no fruit at all, so they’re more of a burden for your apple tree. Crossing branches can cause wounds because they rub against each other and open wounds are also an open invitation to disease. Moreover, crossing branches are providing the perfect environment for moisture and you don’t want that because your tree may rot in areas that are too humid or if callouses develop there.
Given that you decided on the shape of your apple tree and you identified your leader branch, it’s time to remove vertical branches. Vertical branches will compete with the leader and they will close off the top of the tree and shade the fruits growing below.
After getting rid of vertical branches, it’s time to thin out your apple tree to maintain its shape. However, make sure you don’t cut too much. You should remove at most one-third of the interior branches.
Regarding upper branches, you want them shorter than the lower branches, to have evenly distributed sunlight. Don’t forget to make thinning cuts, otherwise, you will end up with a bushy and overcrowded tree.
Finally, when it comes to flower buds, sometimes you may need to thin those out as well. You don’t want to have a crowded spur, because the fruit produced is smaller and it may even to ripe properly. This isn’t usually the case with young trees, but it never hurts to check. Spurs should have only 4-5 flower buds to have decent sized fruits.

Final tips for the perfect apple tree pruning
- Start with the bigger cuts first. Before you start cutting a smaller branch, follow it back to its origin to make sure you don’t find other problems on the way. For example, you may find that a smaller branch is crossing another one at the back, so it’s best to cut closer to the trunk.
- Make clean cuts. Your pruning tools should be sharp and clean because it helps you a great deal to do your work. If you do a lot of pruning, you may need to stop from time to time and re-sharpen your tools. It’s also a good idea to invest in quality tools because it saves you time and money along the way.
- If you need to use a saw to cut larger branches, make a shallow undercut first before you cut all the way through from above to avoid ripping off the protective bark of the tree.
- Thick or long limbs should be cut into sections. It may take longer, but it’s much safer and you avoid causing any damage to the healthy branches or the tree trunk.
- Don’t rush when you prune your apple tree. Stop from time to time and check the progress, to see if the shape of the tree is what you want it to be and to even out branches here and there. It’s not only a matter of design, as the shape of the apple tree is crucial for fruit development.
How to prune young apple trees
If you just started your apple tree orchard or if you have a new apple tree in your yard, you should know that young branches are sturdy enough to hold the weight of lots of fruit. Make heading cuts to remove just a quarter or a third of the growth from the previous season.
You can also reduce the length of the leader branch by a quarter or even by a third because this helps the tree redirect its energy towards new growth lower down. Subsequently, pruning and harvesting are easier as the apple tree matures.
How to prune old or neglected apple trees
In most orchards, old trees or the ones that don’t bear much fruit are simply removed, but sometimes you may want to keep an apple tree around to improve the landscape, to try and improve the quality of the fruit or maybe it’s an apple tree that has sentimental value.
In this case, pruning is done just like you would do with any other apple tree. However, keep in mind that it takes 2-3 years to restore an apple tree that has been neglected and only after a careful assessment. In other words, if the main framework of the tree is badly damaged or if you have to cut too much diseased or dead wood, it may not be worth your effort. If you think you can’t restore an old, neglected apple tree, it’s best to just remove it entirely and plant a new one.
Now you should be all set up to start pruning. Don’t forget the essentials: have good tools on hand, remove all the useless branches and always balance out the shape of your apple tree.
Contents
- When is the best time to prune an apple tree?
- Learn your pruning terms
- Main reasons to prune an apple tree
- Choosing your apple tree shape
- Choose the right pruning tools
- What to cut and what to keep when pruning an apple tree?
- Final tips for the perfect apple tree pruning
- How to prune young apple trees
- How to prune old or neglected apple trees

Can I prune my Macintosh tree now? I live in Boston, with climate change the weather has been in the 70’s to 80’s. My tree is 5 years old and finally gave Apple’s. oh I want to keep the height low, It’s getting to tall. can I cut the top off? HELP