The world as we know it is constantly changing, and as time moves on, we start to develop newfound appreciation for crafts that have helped us through the muck over the years.
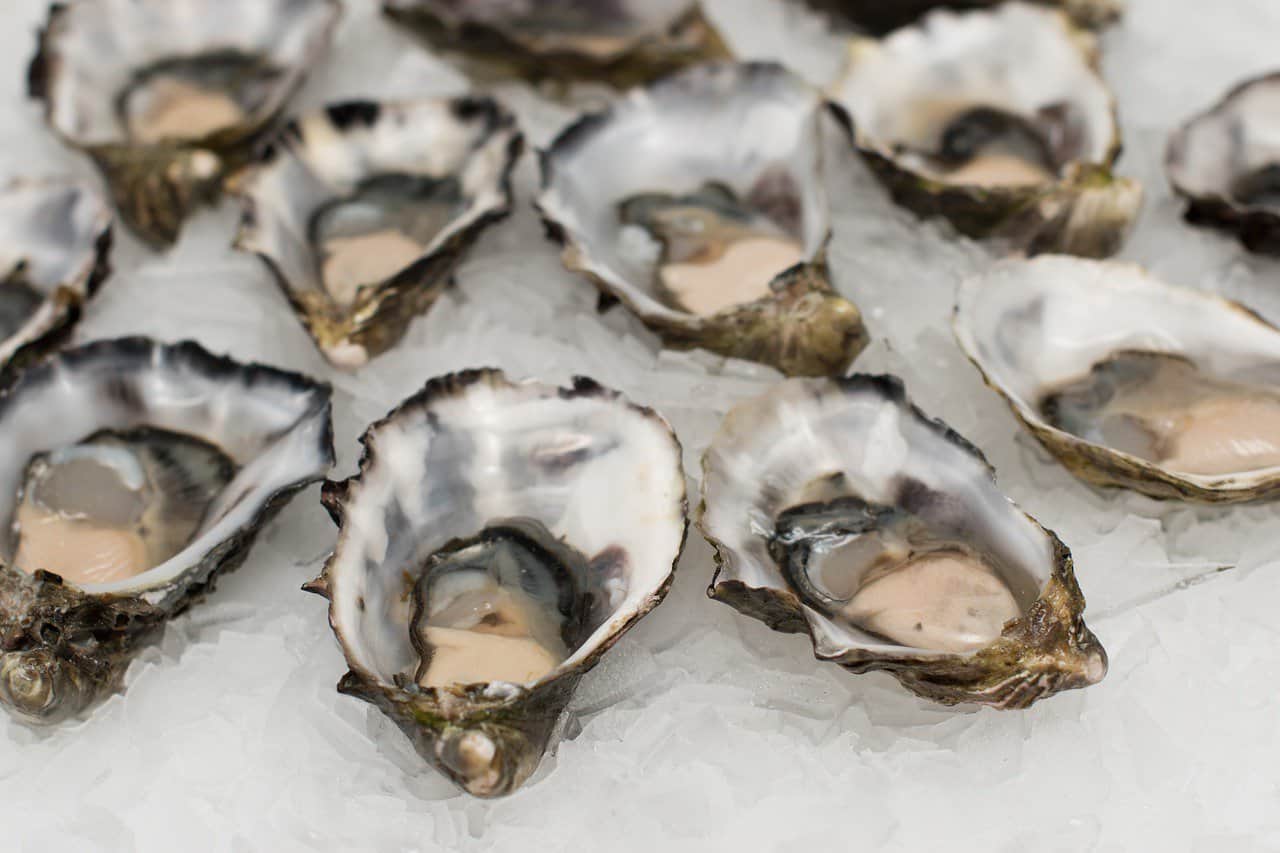
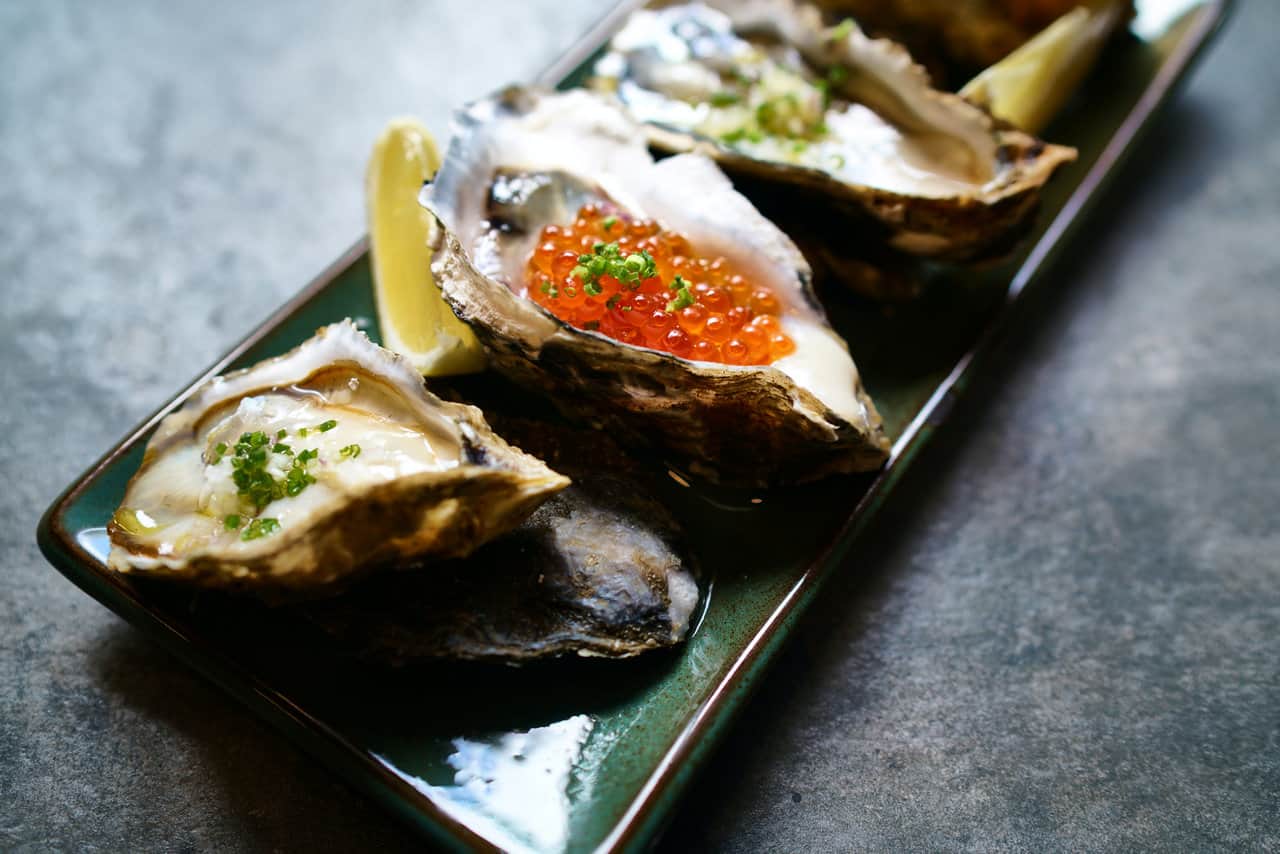
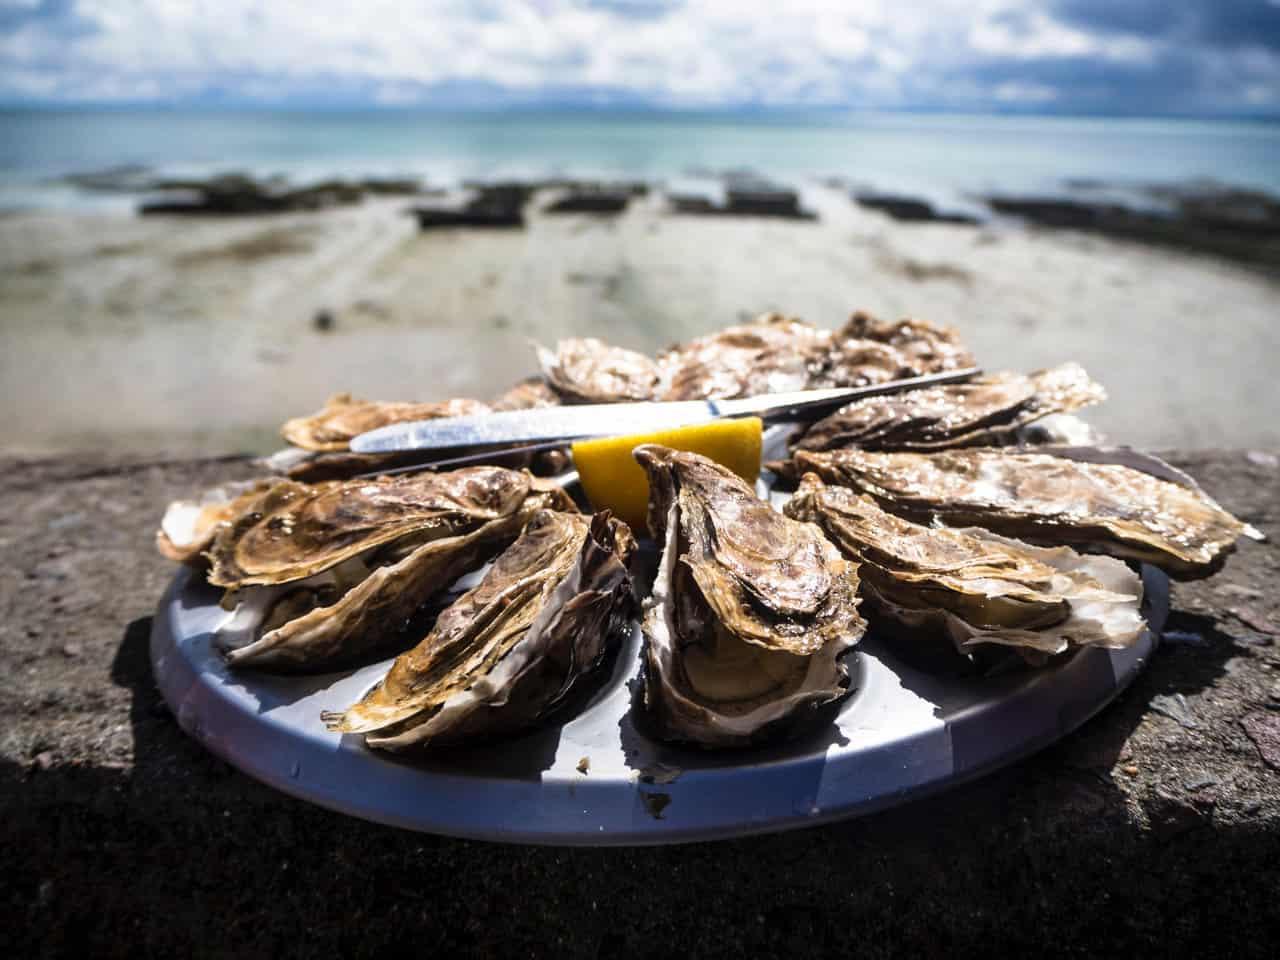
One such craft that has recently started to garner a lot of traction has been none other than oyster farming. Interestingly enough though, the main reason as to why oysters have gotten so popular is the fact that they’ve gotten way fatter and tastier, and this is all due to oyster farming.
By controlling their growth and making sure that they are about as healthy as they can be, we have managed to improve their taste tremendously, and as such more people love to eat oysters ow than ever before.
But while eating oysters is always delightful, does anyone here actually know anything about oyster farming? The truth is that it is actually way more difficult to partake in this strange craft than you may think.
Many people spend their whole lives experimenting, trying their hardest to make the most out of this craft, improving their produce every single day until they can finally perfect the oysters in both flavor and consistency.
Luckily, you won’t have to do any of that because we’ve decided to give you a detailed guide that is meant to help you better understand everything there is to know about oyster farming.
So, let’s not dwindle about any longer, and instead hop right into the first major component of our guide:
How to Farm Oysters
Before you can actually get into the nitty gritty of the process, you first need to understand how it is done in the first place.
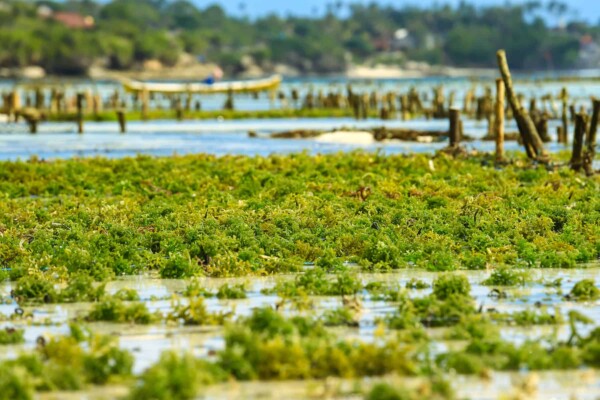
Farming oysters is always a fulfilling way to make money because actually helping them spread is always good for the environment. As such, the first thing that you need to do is you need to make sure that the place that you’re getting your oysters from is suitable for your needs.
If you want to go the extra mile you can always go with a reputable hatchery for example, but at the same time you can get the oyster seeds directly from your farm. Regardless, these are the first seven steps that you can’t skip out on while farming the oysters:
Select the Site for the Hatchery
The hatchery is pretty much the most important investment that you will be making when farming for oysters. So, what you need to look out for is whether the water quality is up to norm, which is mostly due to the fact that the oysters will need a constant salinity range to grow.
For the most part, as long as you can keep the levels at around 25 to 31ppt you should be fine. Anything lower than that will end up killing the algae, and as far as the water temperature is concerned, you should go for something between 68F and 90F.
Select the Algae
Next up on your list you will need to look into which algae you will be going for with your hatchery. The algae will pretty much serve as the main food source for the oyster larvae.
For the most part, you should invest into one of these two algae types:
You should also look into which types of containers you wish to use to store your algae in. For the most part, people prefer to use clear containers, large tanks or just see-through cylinders that they can then use to monitor the pH levels through.
Also make sure to keep an eye out for the color of the algae, because the color itself can be a very good indicator of whether the algae is healthy or not. For example, a darker green alga is very healthy and currently thriving, and as far as the pH levels are concerned, always make sure to keep it at a constant 8.
Another thing to note here is that some faster growing algae will require extra steps to actually grow properly. For example, you may need to invest into a container which offers it lots of carbon dioxide.
Prepare the Broodstock
Alright, so this is the interesting part because here is where you will need to prepare the Broodstock directly for the production.
This is where both the male and the female oysters will get to be properly fed the rich algae that you’ve been prepping up for them. Just keep in mind that you will need to keep the oysters in 50F water for as long as four weeks in total.
With each passing week, you will also need to raise the temperature by 35F to 37F too, which is meant to essentially mimic the seasonal change in the wild.
Essentially though, you will need to do this for the whole duration of the four weeks, and then as soon as this time frame is over your oysters will be ready to spawn.
The Spawning Process
This is where the male oyster will start releasing his sperm into the water, pretty much stimulating the females to release their own eggs out. In case you didn’t know by now, the typical female oyster can release as many as 50 to 100 million eggs during this process. But the typical range is closer to 10 million eggs or below.
As soon as this starts, you should be able to tell that the tanks have become rather cloudy, as they have pretty much covered the whole space with their eggs.
Larval Rearing
As soon as the egg is fertilized, the larval stage begins. 48 hours later, the larvae will swim out and you should be able to see them. The larvae will then start feeding on phytoplankton.
You will need to take this time to actually ensure that the salinity of the water is ok and the temperature is at a constant 75F, otherwise you might end up killing all of your larvae in the process.
You should be able to notice as soon as the larvae become Veliger larvae, because this is when their feeding organ shows up. About two weeks later, a foot will start forming around too, helping the larva attach to any sort of substrate around.
Setting the Larva
As mentioned previously, this is when the larvae will use its newfound foot to actually attach itself to a substrate. As far as the substrate is concerned, you can go with dolomite, shell fragments or just oyster shells in general.
You will need to keep these substrates in a low-light environment though, because otherwise the larvae will just hop away from the sunlight.
If done correctly though, you will be happy to hear that your larva has now entered a new stage in its life. This is when the larvae will lose its foot and velum, becoming something known as a spat.
As a spat, the organism will now start creating its own shell from nothing. While in its infant stage, the spat will look as small as a sandy grain, but around ten to 14 days later, it will grow exponentially.
You can collect the spats as soon as they can be filtered through a 225-micron screen, and then you can start taking them to the next step in their life, aka the oyster farm.
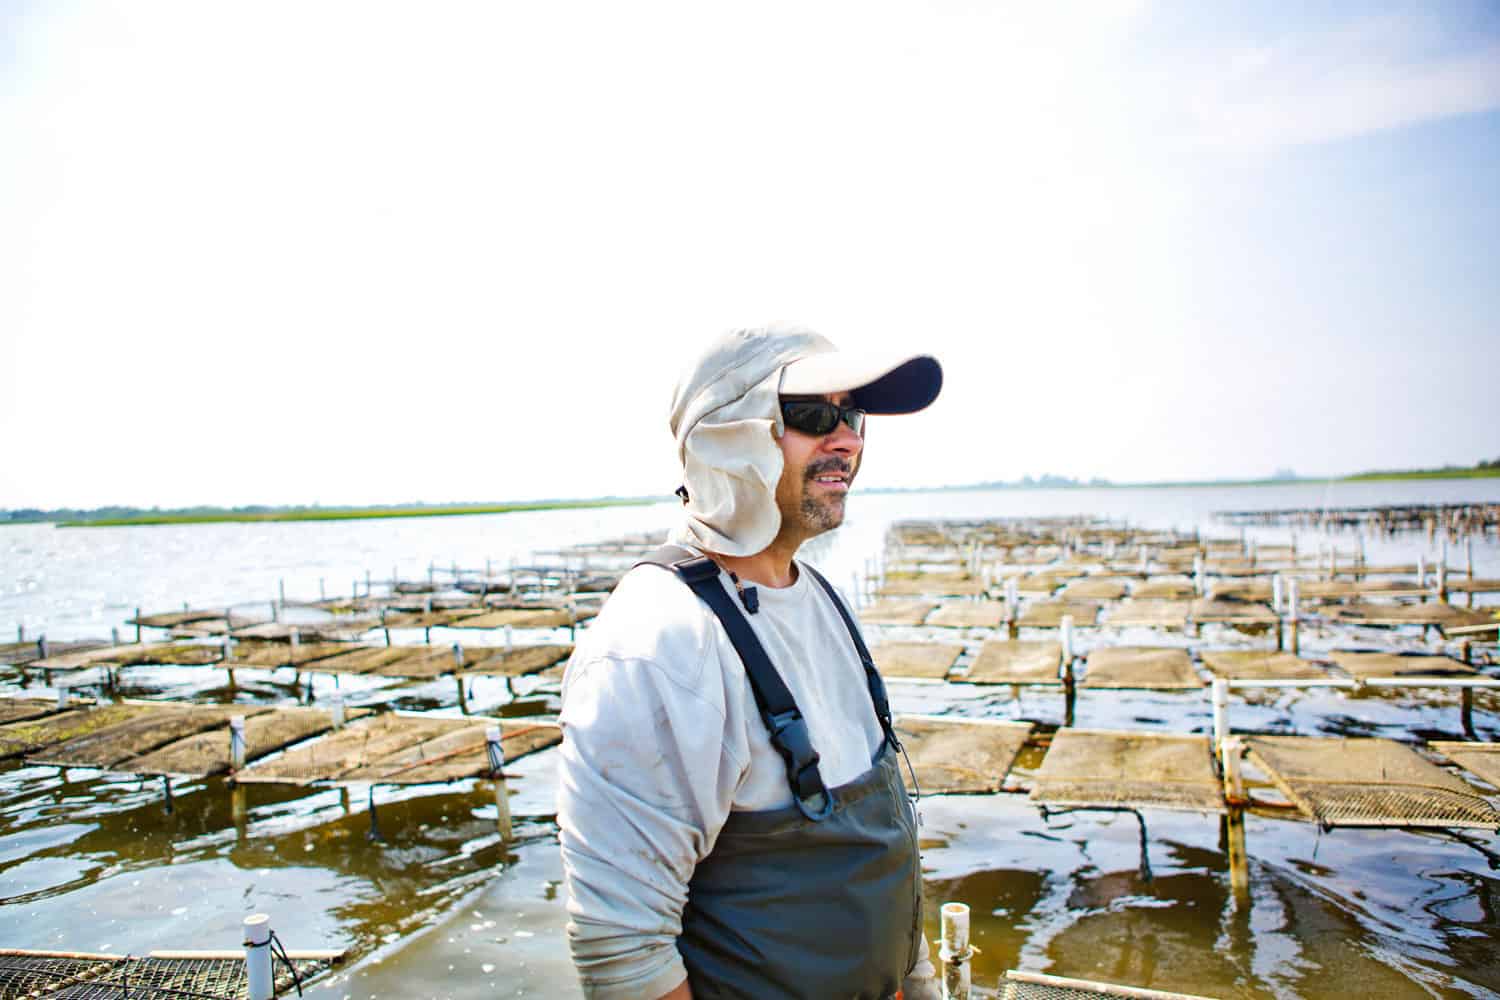
Finally.. The Oyster Farm
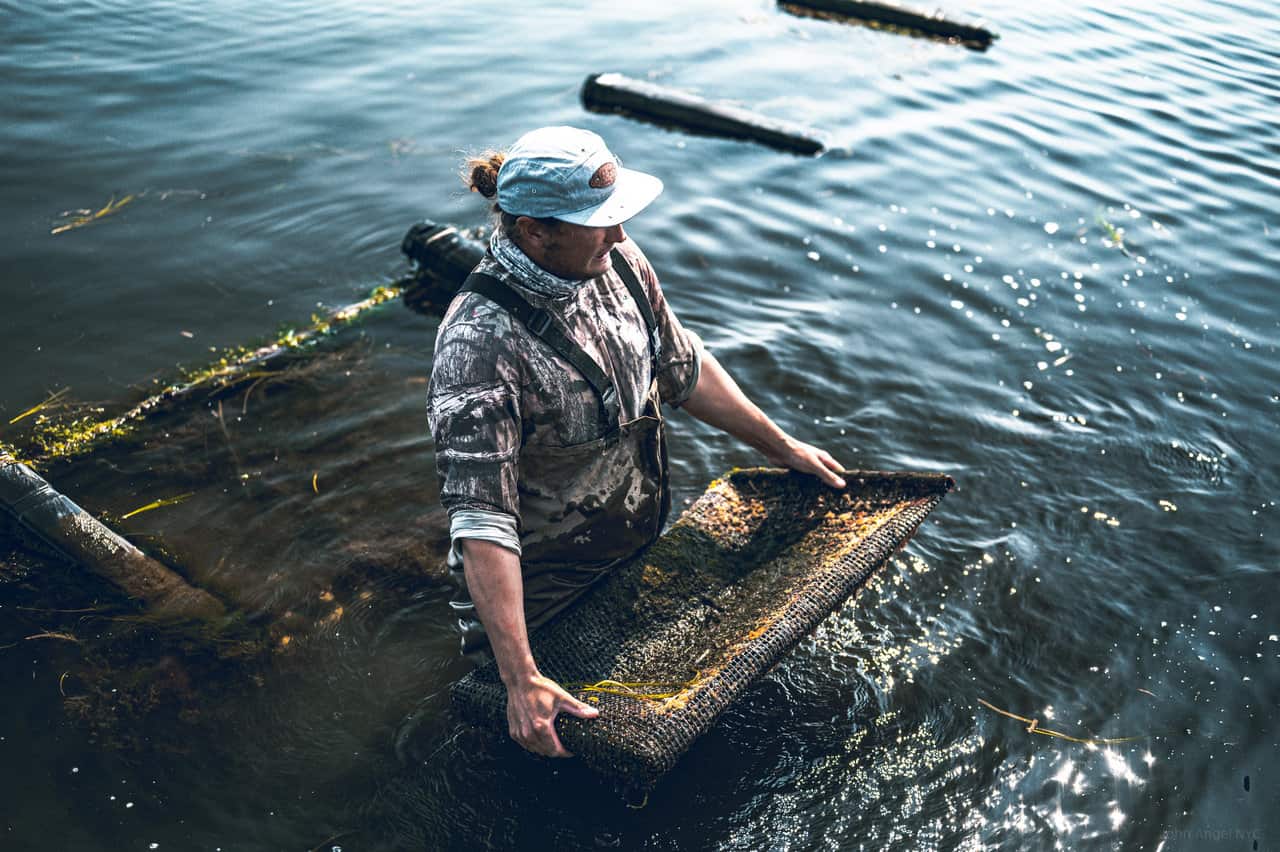
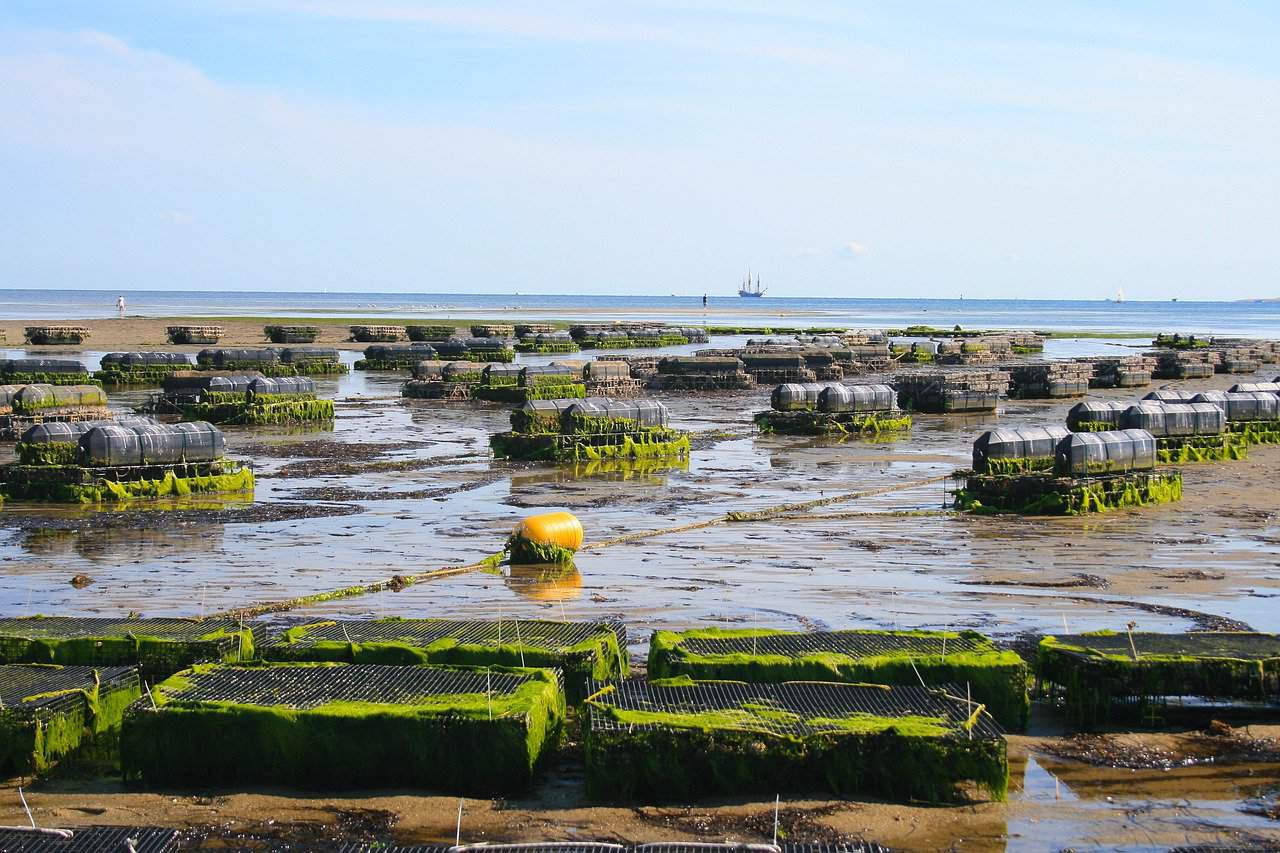
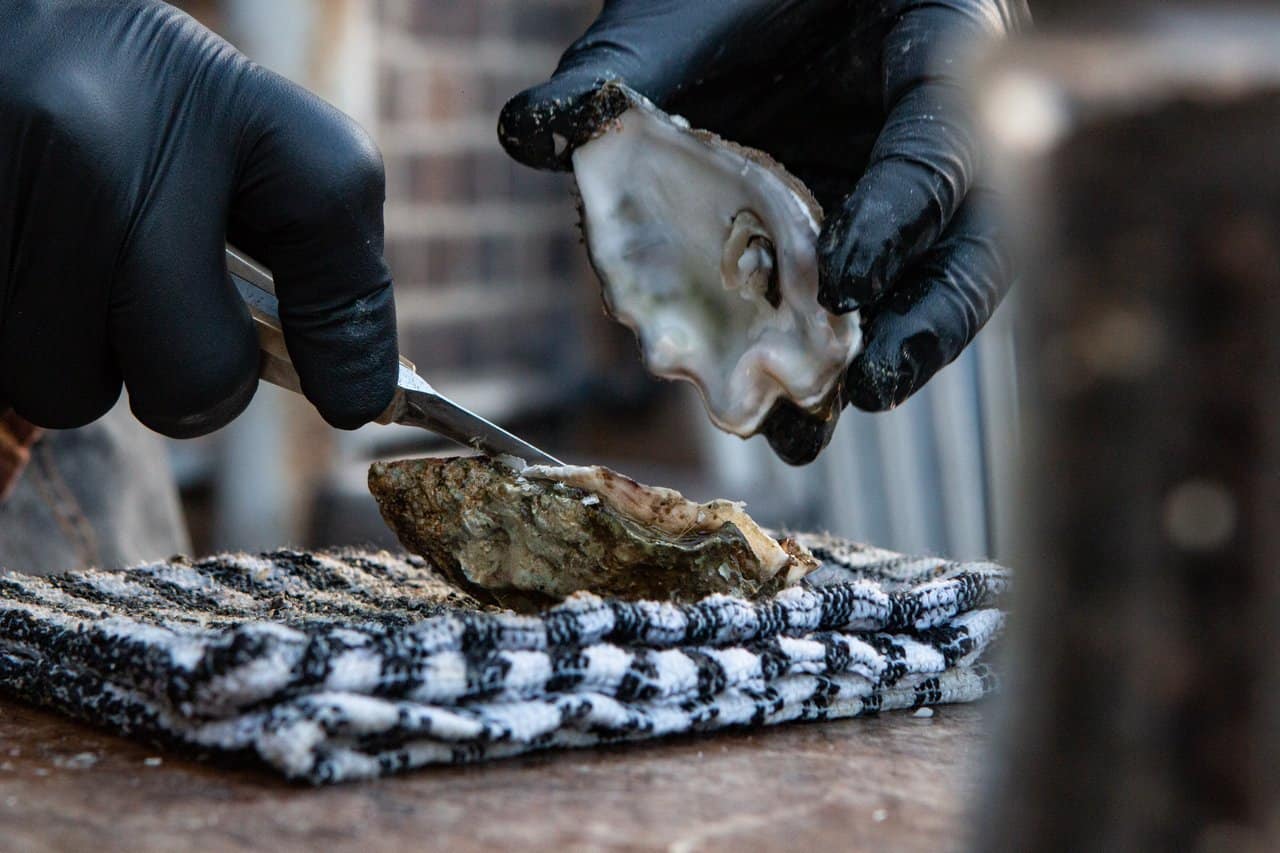
The last step on your way to actually being able to properly make a good dime out of your hard labor is of course, taking care of the oysters in the nursery.
You can use one of many different methods to grow-out your oysters, but we personally believe that the best ones are the following:
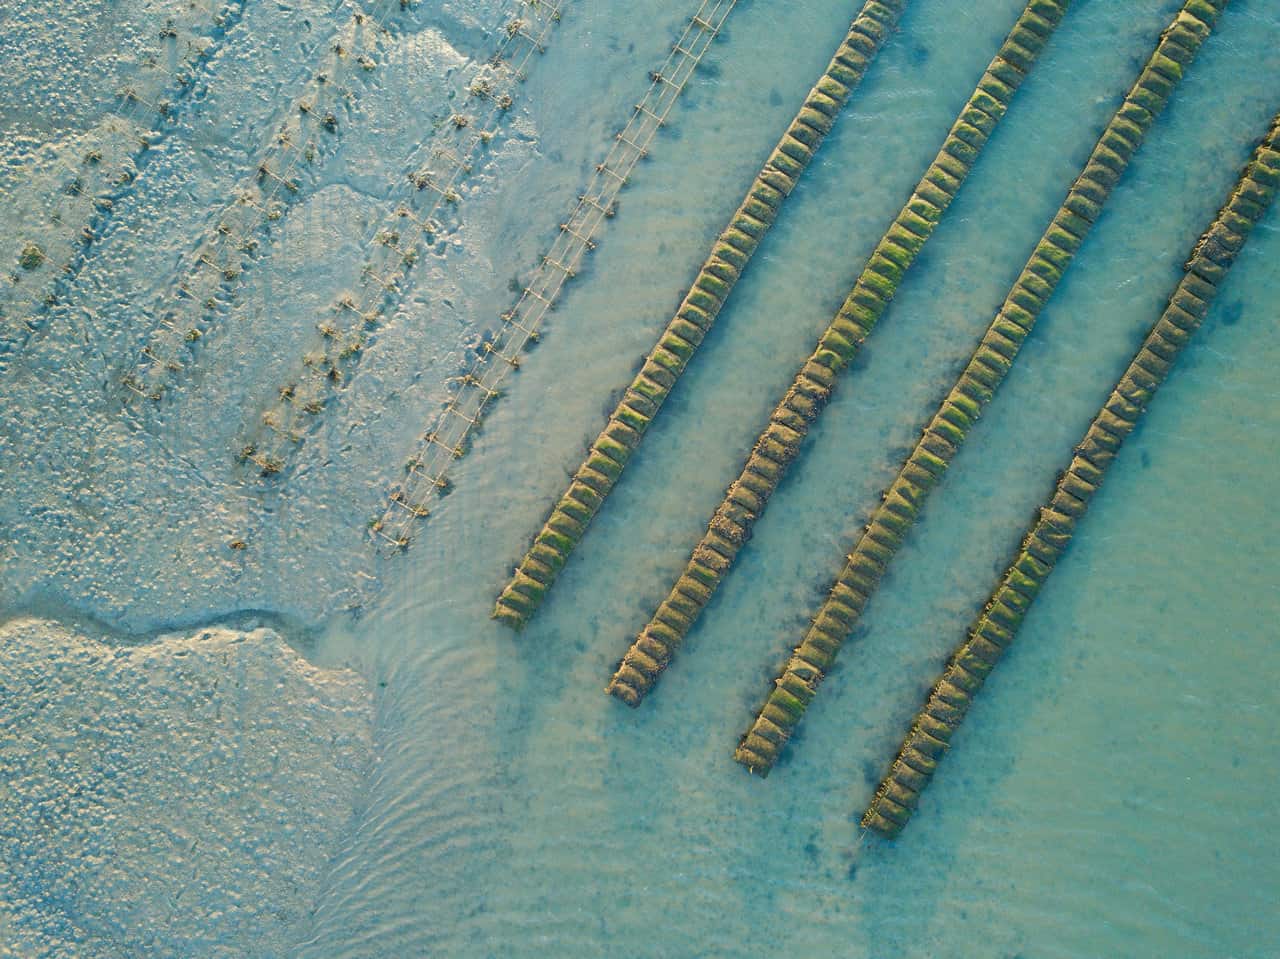
- The Bottom Culture – Essentially, using this method, you just take the oysters and you place them on the seafloor where you leave them to grow.
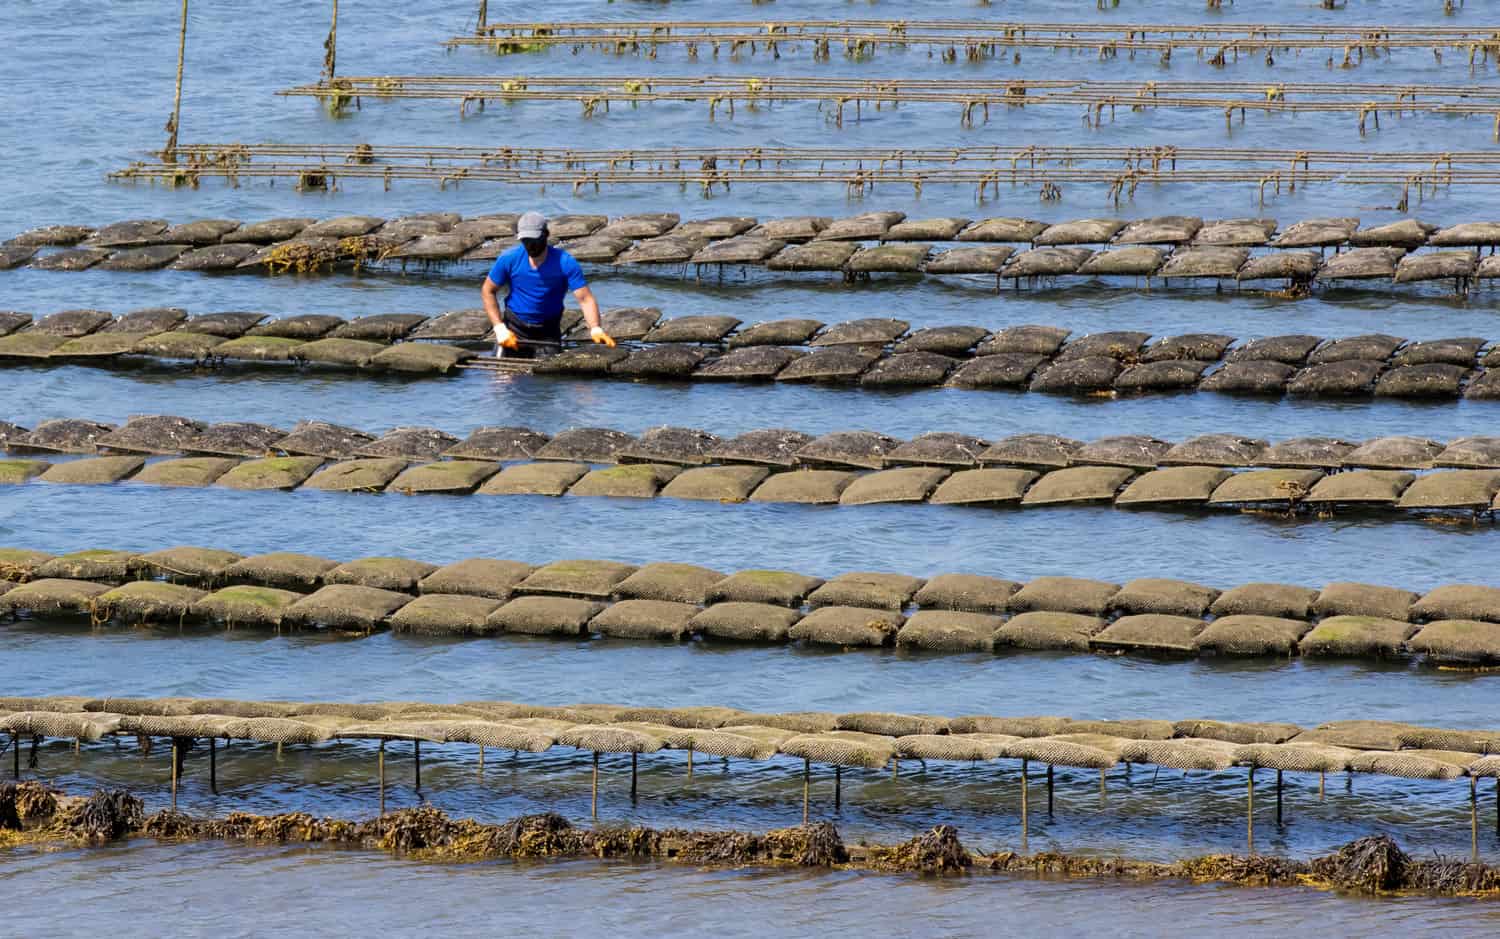
- The Off-Bottom Culture – This method is slightly different as you take the oysters and you place them in bags or crates. You pretty much just put them in the ocean without touching the bottom ocean floor.
Bottom Culture Versus the Off-Bottom Culture

Depending on your end goal, you may want to use only one of these two methods to grow out your oysters. But, as far as we know, there is nothing wrong with using both of them either, as a lot of the most experienced oyster farmers out there prefer not to limit themselves.
Here are the main key differences between both of these methods though, starting off with the bottom culturing one:
- It is very similar to growing wild oysters
- All of the oysters will grow at a steady rate because they are all living off of the same ecosystem’s nutrients
- They will end up having more robust shells
- Their shells will also be a lot tougher due to them being pushed around by the tidal waters
- They will be in danger a lot more though as they can end up dying from suffocating in the mud
- They are a lot more vulnerable to predators
As far as the off-bottom culturing method is concerned this is what you need to know about the oysters and your end results:
- The oysters are a lot safer because they do not have to worry about predators or tidal waters pushing them around
- The equipment will be a lot more expensive to purchase
- Off-bottom equipment can also be contaminated easily so you will need to clean it regularly
Interestingly enough, if you want to actually get into the off-bottom culture you will also need to pick out which equipment you will want to use to actually grow your oysters. For example, you have the following:
- The Cage Culture
- The Bag and Rack Culture
- The Tray Culture
- The Floating Culture
- The Suspended Culture
How Much Does an Oyster Farm Cost?
Depending on how willing you are to spend the money on your dream oyster farm, you may want to get ready because you will need to shill out anywhere between $60,000 to $200,000. Or more of course if money is no object for you.
This should get you about an acre or more of oysters and more than a handful of thousand of bags and cages.
It is recommended that you get around 25 oyster bags or cages, depending on which of the equipment you wanted from above. If you are on a way tighter budget though, you could also get started with around $5,000 or so just for the bare minimum mentioned above.
This does imply that you already have your hands on a truck, a dock and a boat. Every year you will also need to invest into another set of bags or cages and oysters, and while at first you can’t expect to make the most money possible, you should be able to come out on top by the third year.
As your farm grows though, you will eventually need to invest in more than a handful of helpers around your farm so that you can actually harvest all of your oysters with ease.
This will take another chunk out of your wallet though as you will need to shill out anywhere between $15 to $25 an hour per helper. The prices may vary of course depending on their experience level.
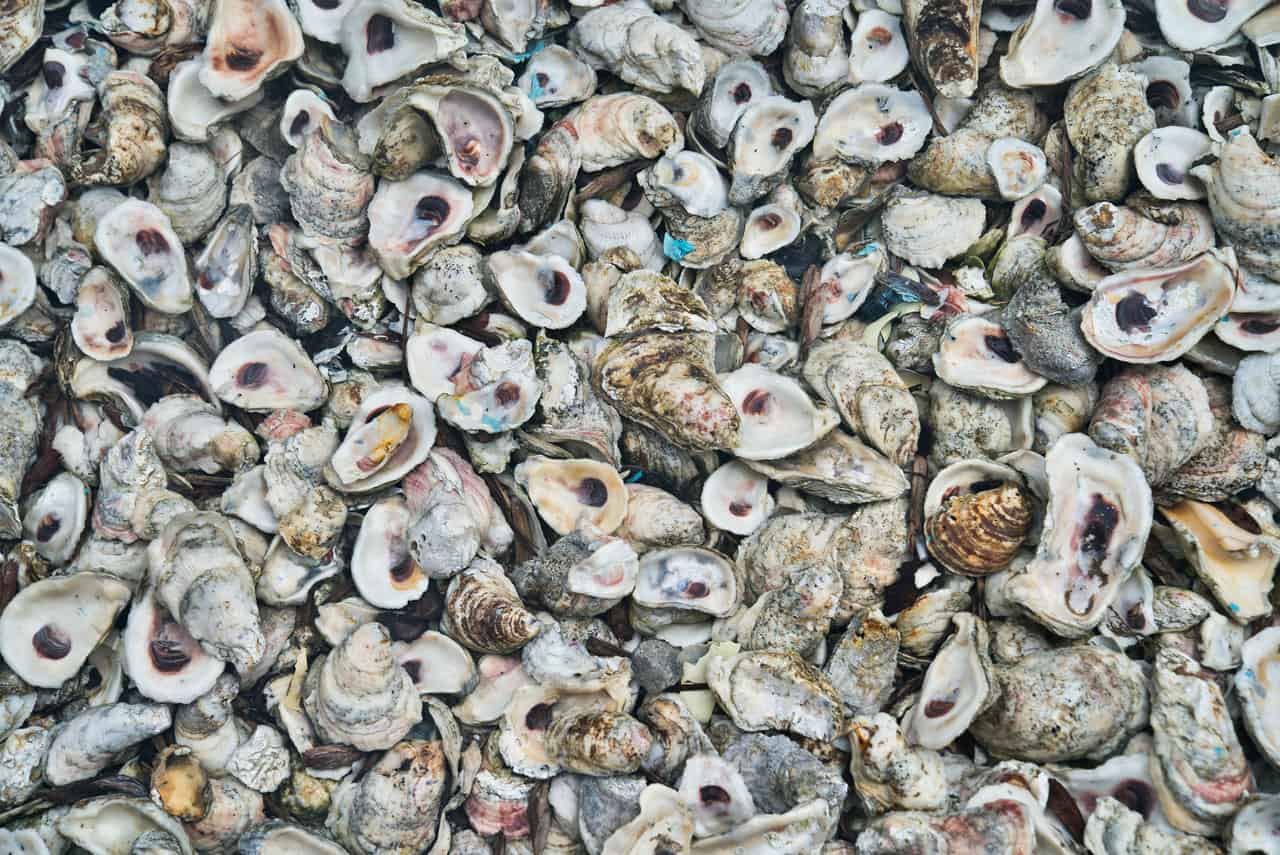
Oyster Health Problems
While most people would assume that taking care of oysters is relatively easy, we are here to break the news to you that you will need to worry about more than a handful of diseases that may or may not affect your harvest.
As far as the most common ones are concerned, these are the ones that you will need to look out for:
- Perhinsus Marinus – This is a pathogen that can easily make its way into your oysters. The disease is also known as Perkinsosis or Dermo and while it is completely harmless for humans, you will need to treat it yourself unless you want your whole harvest to rot
- Haplosporidium nelsini – This is yet another pathogen that has been killing oysters since the 50s. The disease goes by MSX and while again, it may not be all that harmful to humans, it can still destroy your whole harvest if you’re not careful
- Marteilia – This is a parasite of bivalves which leads to a little-known disease that goes by QX. You can tell if your oysters are affected by this disease based on the fact that they no longer have their pigmentation on their visceral tissue
- Oyster Crab – This parasite lives inside of the oyster’s gills and it steals all of the food that the oyster collects, pretty much causing it to die of starvation
Predators You Need to Look Out For
For the most part, you won’t really have to worry about any other creature attacking your oyster farm because they are rarely viewed as food by other predators. Still, every now and then you may need to keep a close eye out for these:
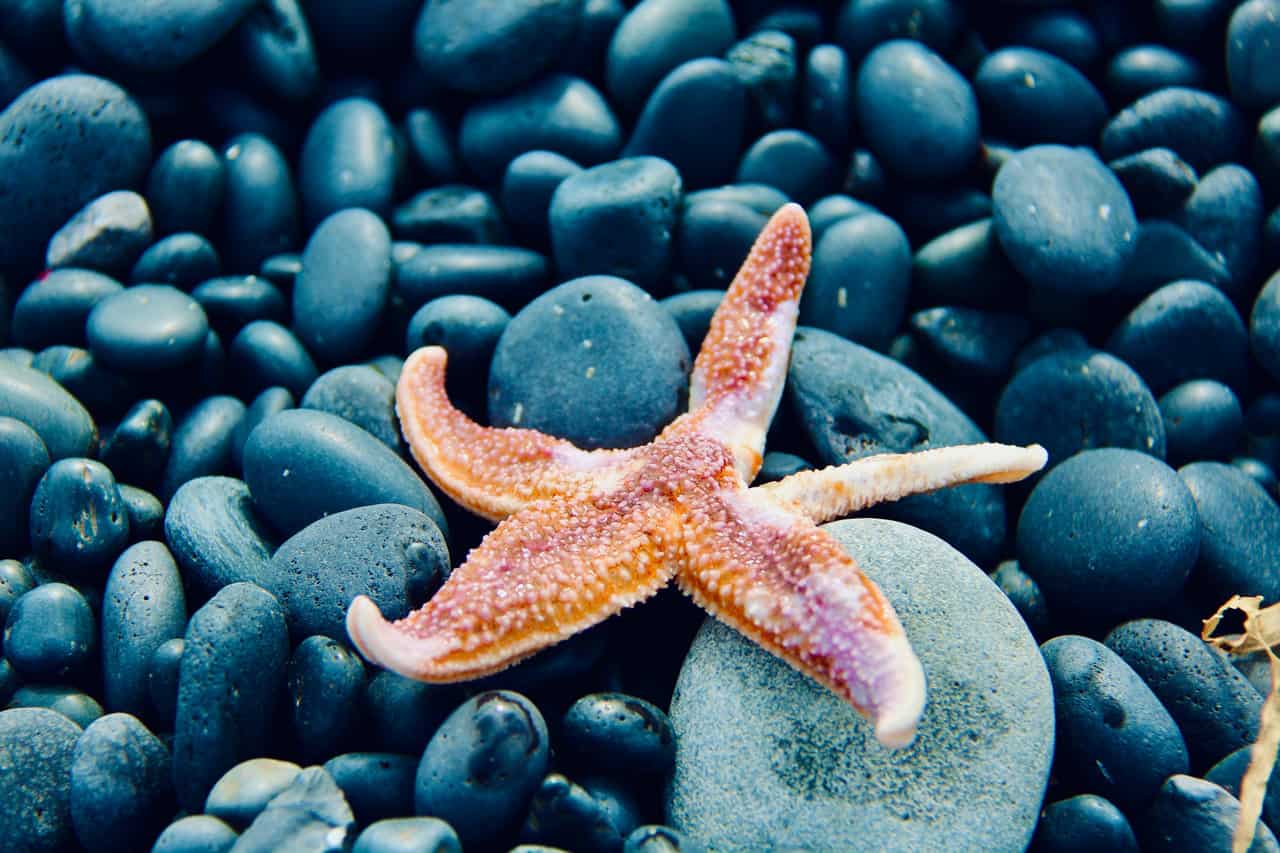
- Starfish
- Stingrays
- Gulls
- Oystercatchers
- Florida Stone Crabs
- Oyster Drill Snails
The Most Popular Oyster Species
Currently, in the US, you can find five different species of oysters around every corner. They are the following:
- The Pacific Oyster – Also known as the Japanese Oyster, you can tell if you’re dealing with one due to its shell being fairly large and rounded, and its radial folds being very rough to the touch
- The Kumamoto Oyster – Also known as the Kumies, this Japanese oyster sells especially well in restaurants due to its fruitier taste. You can tell if you’re dealing with one because they are a lot smaller and sturdier than most other oyster species
- The European Flat Oyster – This type is primarily farmed around Maine and Rhode Island. It is a lot more pear-shaped than the other species on this list, and interestingly enough it also has a rough exterior with blue concentric bands over its right valve
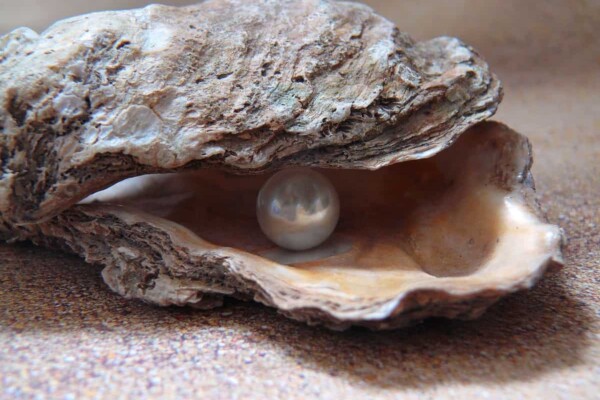
- The American Oyster – This species can usually be found on one another forming a coral reef. This is also the type of oyster to produce pearls. They usually grow around 3 to 5 inches, although it isn’t unheard of to find one around 8 inches long either
- The Olympia Oyster – This species can be found on the Northern Pacific coast of North America, and it can grow as large as 2.4 to 3.1 inches in length. Most of these oysters will have a rounder and more elongated shell, and they are known for having olive green flesh on the inside.
Conclusion
Farming oysters may sound like a pretty simple thing to do, but what many people forget is the fact that you still need to know a lot about the craft before you can actually get started.
Oysters are quite fragile, and while they are not the most difficult things to farm, they can still end up causing you to go bankrupt if you don’t give it your all to actually make sure that they are ready to be harvested.
A lot of people have tried their hand at growing their own oysters and they failed miserably. If you don’t want to be like them then make sure to follow all of the steps we mentioned above carefully so that you can start making a profit out of harvesting your very own oysters today.